This Saturday is Saint Patrick’s Day, and Katrina from Rhapsody Letterpress is here to share an awesome lapel pin tutorial using shrink plastic and sharpies.
I just discovered shrink plastic, and it is so much fun! Even better, it is really easy and kid friendly, and you could even use recycled materials with great results. So, clean and save those recycle number 6 take out boxes, or buy some Shrinky Dinks on Amazon. For this craft, you will need shrink plastic, sharpies, super glue, and pin backings.
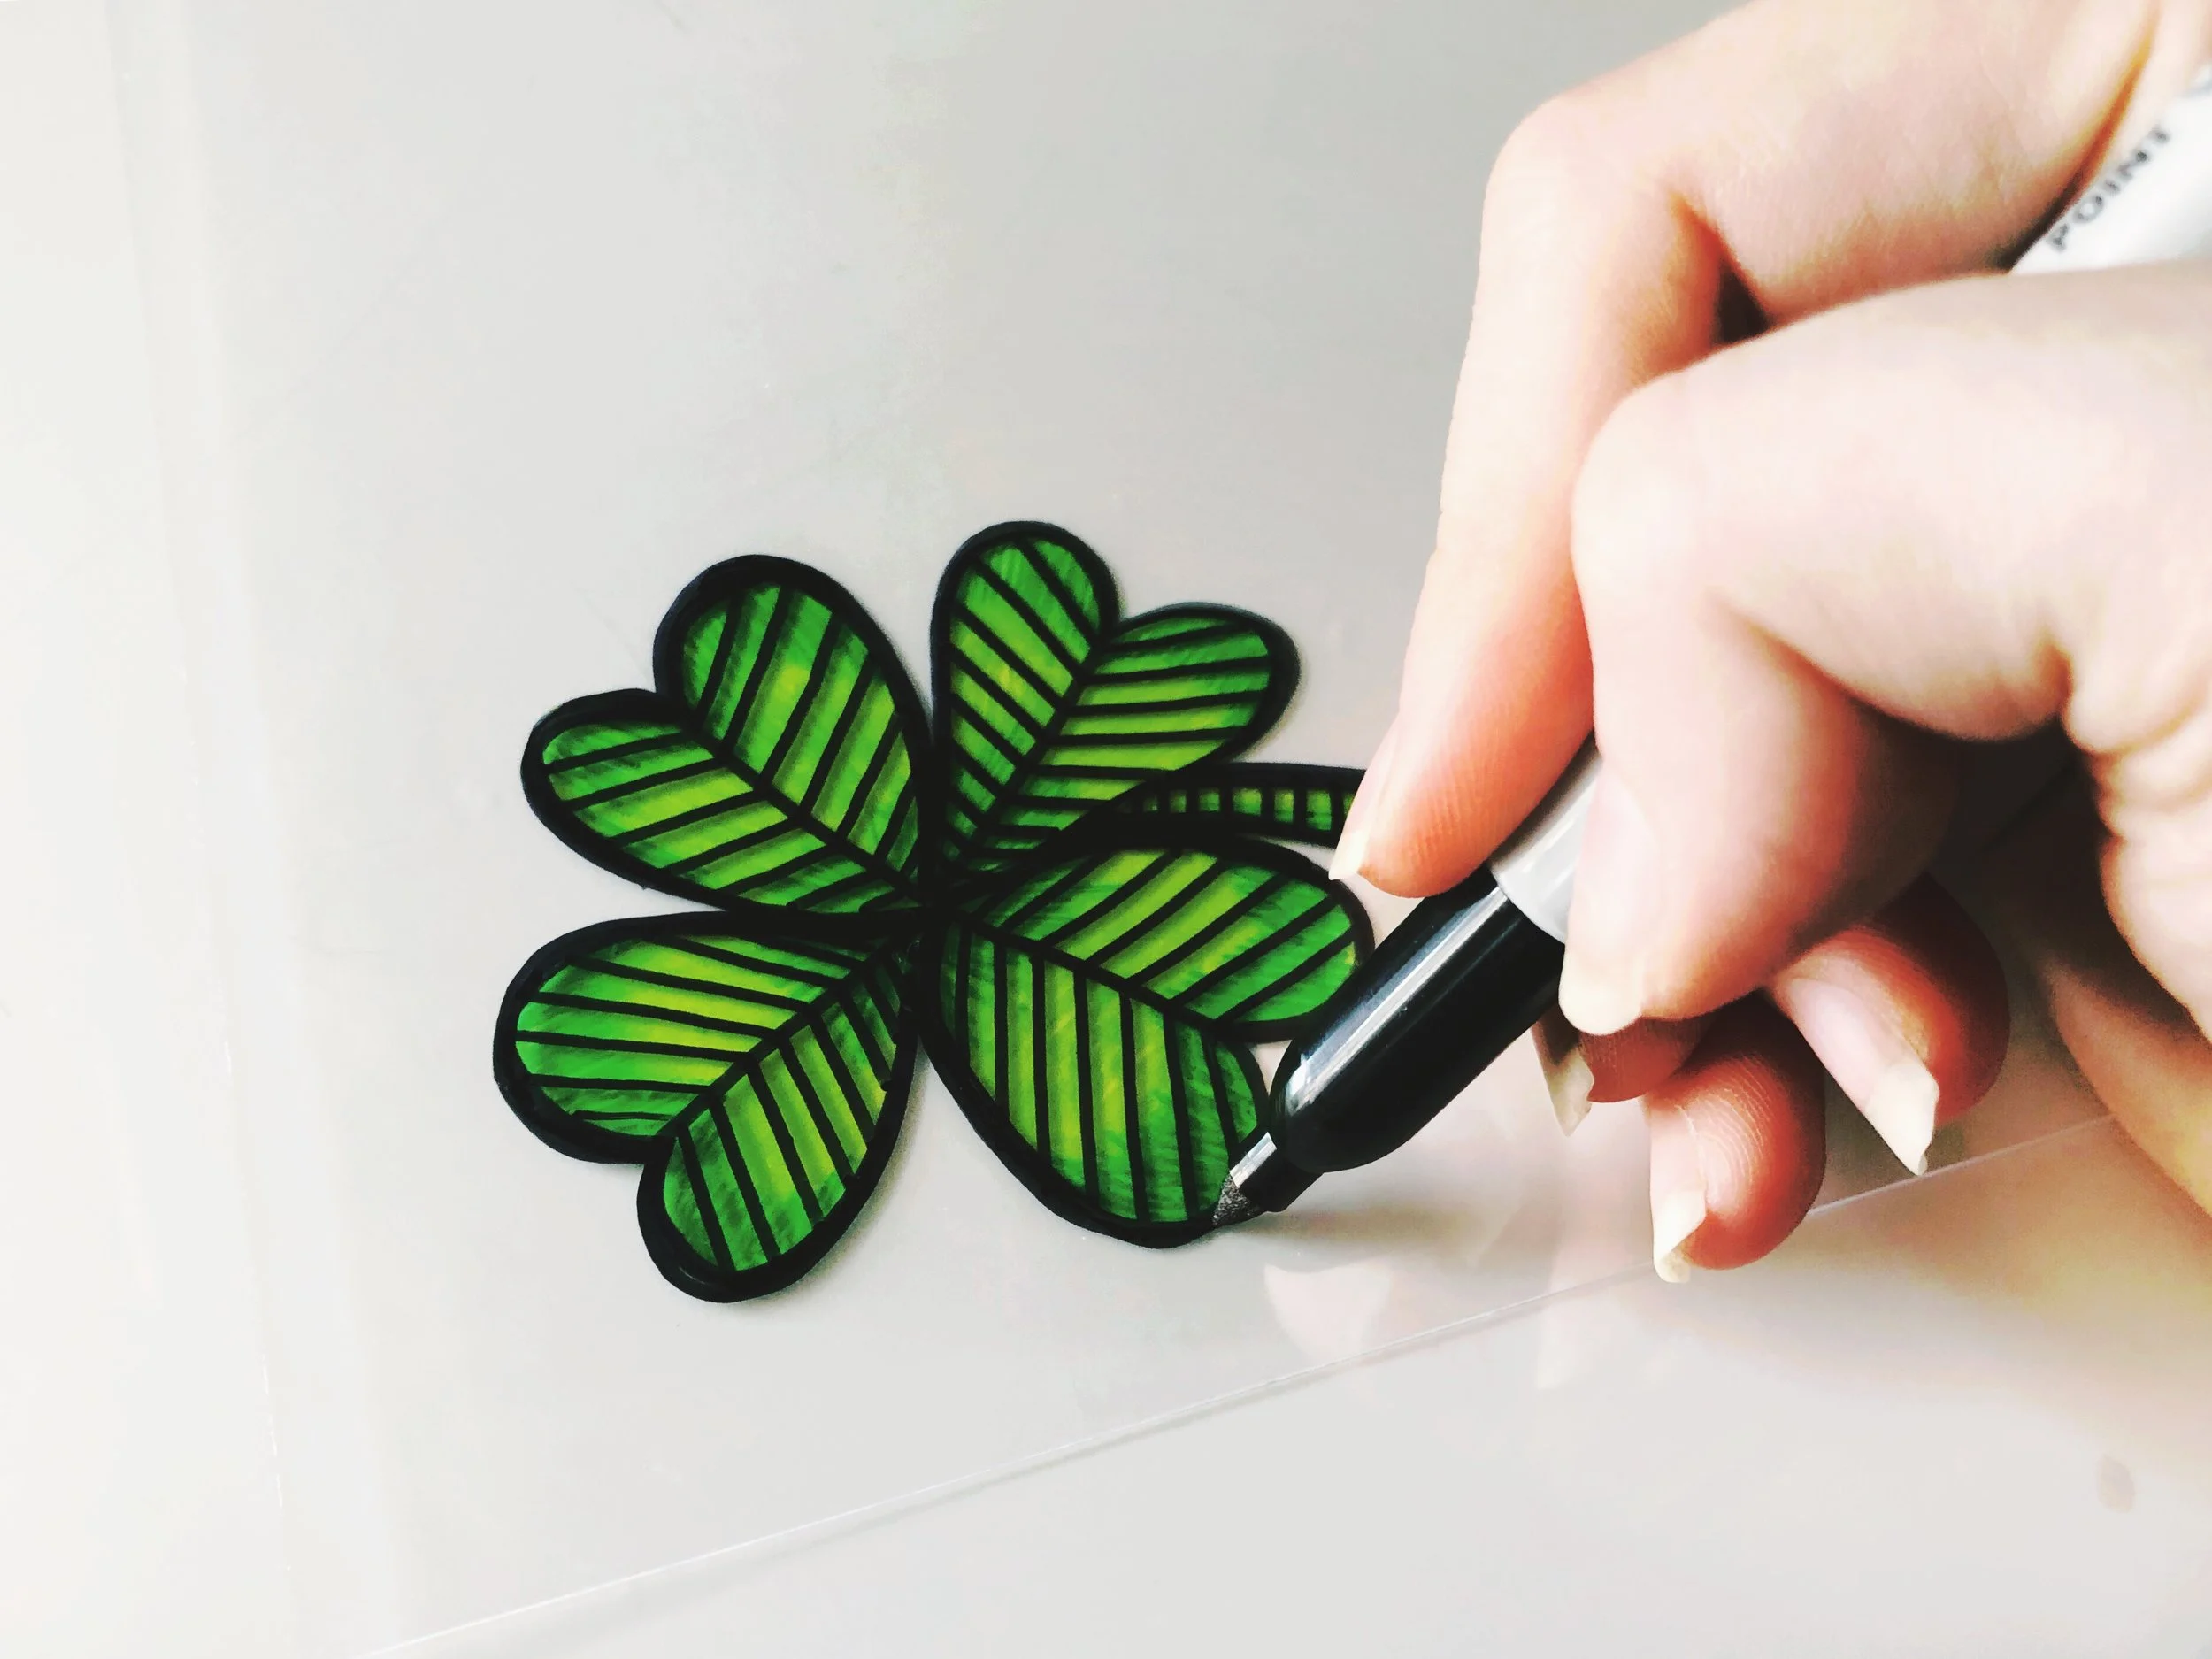
Begin by sketching your design on the plastic with a sharpie about 5x the size you want your pin to be. When working with transparent material, it’s a good idea to work lightest colors to darkest, and build by layers.
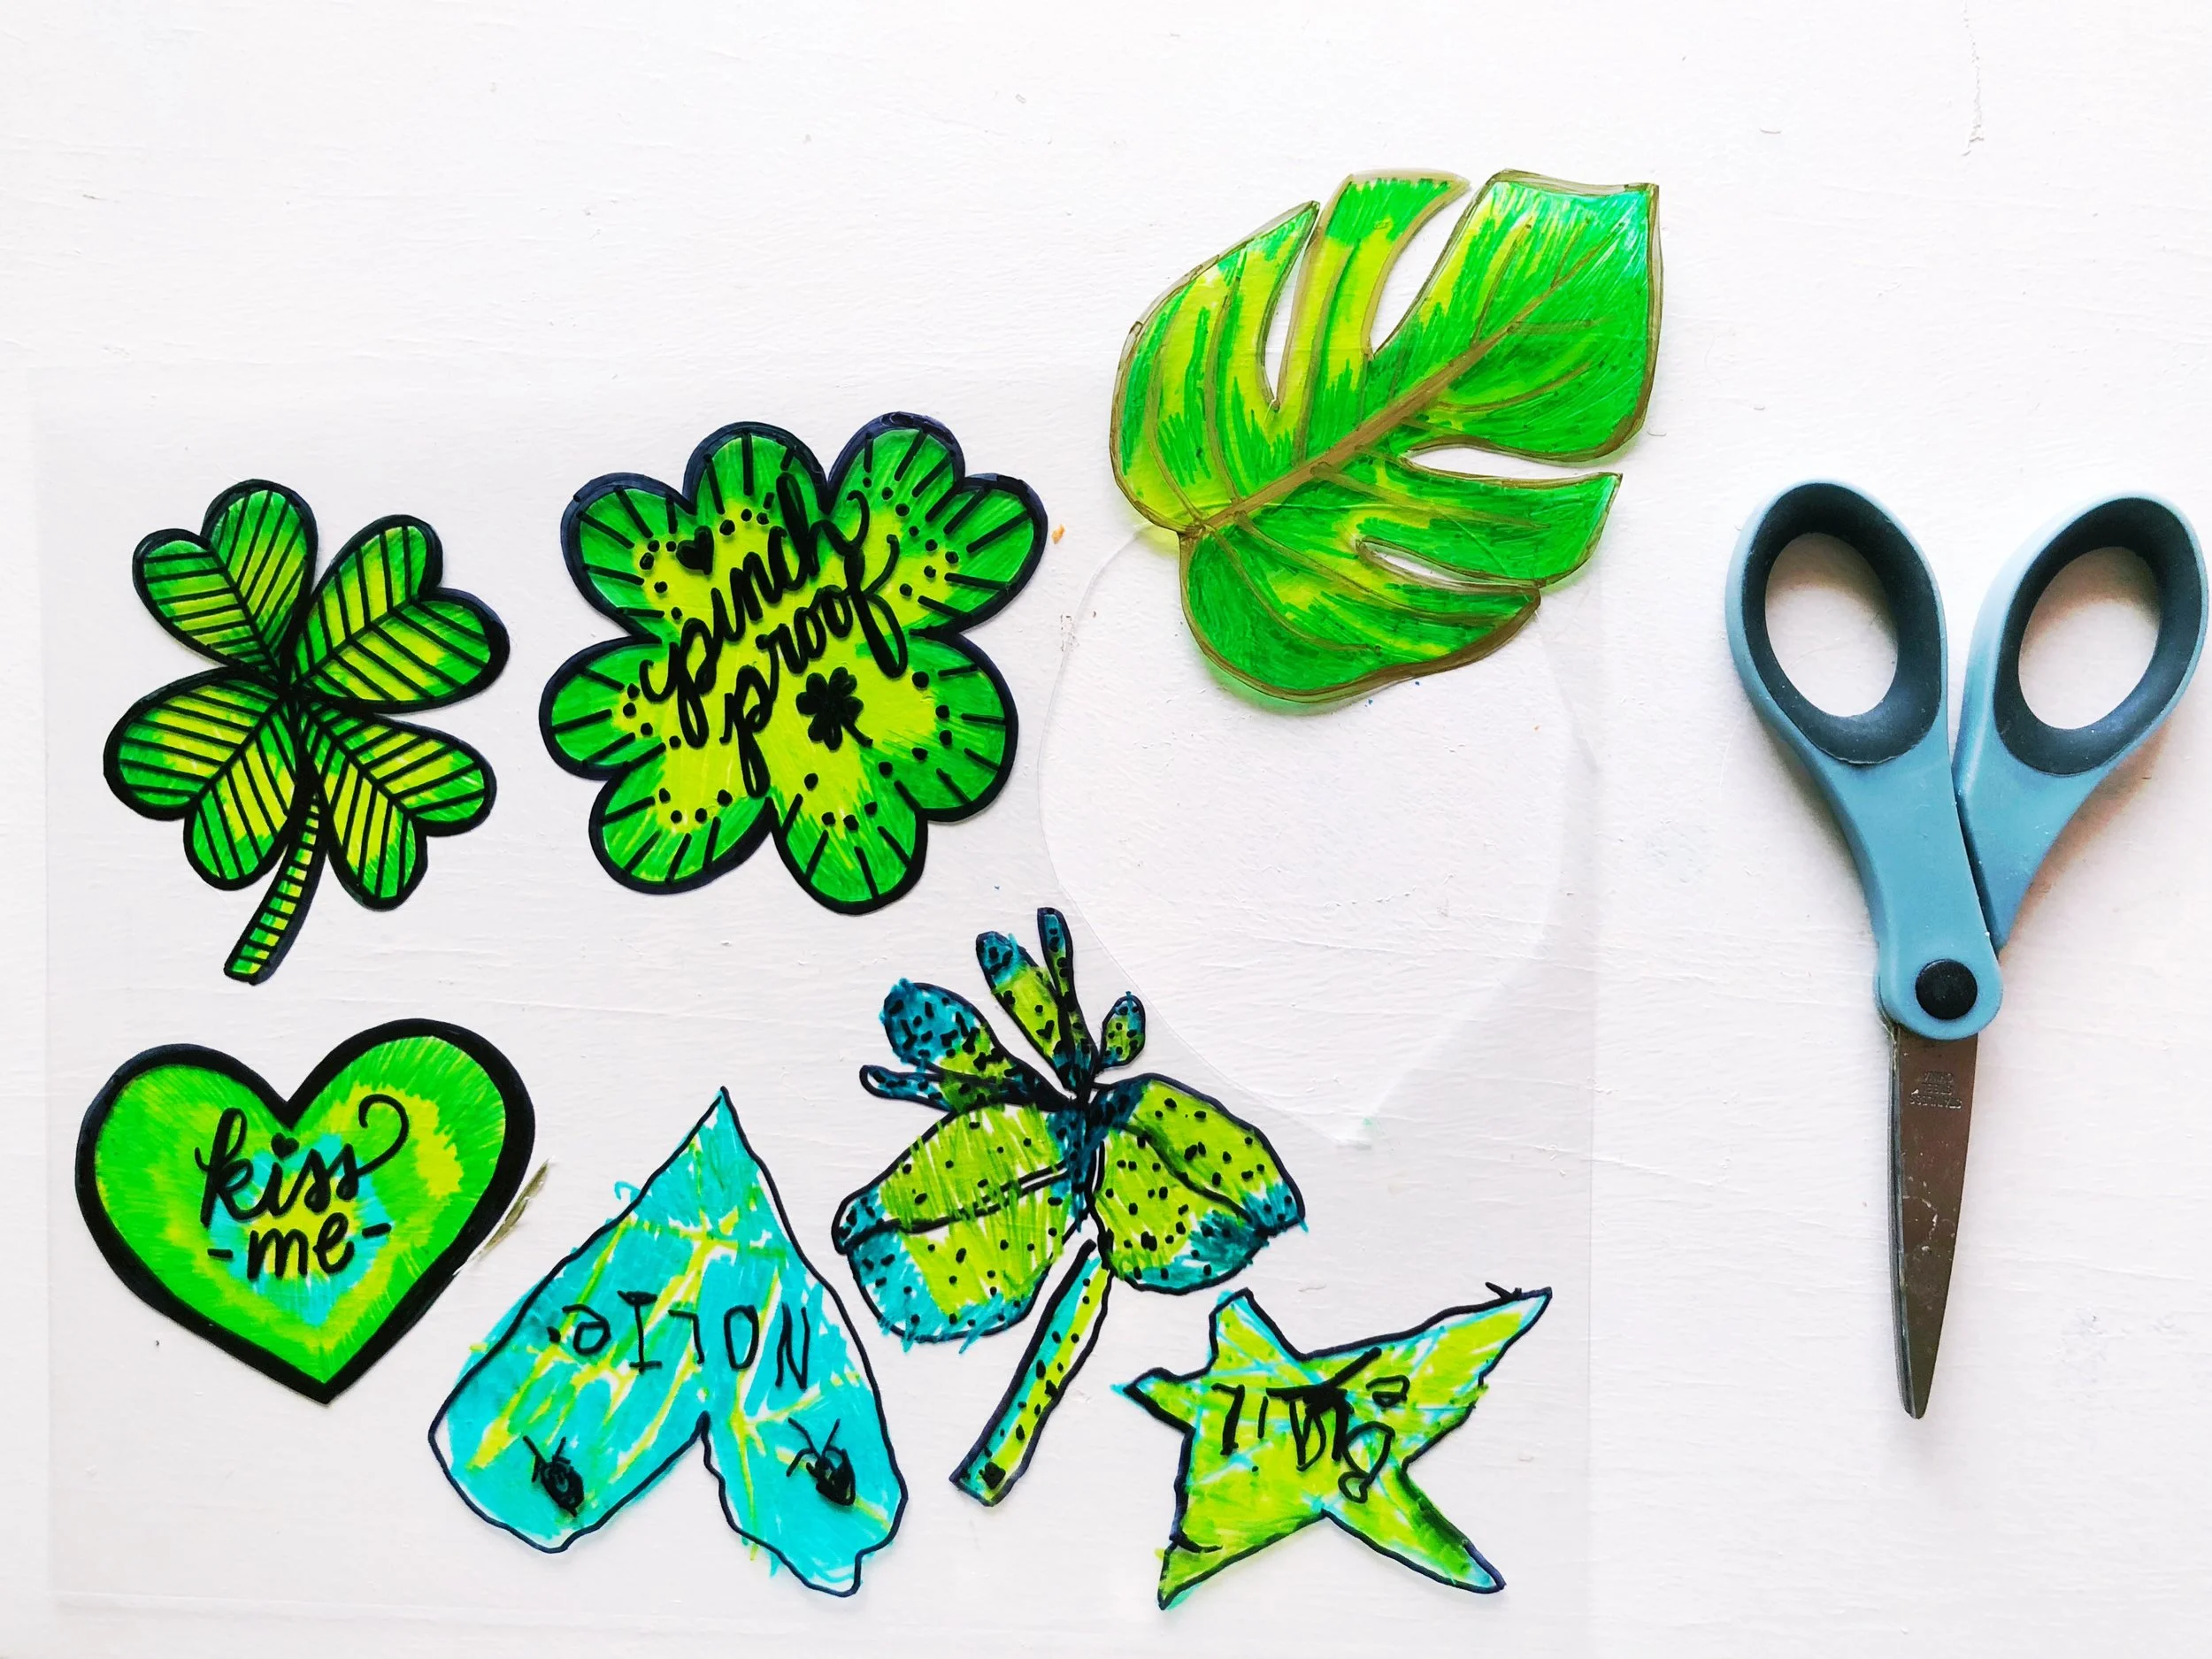
After you have finished coloring in your design, use black to outline and detail your drawing. (My daughter drew a few too!)
Preheat your oven to 325°F, and carefully cut out your designs. Cut all the way into the outline unless you are going for a clear edge.
Line a cookie sheet with foil (smooth for best results), and lay out your cutouts so that they don’t touch. Place them in the oven and watch the magic! They curl up and then shrink. It only takes about 2 minutes, but leave them until they flatten out. Pull them out of the oven and allow them to cool.
Use super glue to mount the pin, and let it dry. If you don’t write on the front, you can flip the piece over for a shiny, transparent effect.
I hope you enjoy working with shrink plastic, and feel inspired to make all sorts of fun stuff. Tag us on Instagram @etsydallas and show us what you make! Happy Saint Patrick’s Day!


