
My favorite thing about being a member of Etsy Dallas is growing and learning with other like minded creatives. We are all in different places on our entrepreneurial journeys, and we learn what works and what doesn't, and support each other throughout. Alexandra of Wandering Paper Co. is back with a follow-up to her last post with her goals for 2017. I am so excited to see where her bright and minimal brand goes this year!

A little while back, I wrote a recap of my 2016 small business goals, so this week it’s time to focus on 2017. I can’t wait to share my goals with you, but before I do, I’d like to ask for your help! In order to accomplish these goals, I need some honest feedback from the general public. I’ve created a short branding survey to help guide my decision making for Wandering this year. If you are willing to fill it out, I would be most grateful! Thank you in advance for giving a little bit of time to help make Wandering Paper Co. better. I couldn’t do this without you!
Okay, on to the goals. It’s taken me a while to write this post is because I’ve had such a hard time narrowing down my list of goals. There are so many things I want to do, but some of them are just going to have to wait until next year. After giving it a lot of thought, here’s my final list of goals for 2017:
SOLIDIFY BRAND
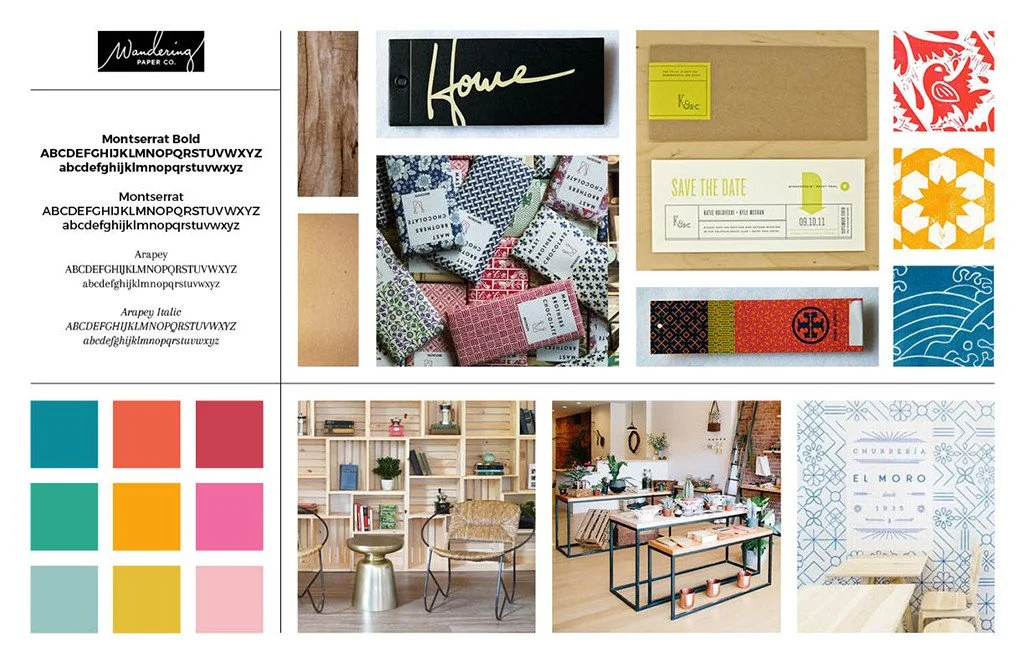
That's my new branding mood board up there! Now that WPC has a year under its belt, I’d like to thoroughly think through my storytelling and messaging, and build out a recognizable brand that my customers connect with. I put together this mood board to help guide the visual portion of branding, which includes color schemes, materials and textures, typography, and graphic elements.
I also want to think through the way I choose to tell the Wandering Paper Co. story. This will mean thinking through a few key questions—namely, what sets Wandering Paper Co. apart, why has it been successful so far, and how does it connect with its audience on an emotional level? I’m excited to get started on this goal—stay tuned!
BUILD OUT WPC PINTEREST ACCOUNT
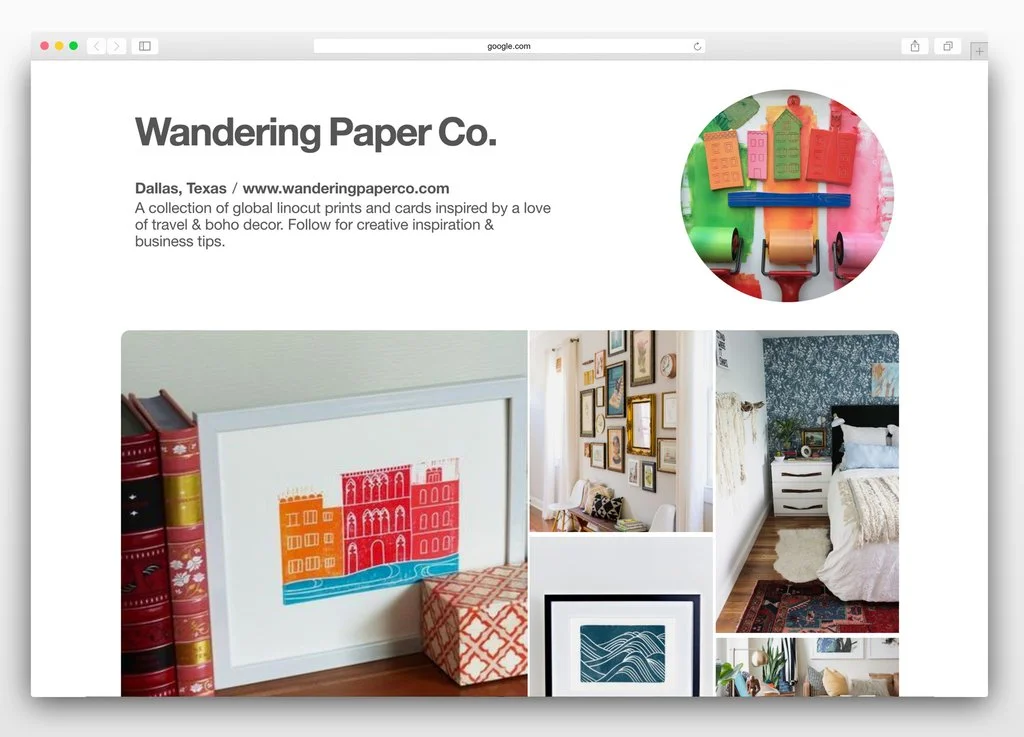
My goal with the WPC Pinterest is to showcase my work, but I also want to create a resource for other aspiring printmakers or creative business owners. The Pinterest page will provide solutions to common business questions and problems with links to helpful articles. It will also have lots of printmaking ‘how-to’ articles and inspiration. Plus, it will have boards dedicated to beautiful global décor examples and light-filled creative spaces to help us stay inspired and dream about the future. I really wish I'd had a resource like this when I was first starting out, so I can't wait to share it!
THOROUGH SEO STUDY
This one's pretty simple. First, I will conduct a study of relevant search terms and keywords though Google Adwords and the results of my branding survey. Then I will optimize the WPC site for these terms with the goal of growing site traffic from Google searches. It's actually a really big undertaking, but it will be interesting to see how it affects site traffic!
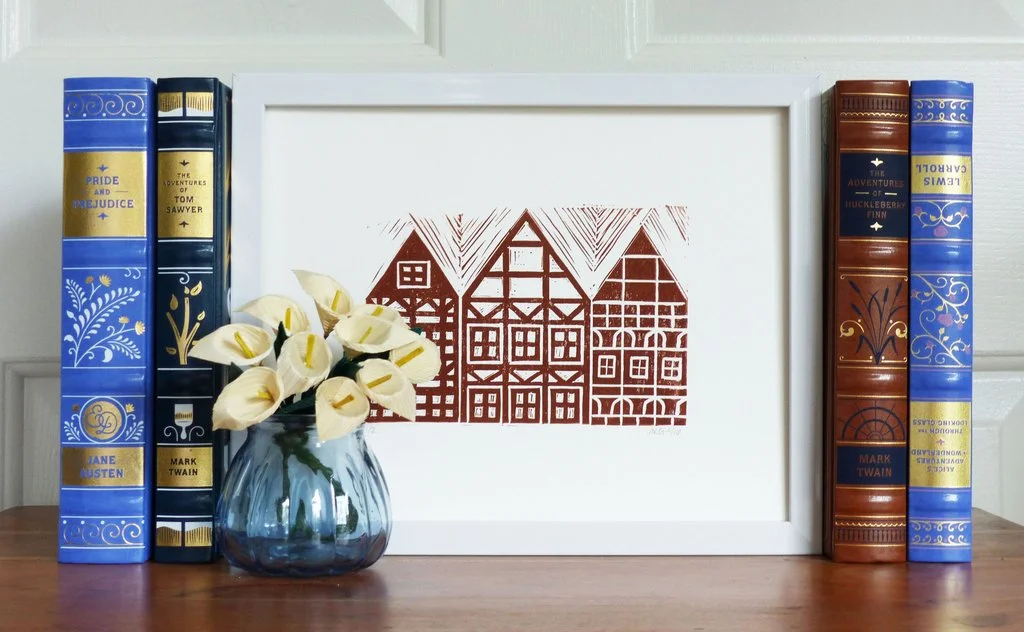
EXPAND EXISTING PRINT SERIES
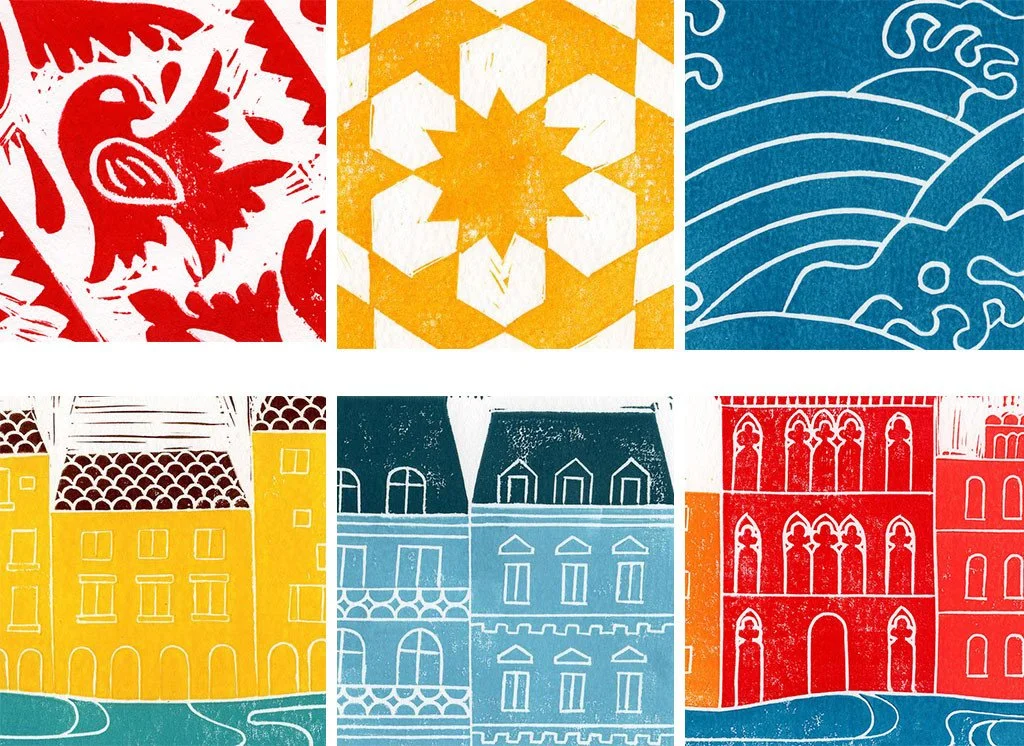
Create more prints in the City Streets series, City Skylines series, and Pattern print series to round out each collection. A few prints currently in the works are New Orleans, Austin, and a new Fort Worth print to match the Dallas one. I've also been experimenting with some floral patterns, which brings me to my next goal...
EXPERIMENT WITH NEW PRODUCTS
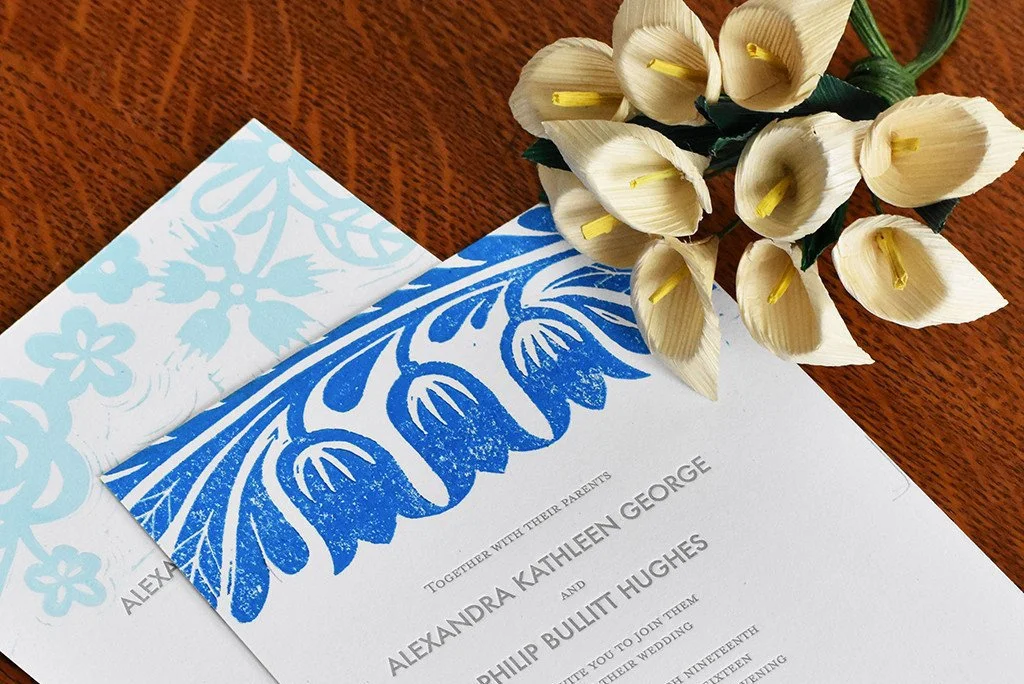
A few items I’m considering: tea towels, napkins, notebooks, and calendars, as well as a line of wedding invitations (hence the florals.) What kinds of items would you like to see? Tell me in the survey!
So, there you have it—my 2017 goals. I’d love to hear your thoughts about these, so if you’d like to help me out, my branding survey is here. Thank you all so, so much for participating and being part of the Wandering Paper Co. story. I can’t wait to get started on these goals and see what 2017 has in store—it is humbling and scary and exciting all at once. Here’s to 2017!


