Personalized

Shop+Interview with A Cheery Blossom

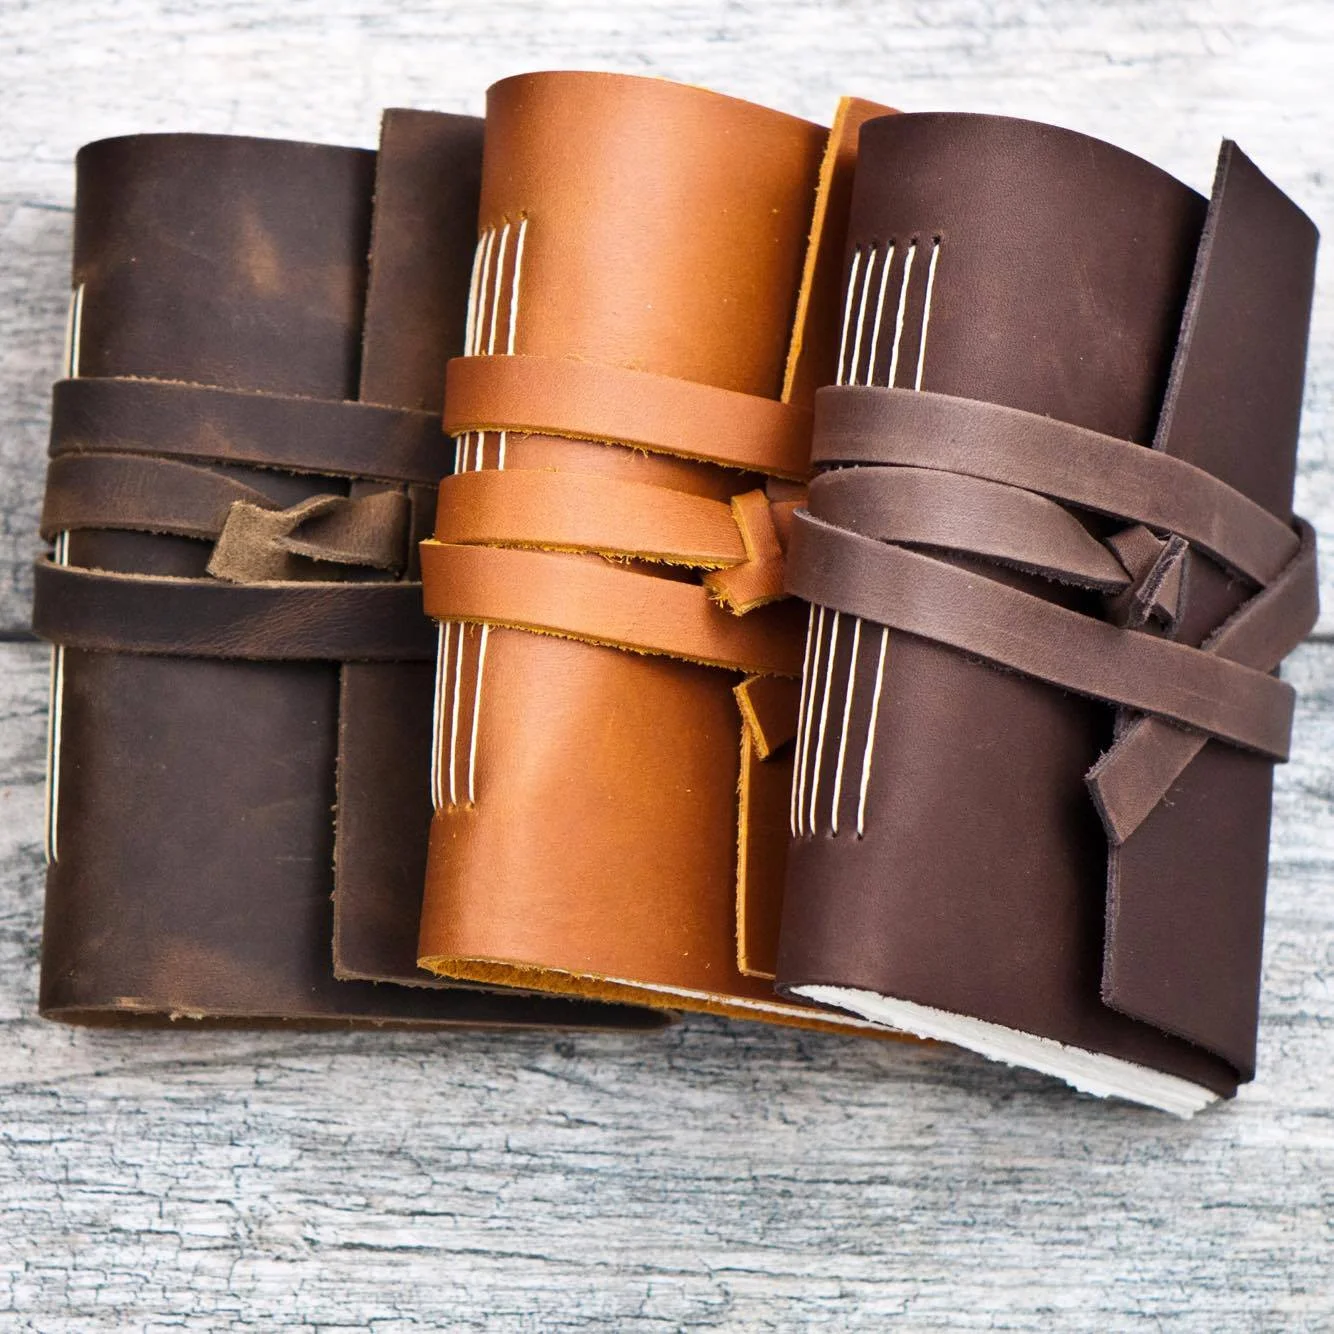
Leather journals are Stephanie's passion. Each of her journals and leather products is handmade with the finest craftsmanship and highest quality materials. We are excited to see A Cheery Blossom's new pocket journals and refillable journals at the show. 

Stephanie and her team are sticklers for details and only use the highest quality leather and other supplies. She loves coming up with new ways to display her items and meeting her customers in person. 

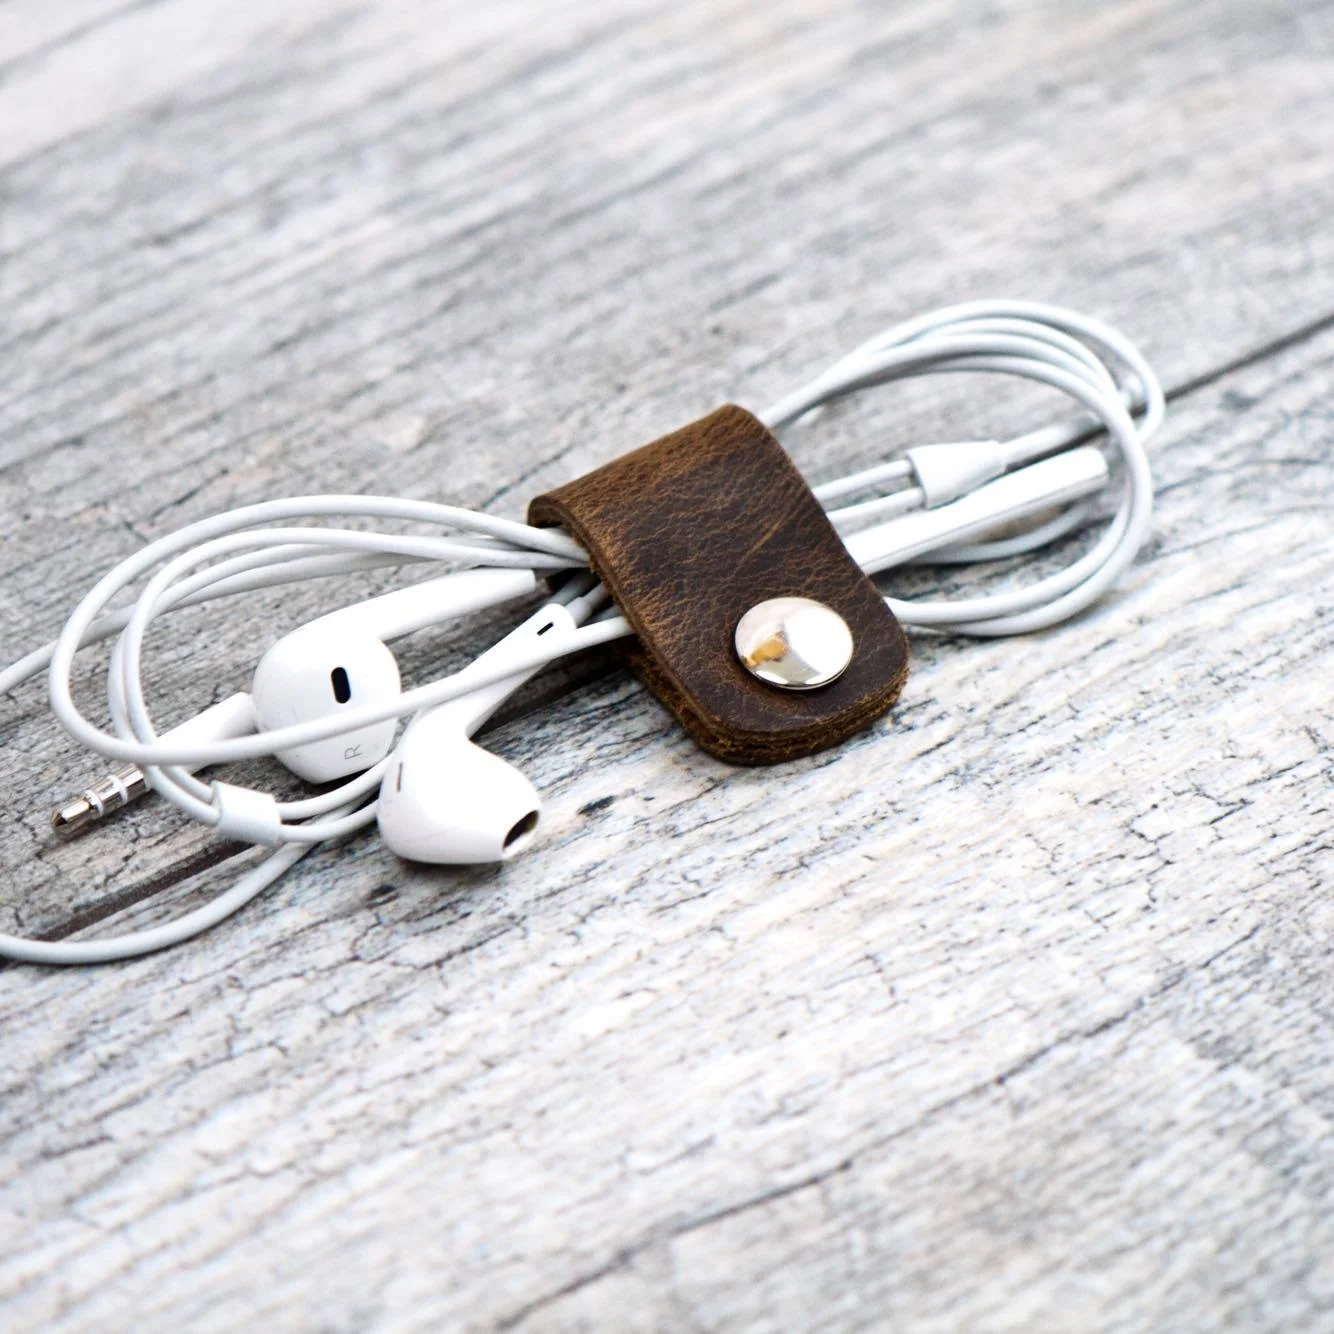
"Our headphone cord wraps have always been a hit," Stephanie said. "So we've added a larger cord wrap for computer chargers." We love the richness and details in her pieces and we can't wait to shop her booth in person at the Jingle Bash. "This show allows me to connect with individuals who are often searching for that special and meaningful gift for someone else," she said. "And I love to hear their stories." 

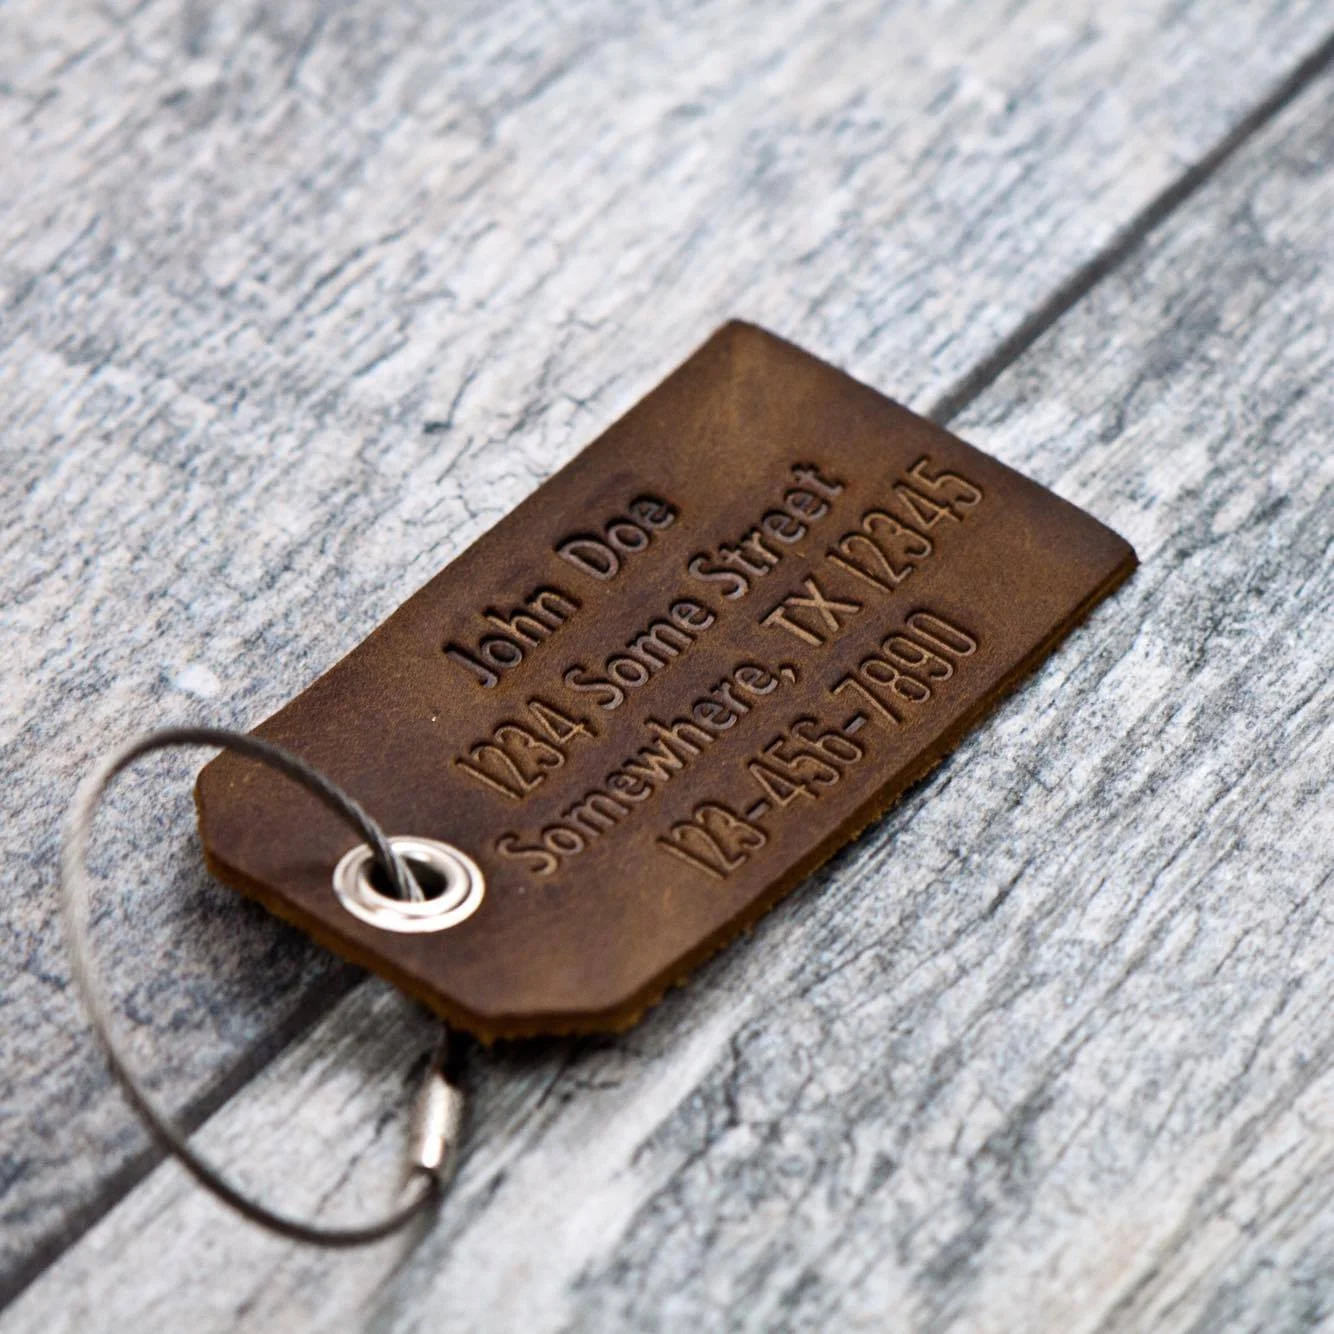
We love Stephanie's cheery personality. And we are big fans of her work. She even offers personalization. "Come connect with me at the Jingle Bash," she said. "And share in my leather passion for a few minutes!" 

Stop by and say hello to Stephanie at the 2017 Etsy Dallas Jingle Bash where you can shop the best handmade artists from near and far. We will be at Eddie Deen's Ranch 10:30 a.m. to 5 p.m., Saturday, November 11, 2017. See y'all at the Bash!

DIY Personalized Notepads with Katrina

IMG_4216.JPG

Katrina of Rhapsody Letterpress here with a little paper tutorial this morning! Looking for a fun, inexpensive and personal teacher appreciation gift? These homemade monogram notepads are an easy and pretty project you can make with relatively basic supplies you probably already have at home. Pair it with some cute pencils and a nice thank you note, and you will have a personal and practical gift that your kid's teacher would actually use. Check it out!

IMG_4225.JPG

First, set up your monogram layout on your computer using Word or a design program and print 50 sheets. Remember to print on paper the size you want to make notepads, or cut it down after printing. 4x6 or 5x7 are good standards sizes that most printers can print. I have a guillotine cutter, so I printed on letter paper and cut it down to 4x9 after binding. 

IMG_4224.JPG

Gather the remainder of your supplies. You will need binder or bulldog clips, cardstock that is cut to the same size as your paper, and rubber cement.

IMG_4220.JPG

Collate your paper, sandwiching the card stock on the top, the printed paper in the middle, and two pieces of card stock on the bottom. Tap the end of the stack on the table to create a flat edge, then use the binder clips on both sides to secure a tight binding. 

IMG_4223.JPG

Brush on a liberal layer of rubber cement, and place more binder clips over the area you just glued to keep the edge tightly bound. Allow the rubber cement to dry, and do another layer, placing the binder clips on again to let it dry once more. 

IMG_4222.JPG

Repeat on each notepad. Allow the cement to dry until it is no longer tacky to the touch, about two hours.  

IMG_4221.JPG

Once the rubber cement has dried completely and set (overnight or twenty-four hours), carefully peel off the top and bottom layer of card stock, and there you have it! (I used my guillotine to cut mine down in this step.) 

IMG_4219.JPG

Pat yourself on the back for being so thoughtful and crafty!  Your teachers are going to love it!