Kid friendly

Celebrate Spring with this DIY Easter Tree Tutorial

Sidney, of GnomeStones, is inspired by nature. You can find her jewelry on Etsy. Just in time for spring, Sidney is sharing this fun Easter tree tutorial. Follow along for all the steps in this fun DIY. Hoppy Spring, y'all!

Making an Easter tree is fun, and you probably have much of what you will need around your home already. Here are the supplies you want to round up:

  • Sand
  • A large vase
  • Spray paint
  • Clippers
  • Trash bag
  • Spring/Easter decorations 

Step One
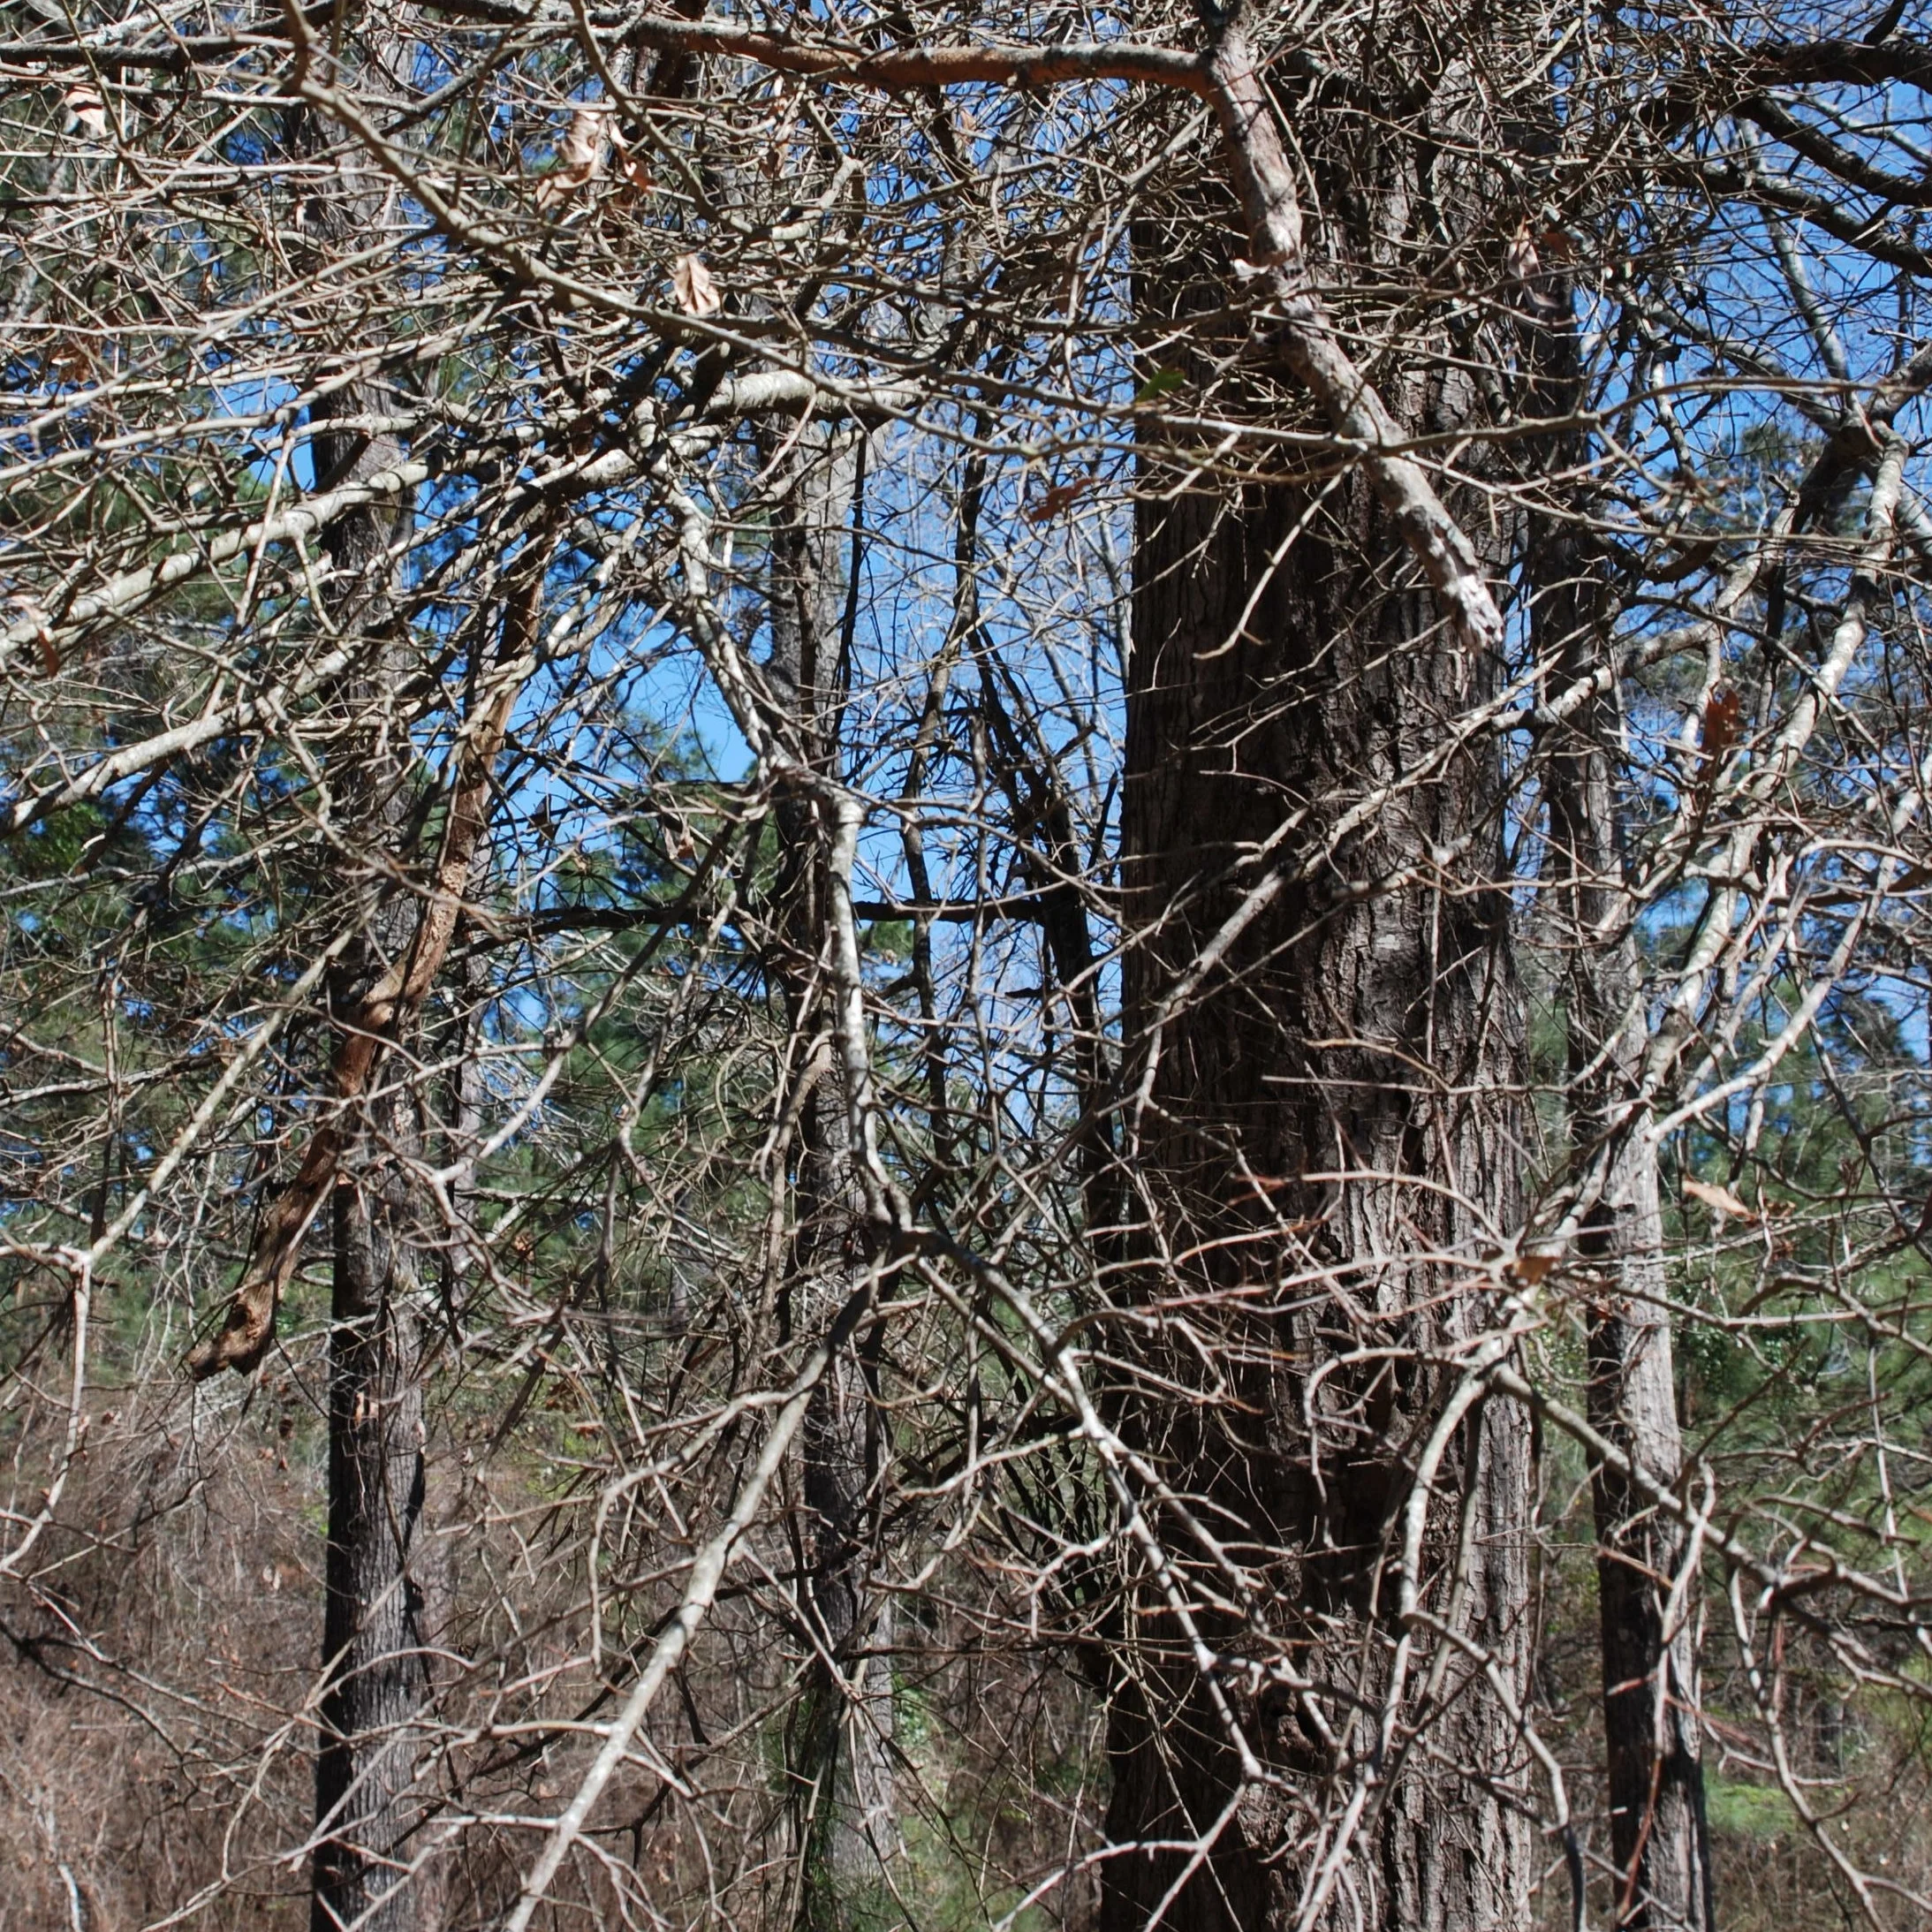
Find a sturdy, well-branched limb to make your tree

Step Two
Use your clippers to collect your branch

Step Three
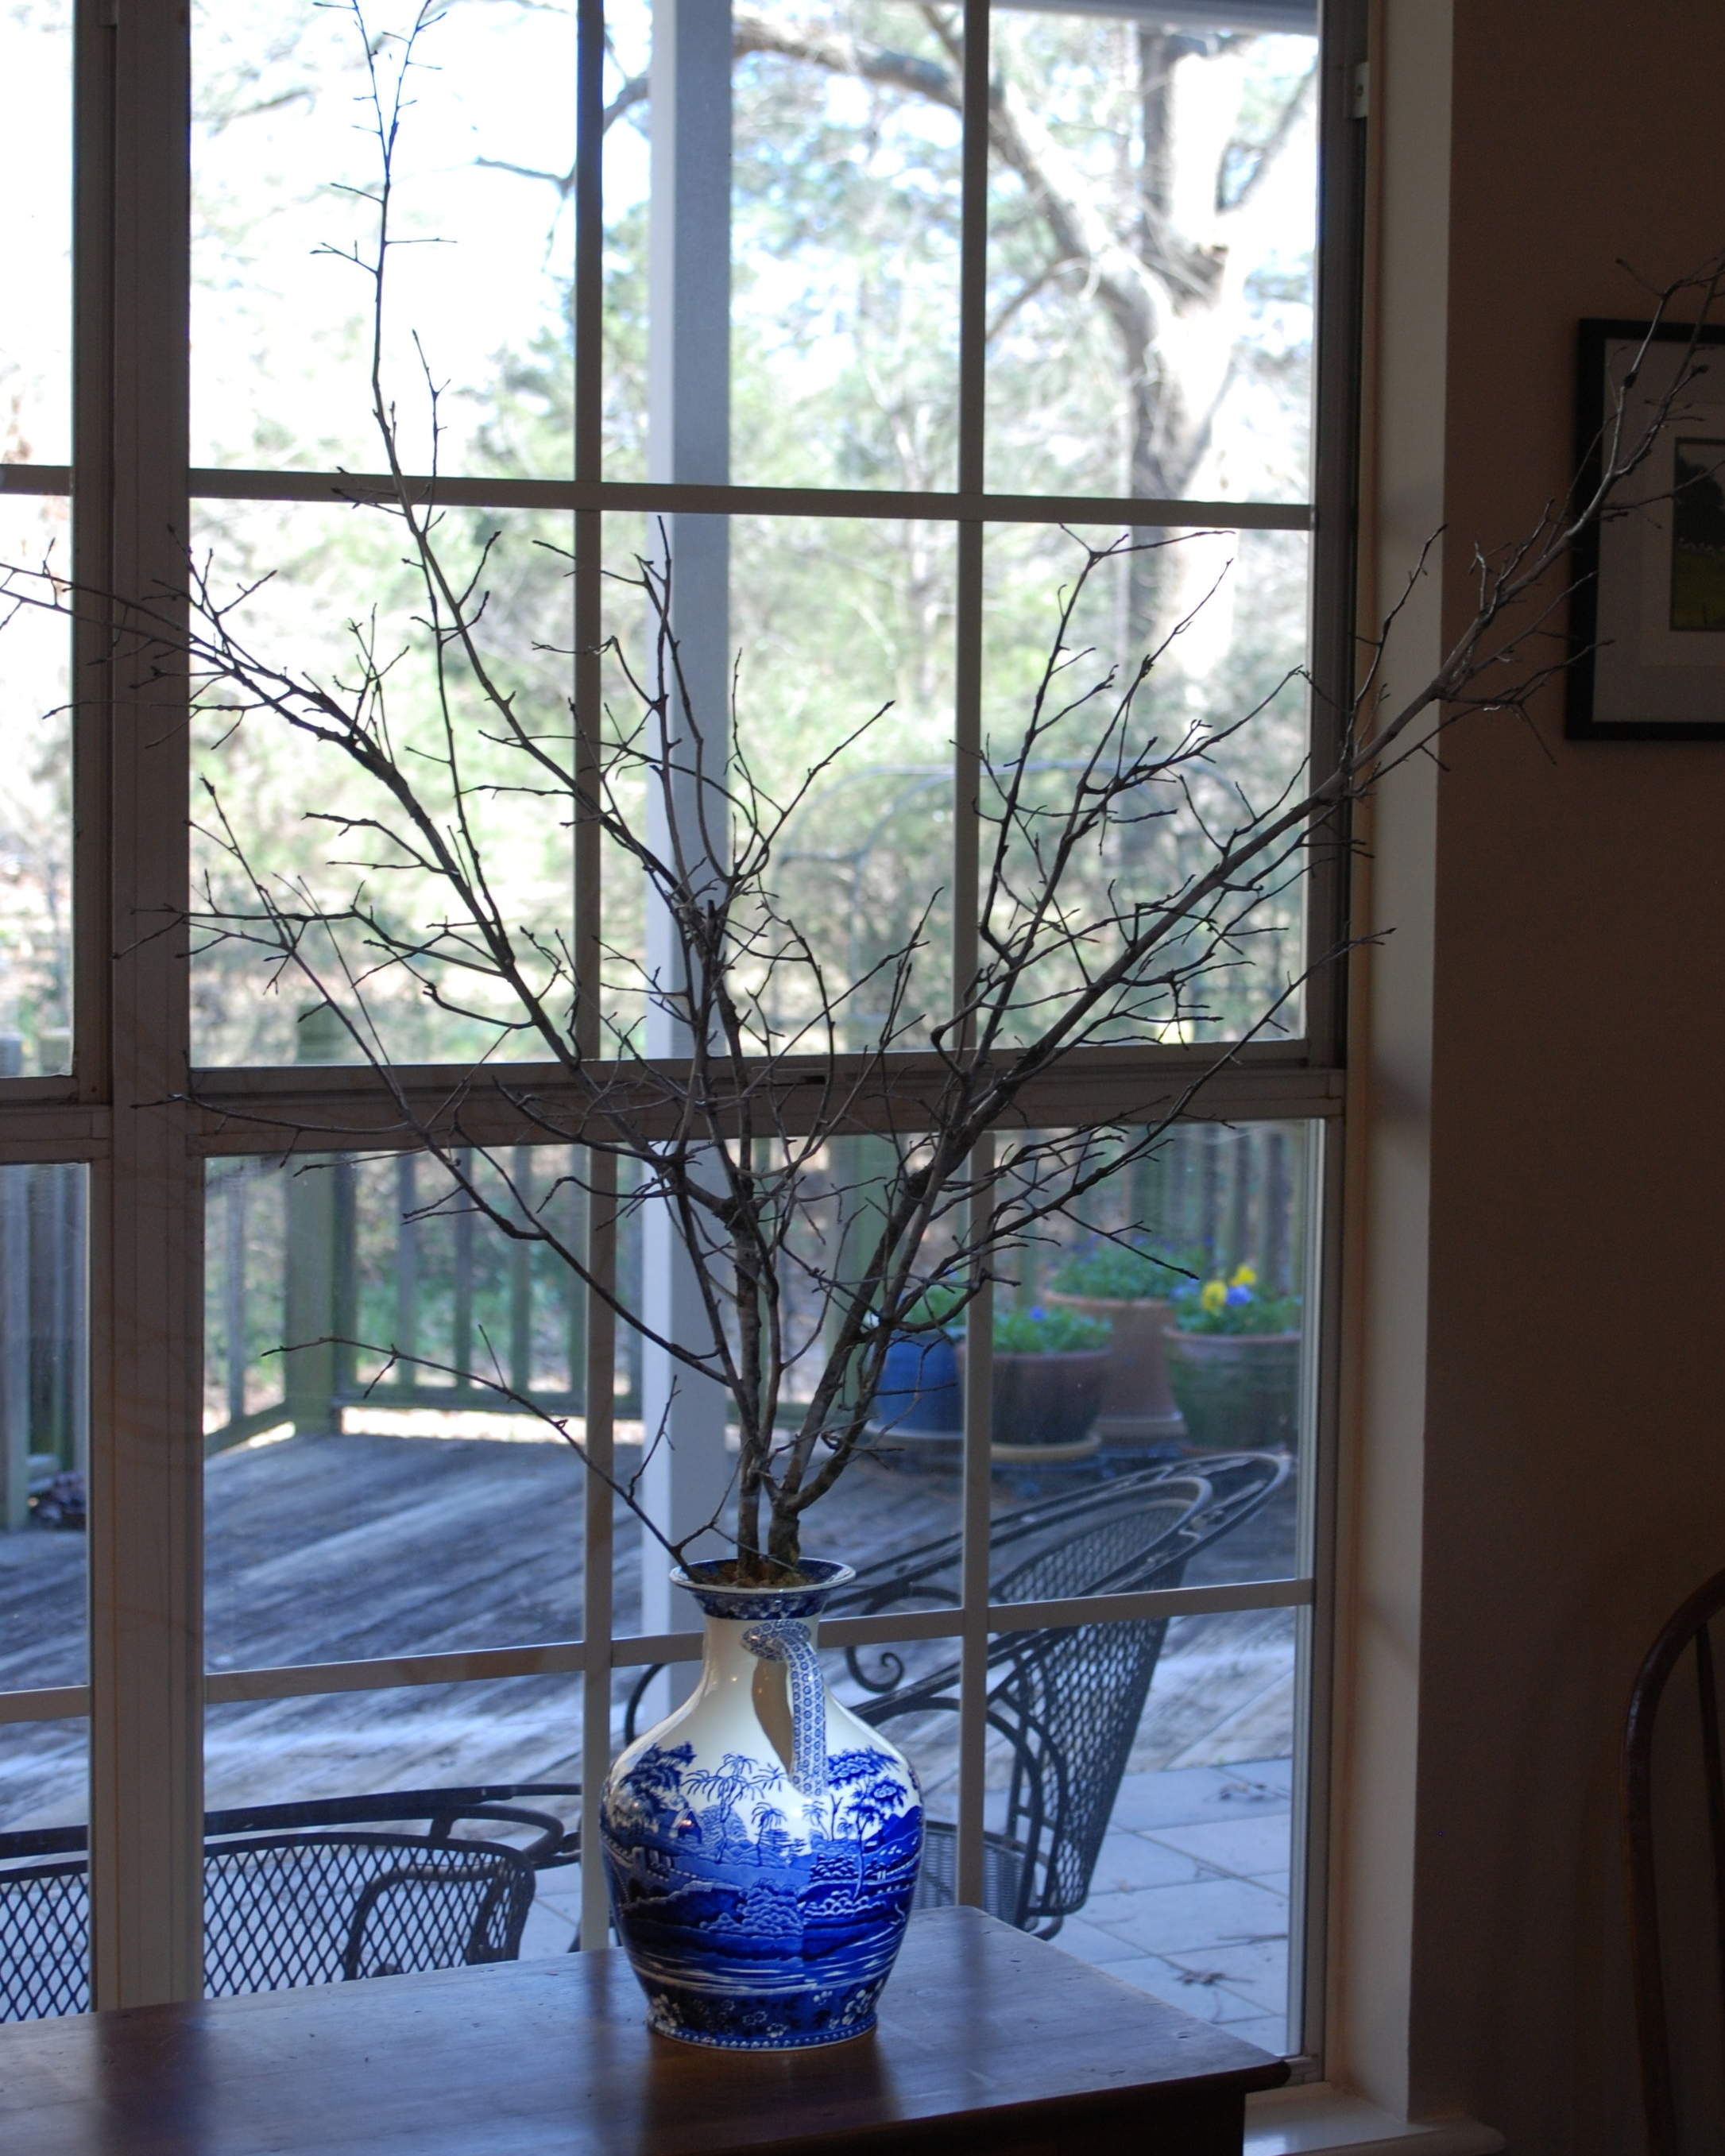
Place your vase in the trash bag; put the branch in the vase

Step Four
Fill the vase with sand to keep your "tree" sturdy

Step Five
Be sure the vase is covered with the trash bag and spray paint your "tree" (we used white spray paint)

Step Six
Let the "tree" dry for an hour before bringing it inside to decorate

Step Seven
Add your Easter/Spring themed decorations! 

Join Us Every Monday for Creativity Camp with Etsy Dallas

Summer has finally come again! The kids are out of school and excited about their relaxed routine, and spending more time with family and friends. To celebrate, we would like to officially invite you all to participate in a weekly project all Summer long! Each Monday, we will post a fun for all ages tutorial to help you put away the screens, learn something new, and make some memories. We can't wait to see your pics, so be sure to share with us on Instagram, @etsydallas #EDCreativityCamp.

To begin, let's get out our paint and brushes, and collect some smooth rocks to make some cutie painted rock family portraits! We found a bag of river rock at At Home, if you can't find some in nature.

IMG_4598.JPG

First, paint your rocks white so we have a solid base for your colored paints. 

IMG_4597.JPG

Once they have dried completely, take a sharpie to carefully draw the hairline and chin line. I used semi transparent acrylic paint. Choose or mix colors for your hair, skin, and clothing, and fill in those areas.

IMG_4596.JPG

Depending on what paint you use, the sharpie may show through, so be conscientious of your lines.  This is a great way to add visual texture to hair and clothing.

IMG_4595.JPG

Our rocks are starting to look familiar! Use a small brush or paint pens in white to create clothing details. Allow each side to dry before working on the other side.

IMG_4594.JPG

Use a fine tipped black paint pen, or liner brush and black paint to draw the eyes and mouth. If your family member has glasses or facial hair, paint it on next.  Use the back end of your paint brush to dot on tiny pink dots for the cheeks.

IMG_4593.JPG

Paint your rocks with a clear sealer, and place them in your front garden to enjoy for years to come.

Thanks for crafting with us! See you next week for another fun project!