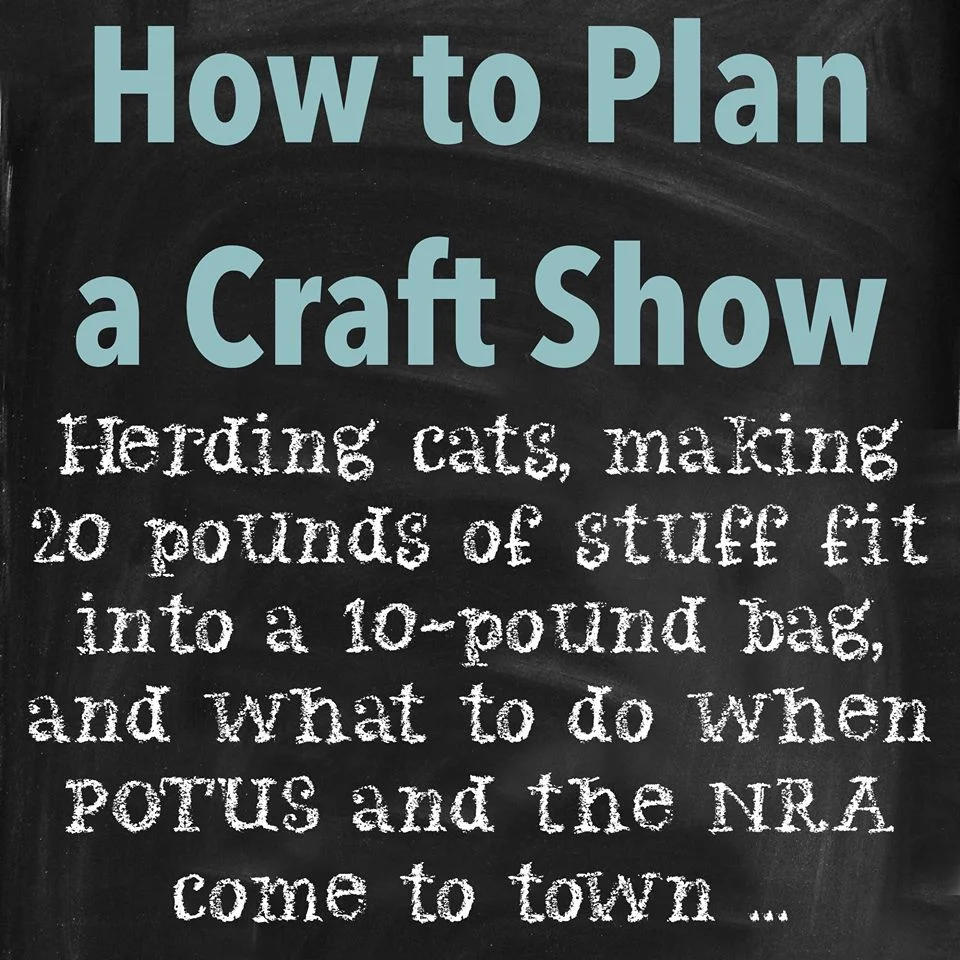
Have you ever wondered what happens between, “Hey, let's put together a craft show and call it the Spring Bash!” and “Whew, the Spring Bash is behind us now and I need a nap…”
The Etsy Dallas Bashes are a labor of love for all of us, so we thought it would be interesting to give you a glimpse of what goes into a show like the Spring Bash.
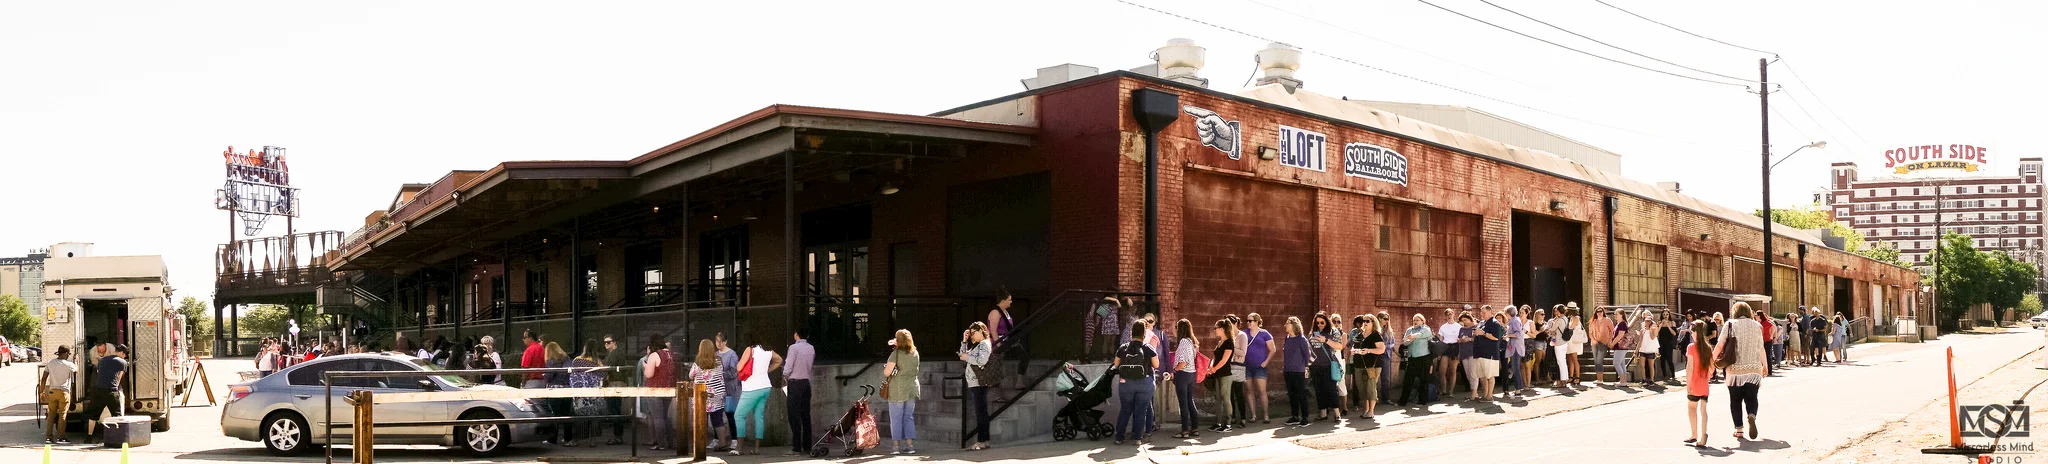
A line of shoppers wraps around Gilley's Dallas before doors open for the 2018 Spring Bash. The first shoppers arrived at 7 a.m. to wait in line for the event that started at 10:30 a.m. on May 5, 2018. Photos courtesy of Mirrorless Mind Studio for Etsy Dallas.
Let’s start by picking a date and a venue.
Venues book up way in advance, so in November as we prep for Jingle Bash, we have already been planning Spring Bash. We usually know where we want to be and when we want to do the show. Oh, but wait, Gilley’s isn’t available both dates we want (we need to book two days so we can set up), and the weekend before/after is Earth Day, Mother’s Day, or the same day as some other show that many of our vendors may want to do. Or, as happened with our 2018 Spring Bash, the NRA Convention came to town and POTUS would be coming in to speak. What would that do to traffic? You can't plan for everything!
After some back-and-forth about the venue and dates, we make a decision and put down our deposit. At this point it's time to start cheering. Yay! We can start telling people to save the date!
Shortly after the holidays, people start asking when the applications are going to come out for Spring Bash. Before we can put out the call for vendors, we need a rough budget. Yeah, Bash prep involves a fair amount of administration, accounting, and budgeting.
The budget looks something like this:
Cost of Bash $$$$$ = Venue $$$$$ + Ads $$$$ + Bash Bags $$$ + T-shirts $$$ + Lighting $$$$ + Printing $$$ + Marketing $$$ + Photographer $$$ + Deco $$$
Next we’ll see if we can get some sponsors lined up to offset some of the costs. Big Etsy sometimes sponsors the Jingle Bash, but we are on our own for Spring Bash. This is the time where we hit up our day jobs, friends, former sponsors, and anyone else who might want to sponsor the Bash.

The next question is, “Will that many vendors fit in our venue?” After some measuring and mock layouts, we're good to go.
Time to get some vendors.
We update the dates and info on the online application and make them live on the website. Applications come (hopefully) flooding in. Yay! But we can only take about 80 vendors and there are so many good ones to choose from. Boo!
It’s time to jury. Out of ~150 applications, we have to narrow it down to ~80. On top of that, we have to make sure there’s a good mix of product categories. Jewelry and home goods are 40% of the applications, so we have to make sure we have the right number of each category and that the one’s we pick are different enough from each other to make sure there is variety within the category as well. We just can't fit all the good shops in.
After a long day of deliberation, we get the vendors down to ~80 and now we need to see how many 10x10s and 8x6s are on our list. There are always more 10x10s requested than we can fit in our venue. A lot more. So we have to review all the vendors who requested 10x10 booths and narrow that down to the ~30 available 10x10 spots (imagine furniture vs jewelry type discussions). We’ve narrowed it down and have the final vendor list with the appropriate number of 10x10 booths. We celebrate with a glass of wine!
More administrative stuff happens.
During the next month or two we send and receive lots of emails about the Bash. Things like we need your logos, don’t forget to pay your invoice, remember to send your Bash Bag goodies in time, no really, we still need your logo, and so on.
We are also updating the Etsy Dallas website to add vendor and sponsor info and promote the Bash and deciding when Deco Party is and what we are going to make. Did I mention that we all have Etsy shops, children, and/or day jobs too… It’s ok, we can sleep again after the Bash.
Time to get the food trucks lined up. What about coffee… that's right, we can't serve food or drinks inside because it's Gilleys. But we can have donuts, right? Yep! Mmm donuts…
There’s also a lot of marketing collateral and graphics to create now. Every ad website wants a different size graphic. Plus flyers, postcards, Bash Bag art, t-shirt art, Facebook frames, Snapchat filters, sharable images for Instagram, Facebook, Twitter, etc., parking passes, Bash Bucks, banners, maps, and more.
Whew…
Where's my booth?
If you have ever planned a wedding reception where your aunt Jo can't sit next to your Aunt Jane, your friend can't sit next to your other friend because she stole her boyfriend in high school, and this side of the family can't be in the same side of the room at the other side of the family because of that thing Uncle Bob did in '82, then you know what planning the Bash booth layout is like. Except instead of family, it's product categories.
We work hard to keep like products away from each other in the booth layout. This is harder than it sounds because we have to consider the booth sizes and products, then sometimes shops drop out, but the next shop on the waiting list sells the same product category as the booth next to the one that dropped, so now a couple people have to move around to make it work.
The day before. It's almost here!
We made it through all the planning and now we are just 1 day from the Bash. Woohoo? We show up the morning the day before and… umm, was that column there in the floor plans? Wasn't this a door last year? Welcome to the chalk game we call booth marking.
Ok, we got this. Move this booth here and those a few feet to the right, a couple more moves and we're good to go. Booths marked, signage up. We have 12 hours before Bash day load in. We are so ahead of schedule.

Bash Day! Bash Yay!
Back to the venue bright and early. I know it seems like we are yelling, "Unload on the curb and move your car" a lot, but we have to keep this traffic flow going. We've got to get about 30 shops an hour to load in. About 6 cars line up on the curb at Gilley's, that only gives us about 10 minutes per car.
By this time, the volunteers are running around, people are in line for the Bash Bags, and you can feel the excitement. It's time to have a great show!


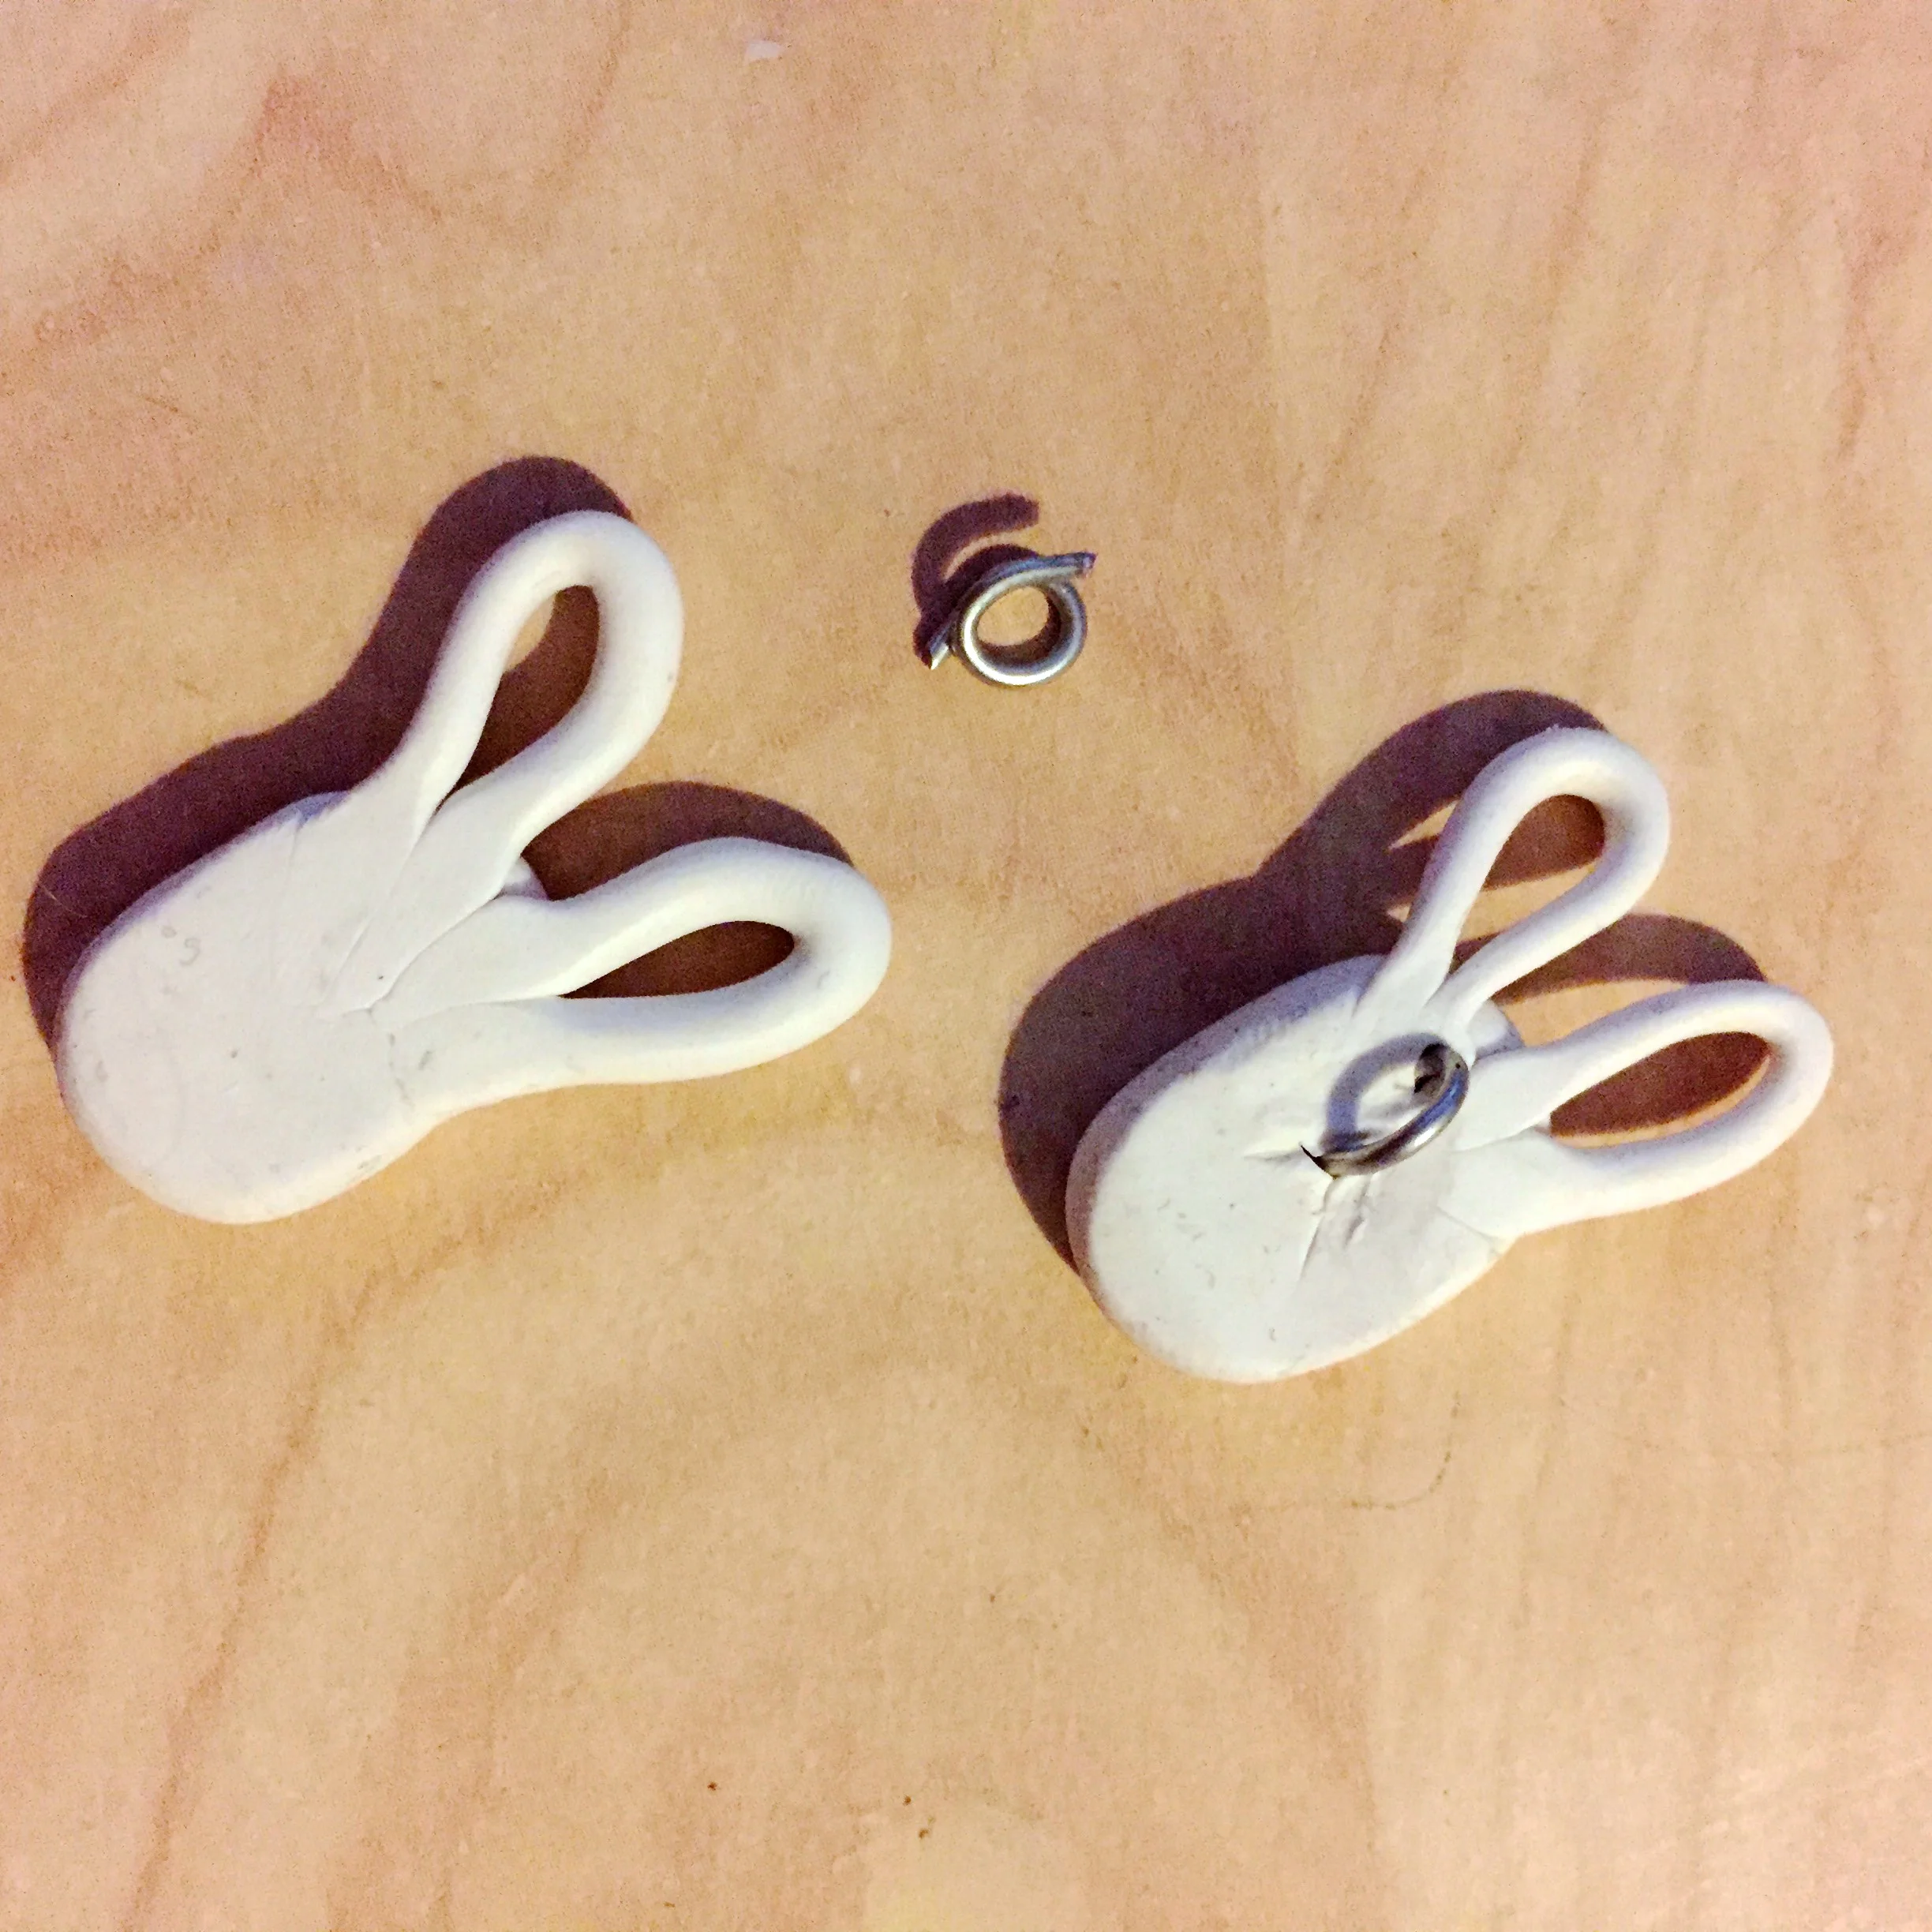


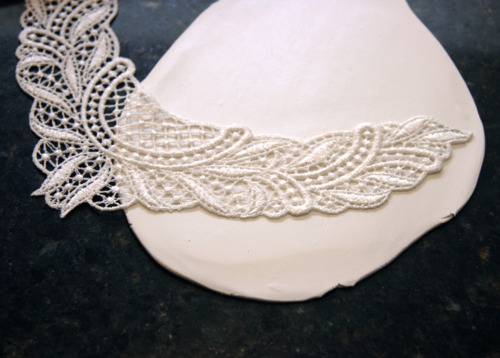
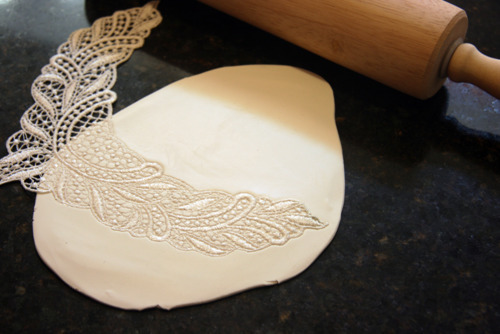
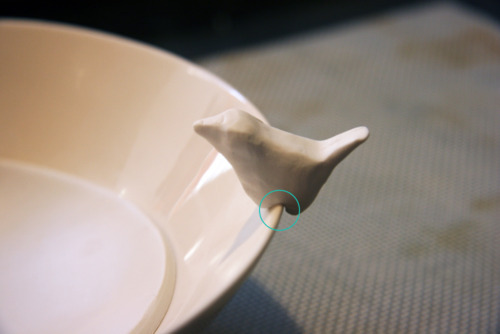
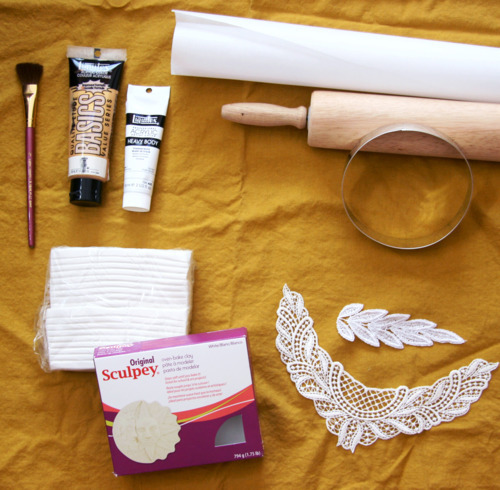 -Sculpey clay (I got this at JoAnn Fabrics)