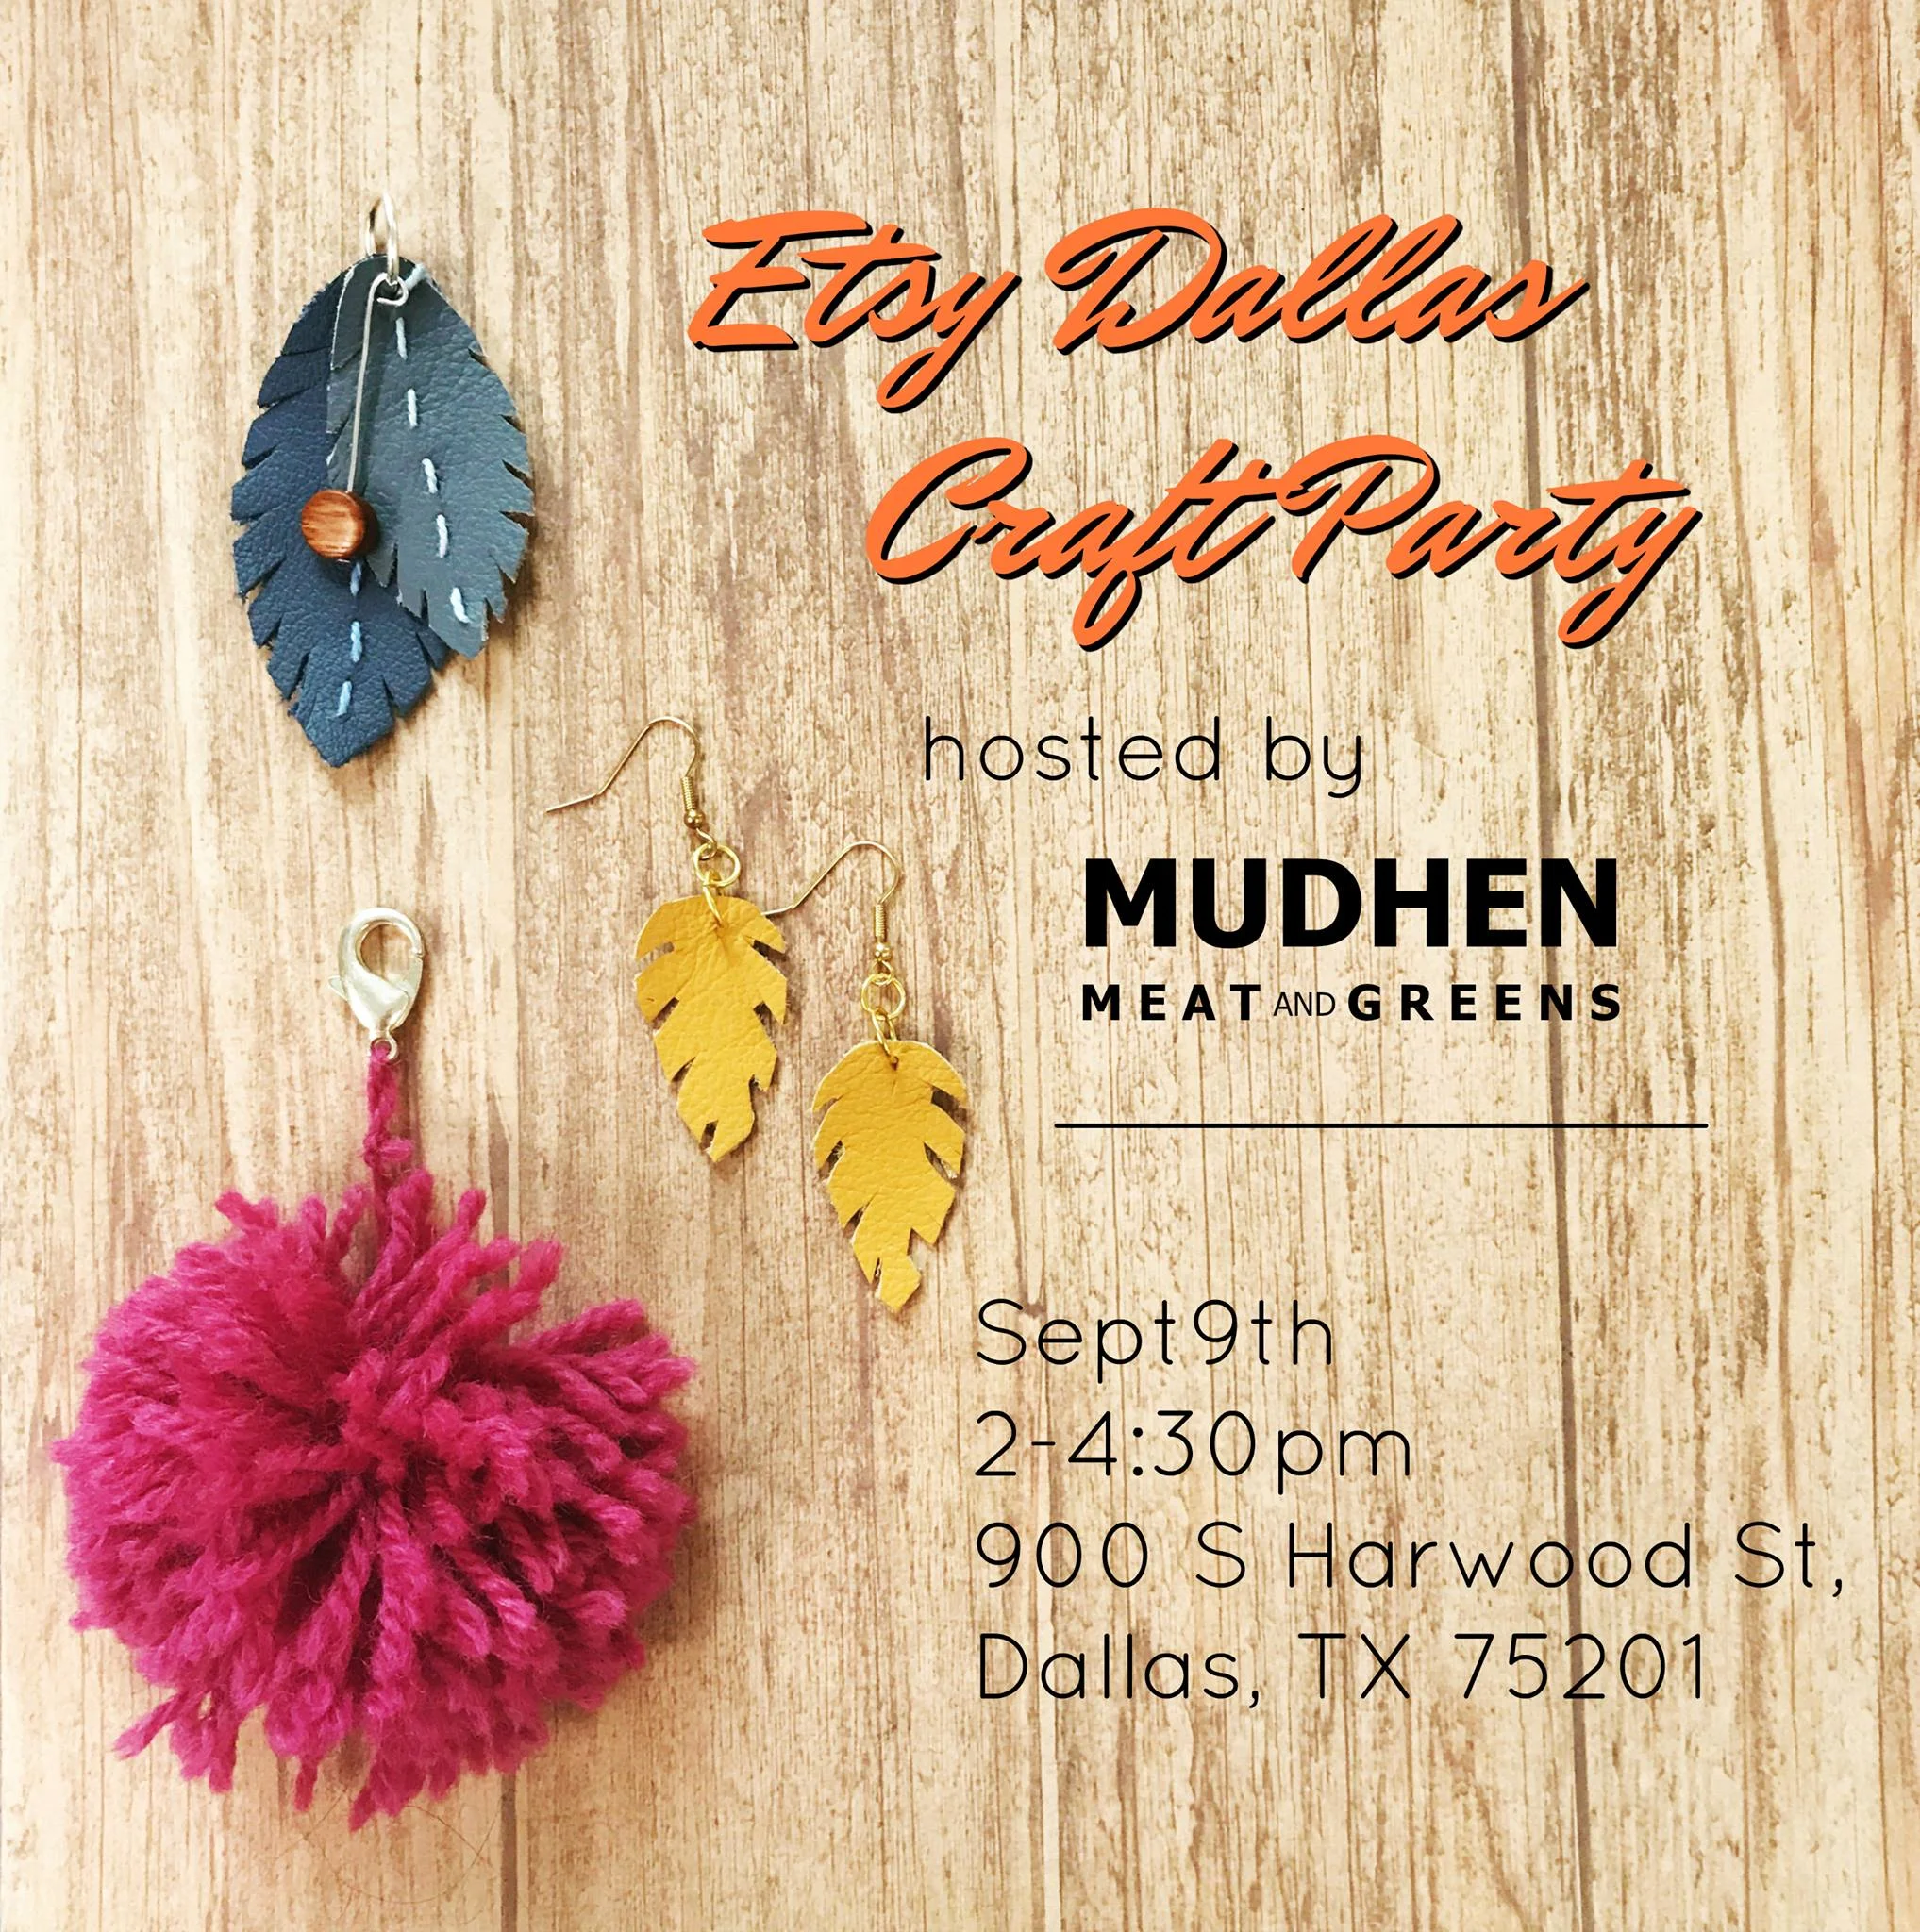
We hope you can make it over to Mudhen Meat and Greens from 2 - 4:30 p.m. this Saturday, Sept. 9. The annual Etsy Dallas Craft Party features pendants, pompom keychains and leather earrings this year. It's going to be a fun afternoon. And it's free! Let us know you are coming on the Etsy Dallas Craft Party Facebook Event Page. See you this weekend!
Don't miss these Labor Day sales from a few of our Etsy Dallas shops
Don't miss out on these Labor Day deals from some of our favorite Etsy Dallas shops. Here's wishing you all a fun and safe long weekend.

Expressions Bracelets - 20% off all hand-stamped jewelry. No coupon needed.

Custom maps - 20% off. No coupon needed.
Mesa Blue Jewelry - Free shipping on all orders over $75. Code: FREESHIP
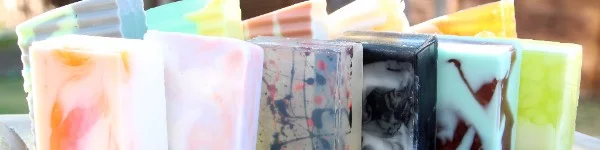
The Pig and the Peacock Soaps & More - 20% off. No coupon needed.
Wandering Paper Co. - 30% off with code LABORDAY
Whipped Up Wonderful Bath Bombs - 20% storewide sale. No coupon needed.
P.S. Our newsletter subscribers got the scoop about these deals first. *hint hint*
DIY sugar skull tutorial
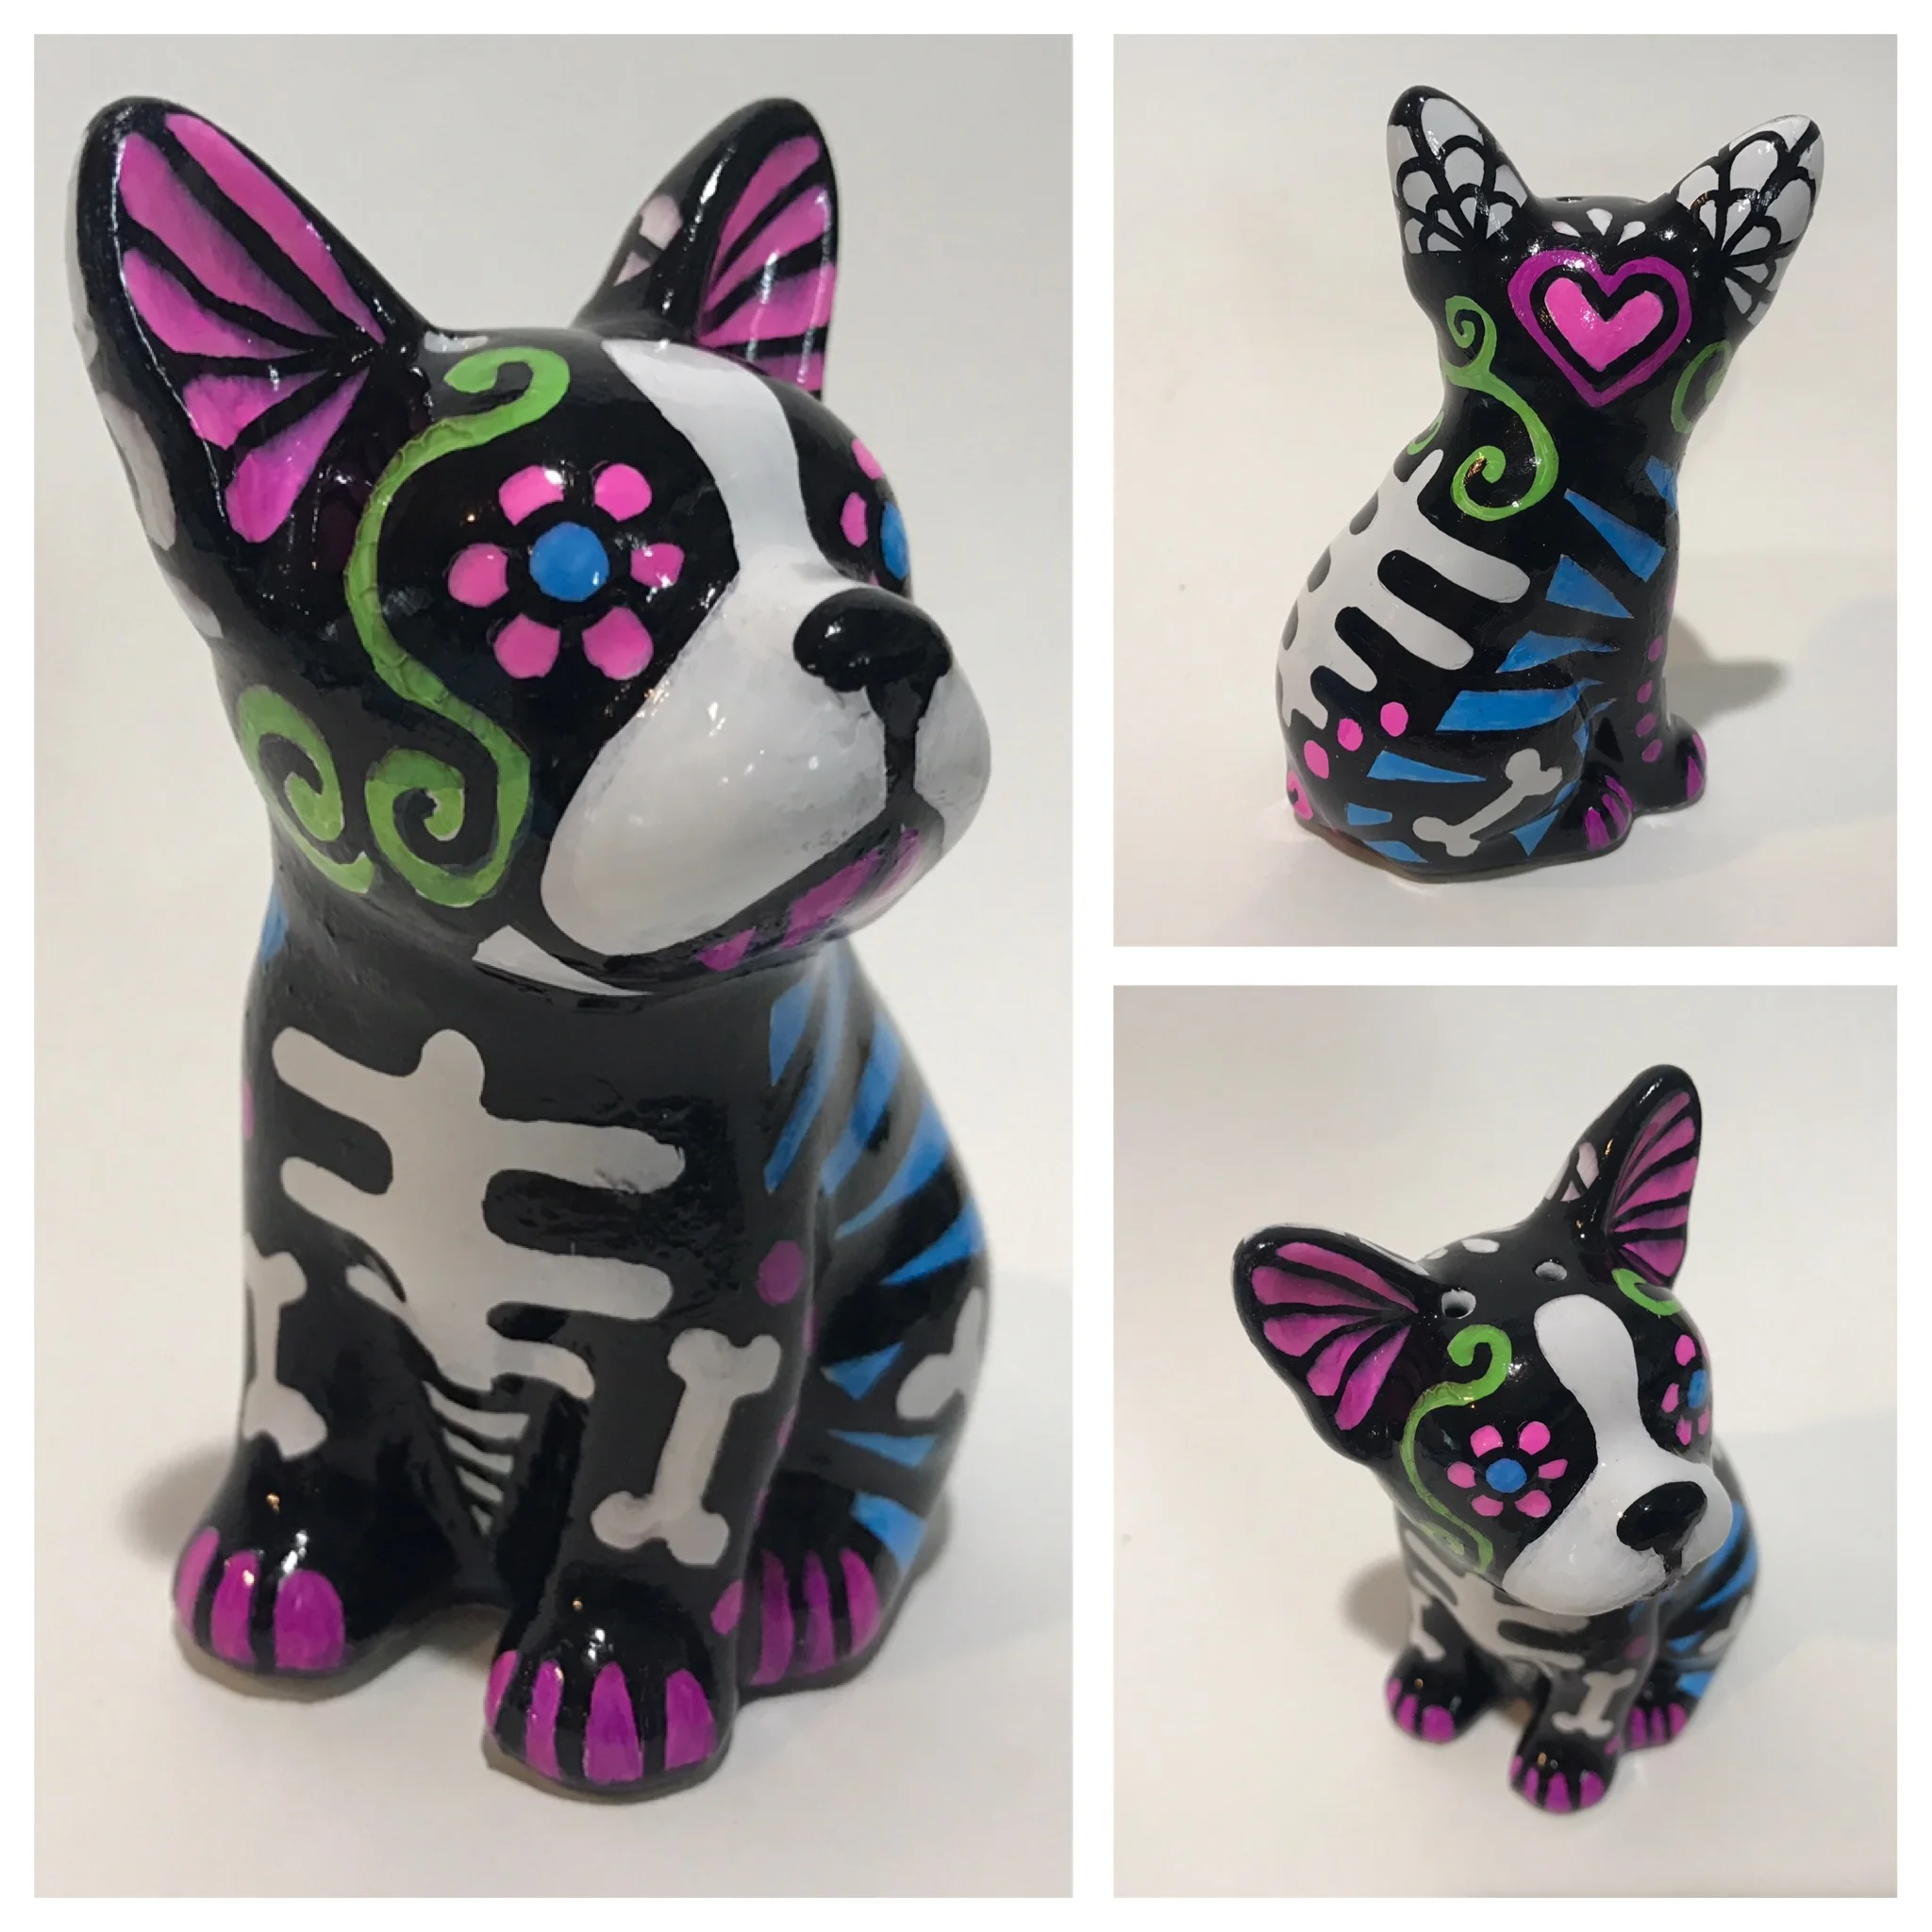
We love this sugar skull DIY from Emily of MushTushy. We are excited to share this with you in time for fall, Halloween and Dia de los Muertos. This tutorial is so fun.
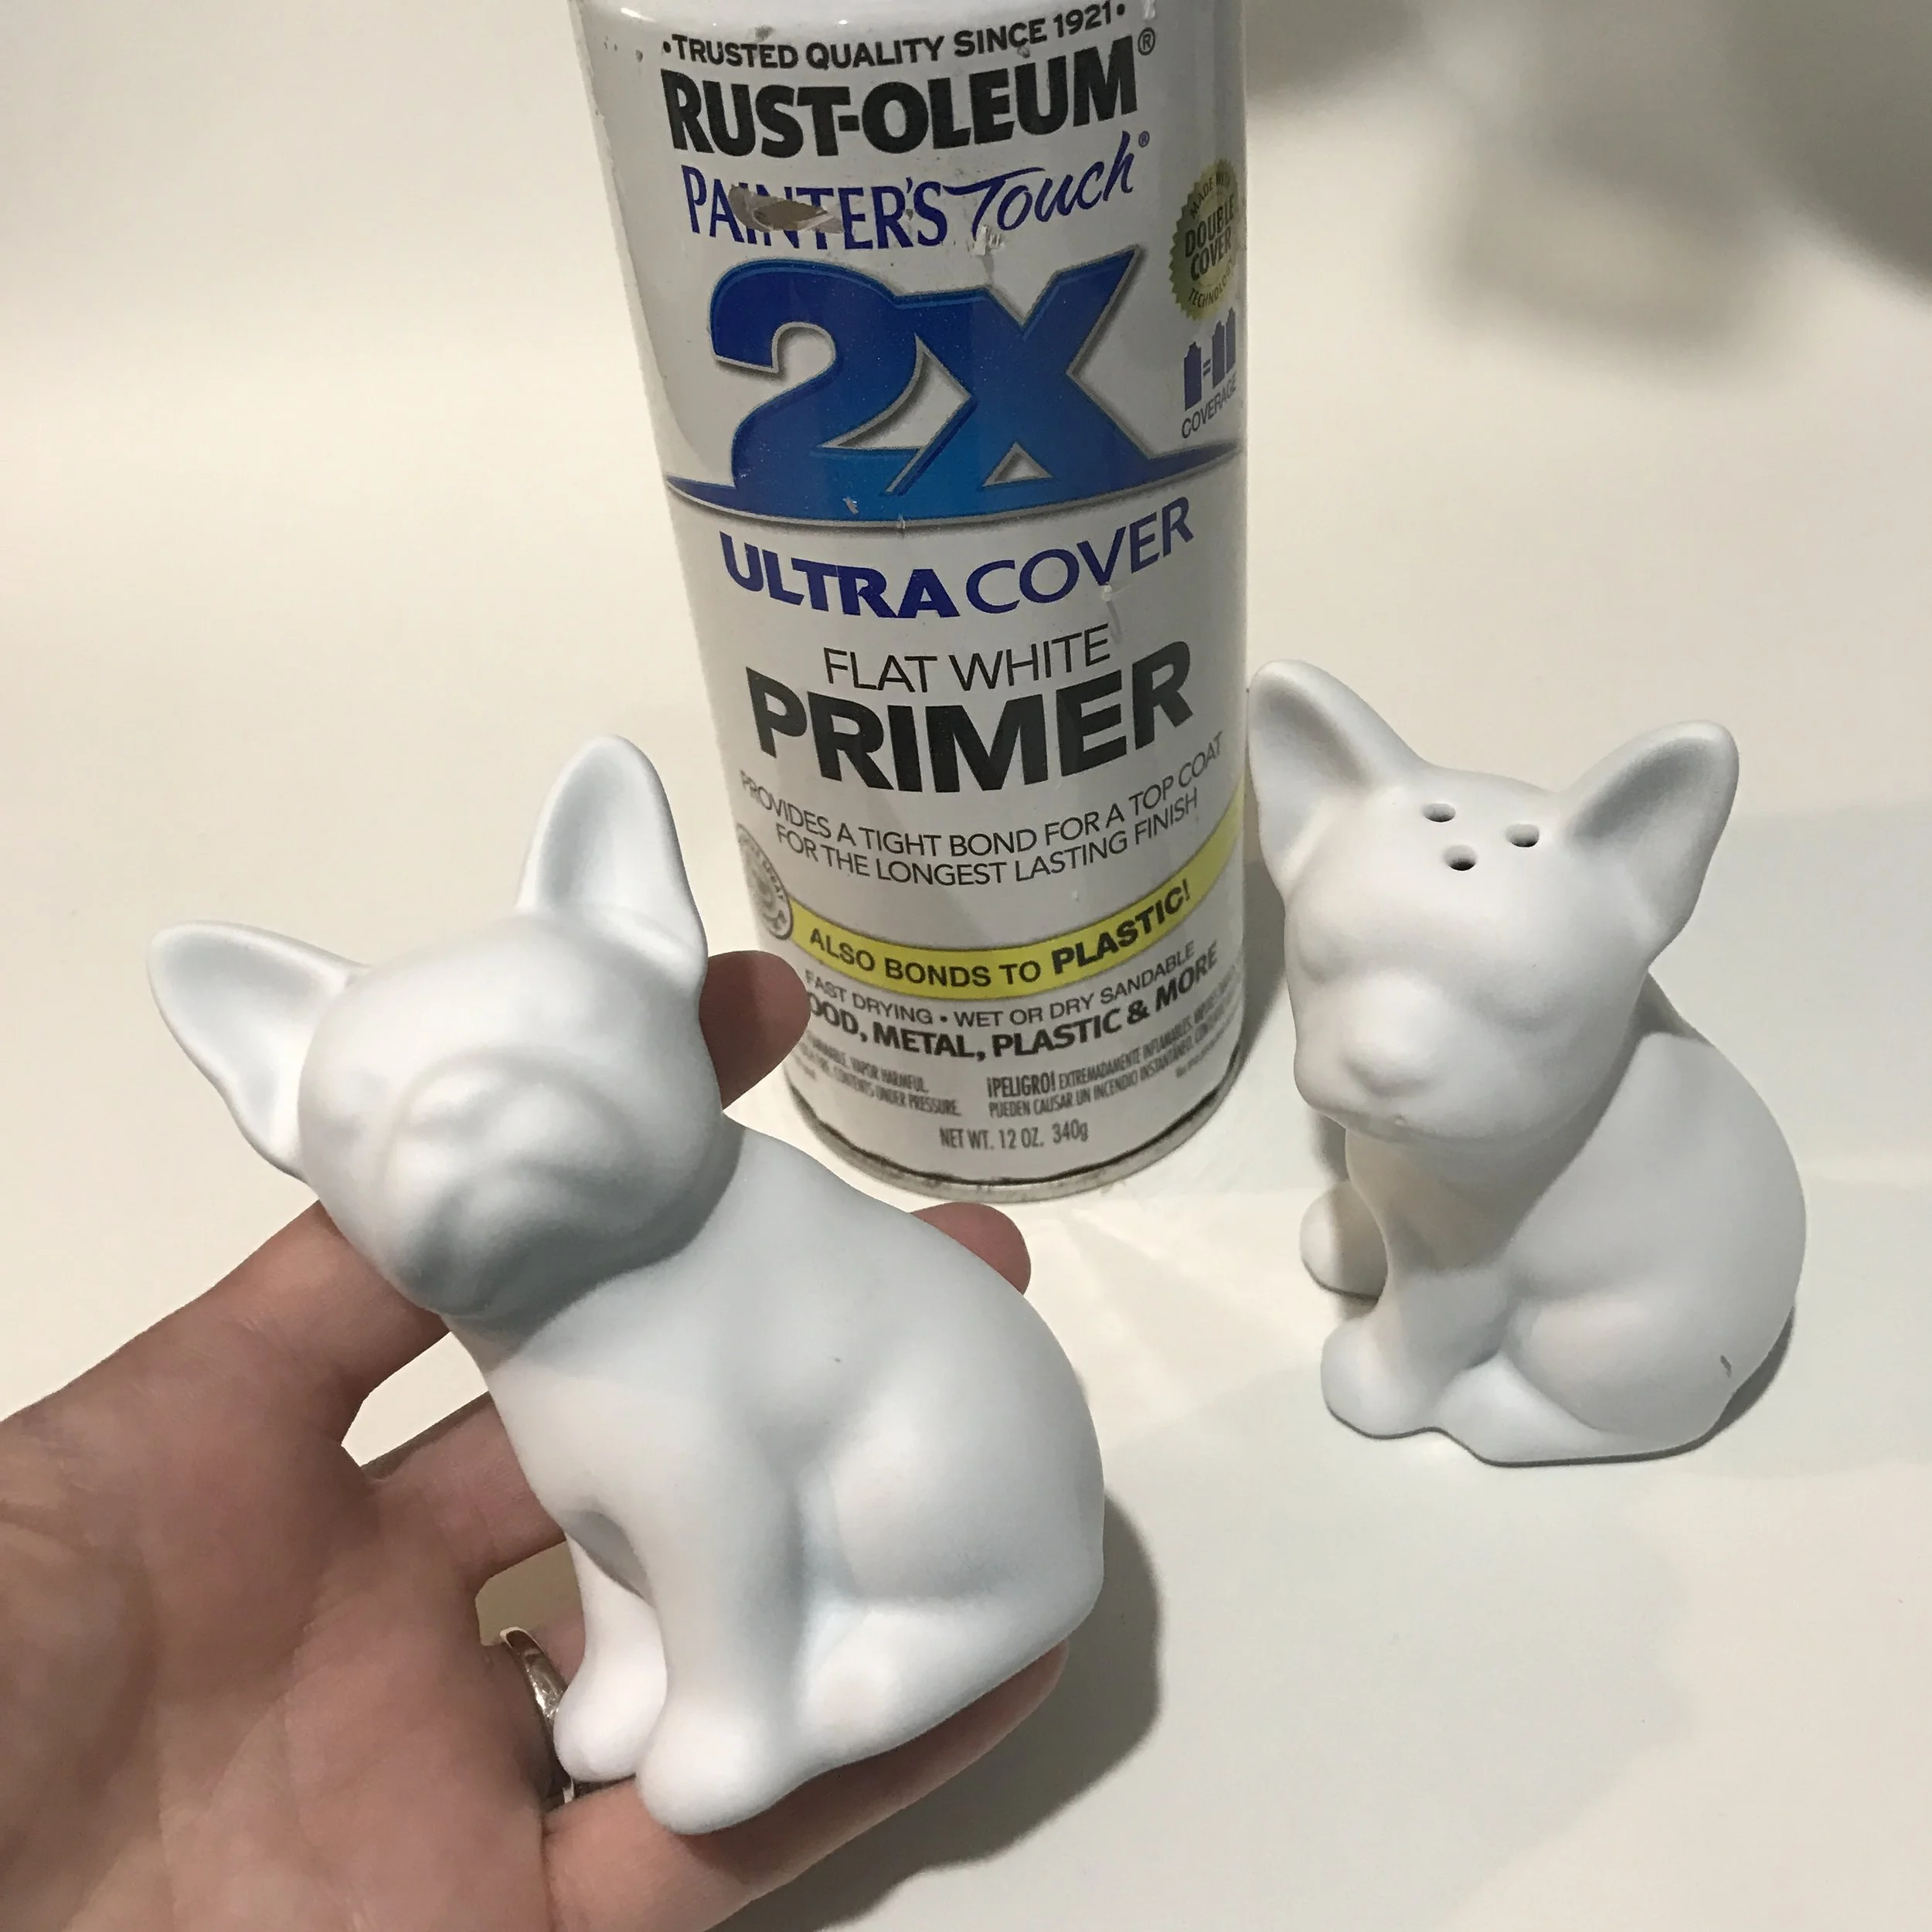
The cool thing about this project is that you can pick anything to paint, whether you want to use a piggy bank, an animal statue or even salt and pepper shakers such as the ones we used here. The options are limitless. For this tutorial, I bought little ceramic salt and pepper shakers from Target for $3 each. The only other supplies you will need are:
- paint pens (my personal favorites are fine point Sharpie oil based ones from Michael's or JoAnn's; be sure to use your coupons too!)
- flat white spray paint primer (my favorite is Rustoleum painters touch 2x cover from Walmart or Home Depot)
- pencil/eraser
- gloss varnish (my favorite is Liquitex gloss medium and varnish from JoAnn's)
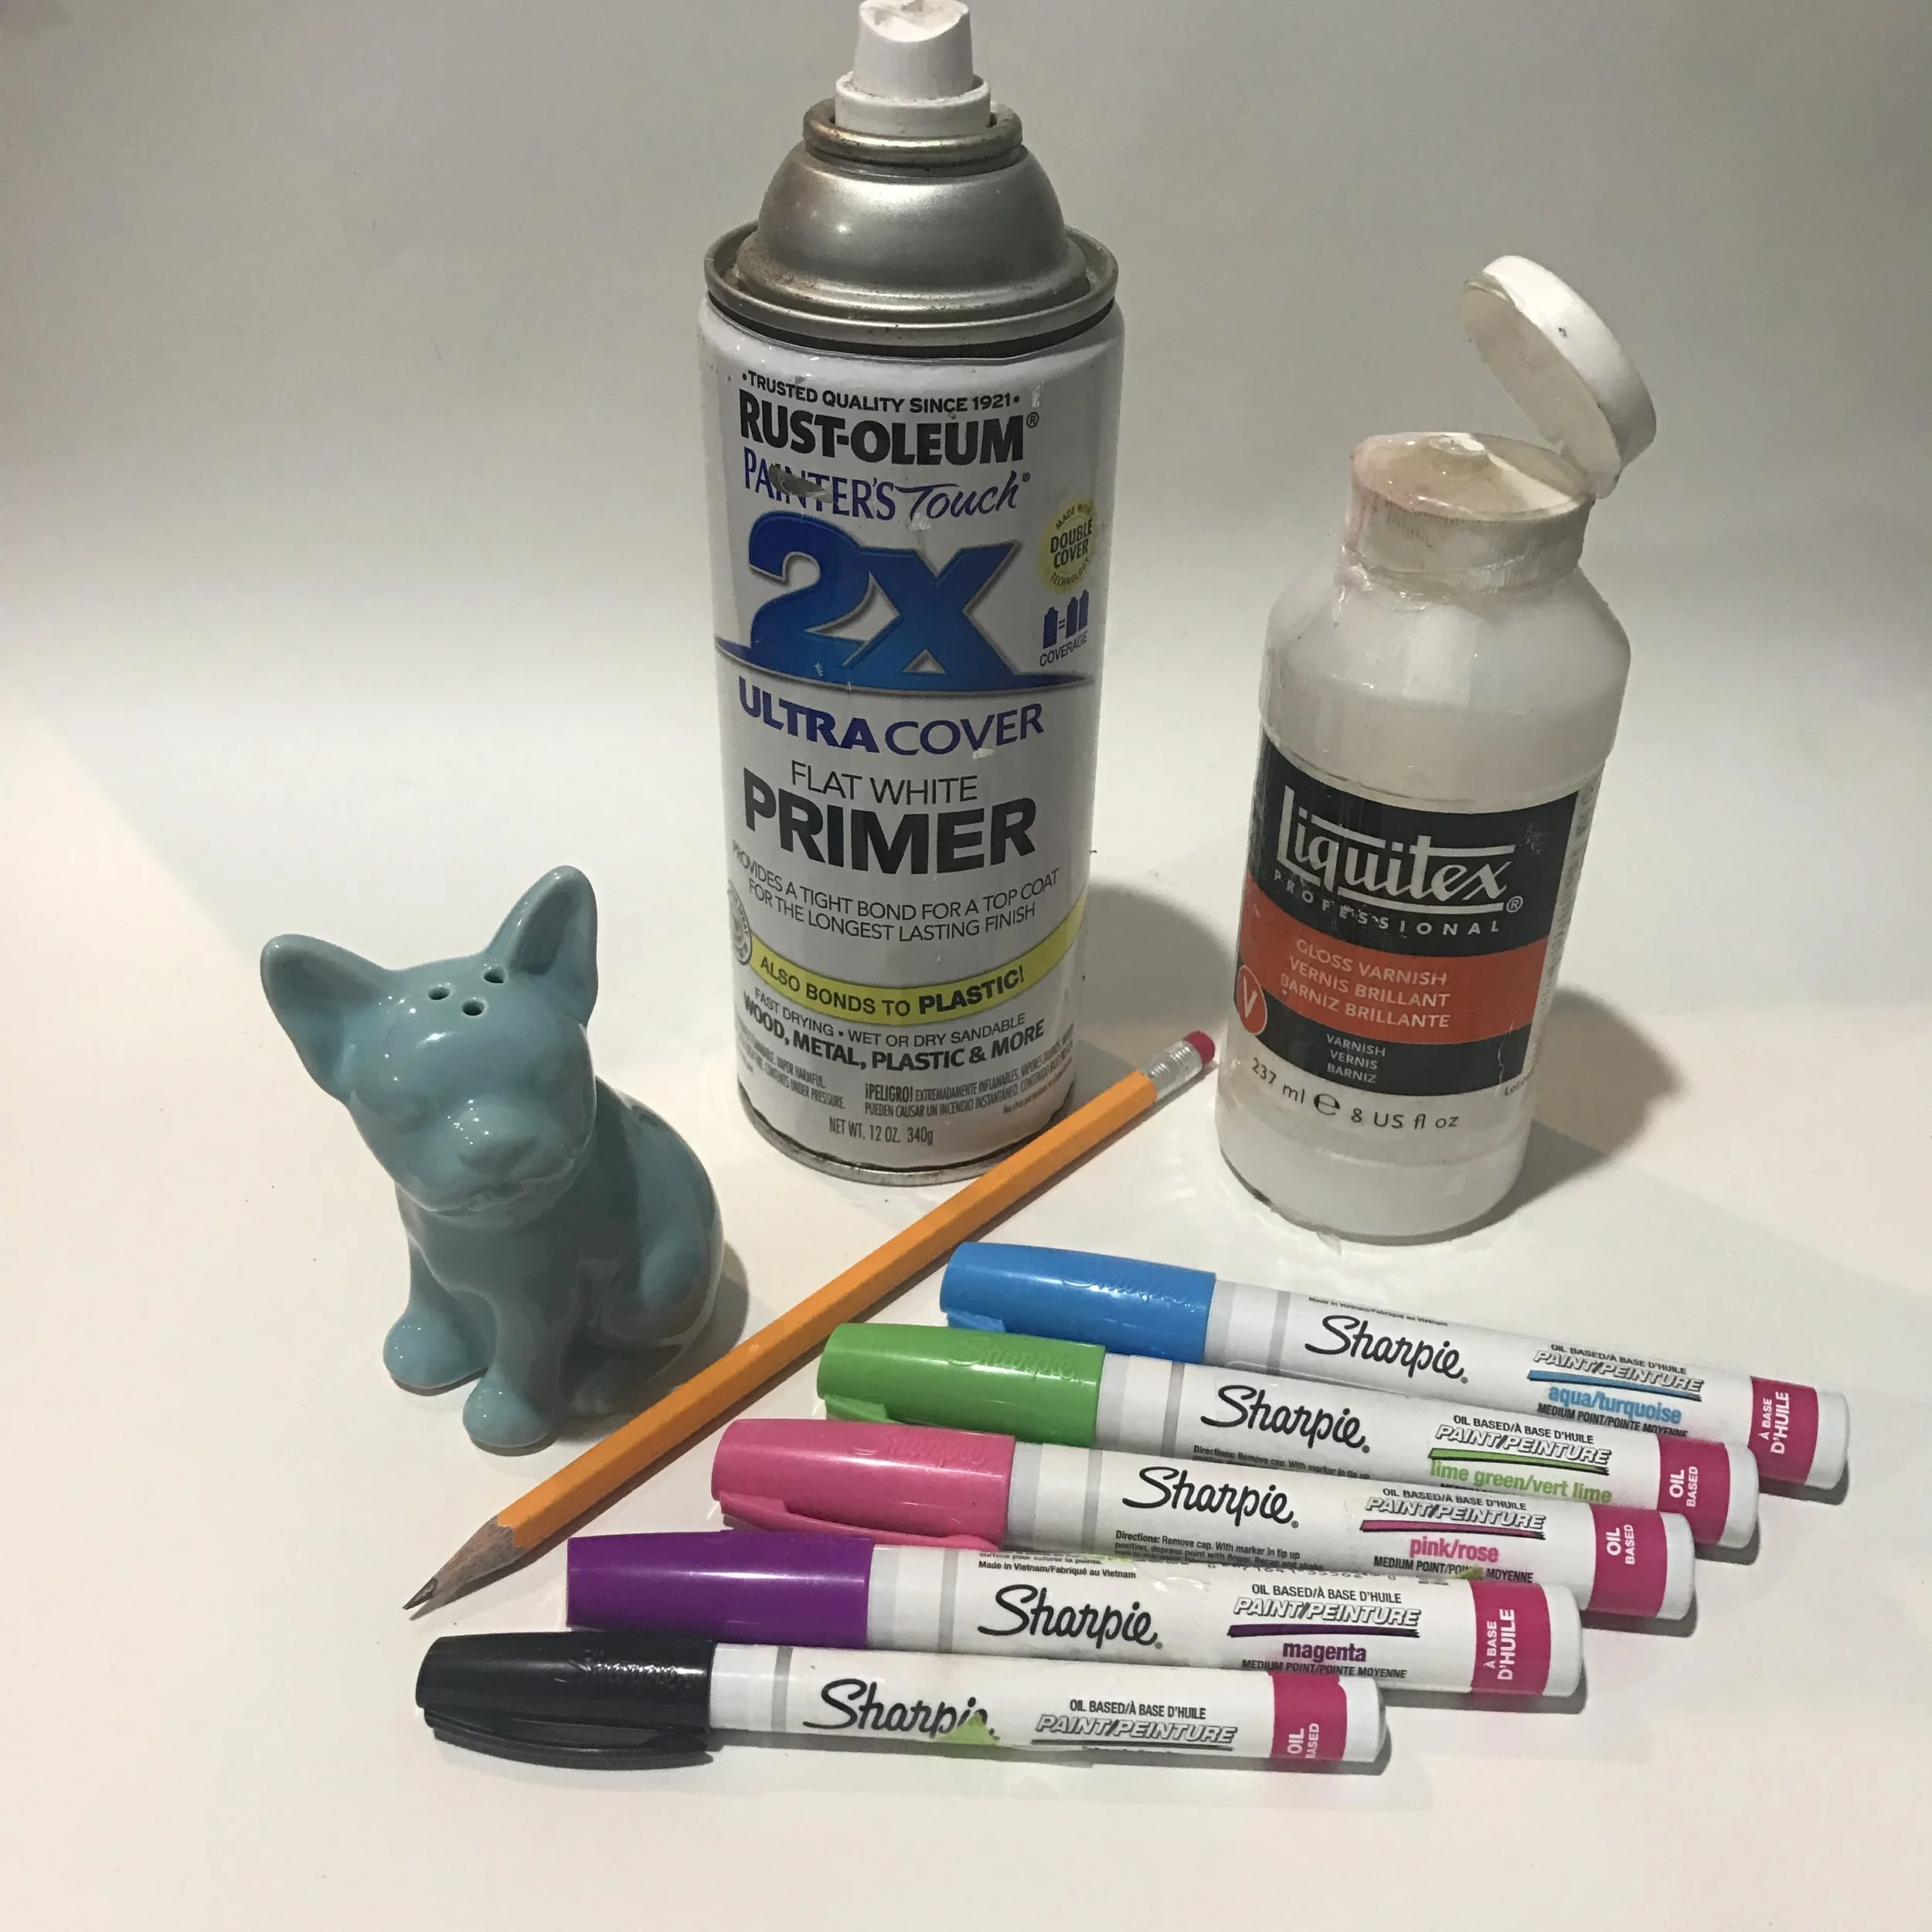
I always suggest priming your store-bought statues in order to get the paint to properly adhere. So even if you have a white object, be sure to prime it first, unless it's flat matte white. Be sure to use one thin coat in order to avoid drips, peeling paint and longer dry time. I always try to wait at least a few hours or even overnight before attempting the next steps.
Once your statue is dry, you can begin drawing your shapes and patterns. The only part I draw on is anything that I want to stay white. For example, for sugar skull patterns with bones, I outline the bones. If you feel more comfortable drawing out your entire design, feel free to do so. But remember the pencil will likely show through your lighter paint colors. Pencil can be erased from the primed surface, so don't be afraid to experiment with designs before using the paint pens.
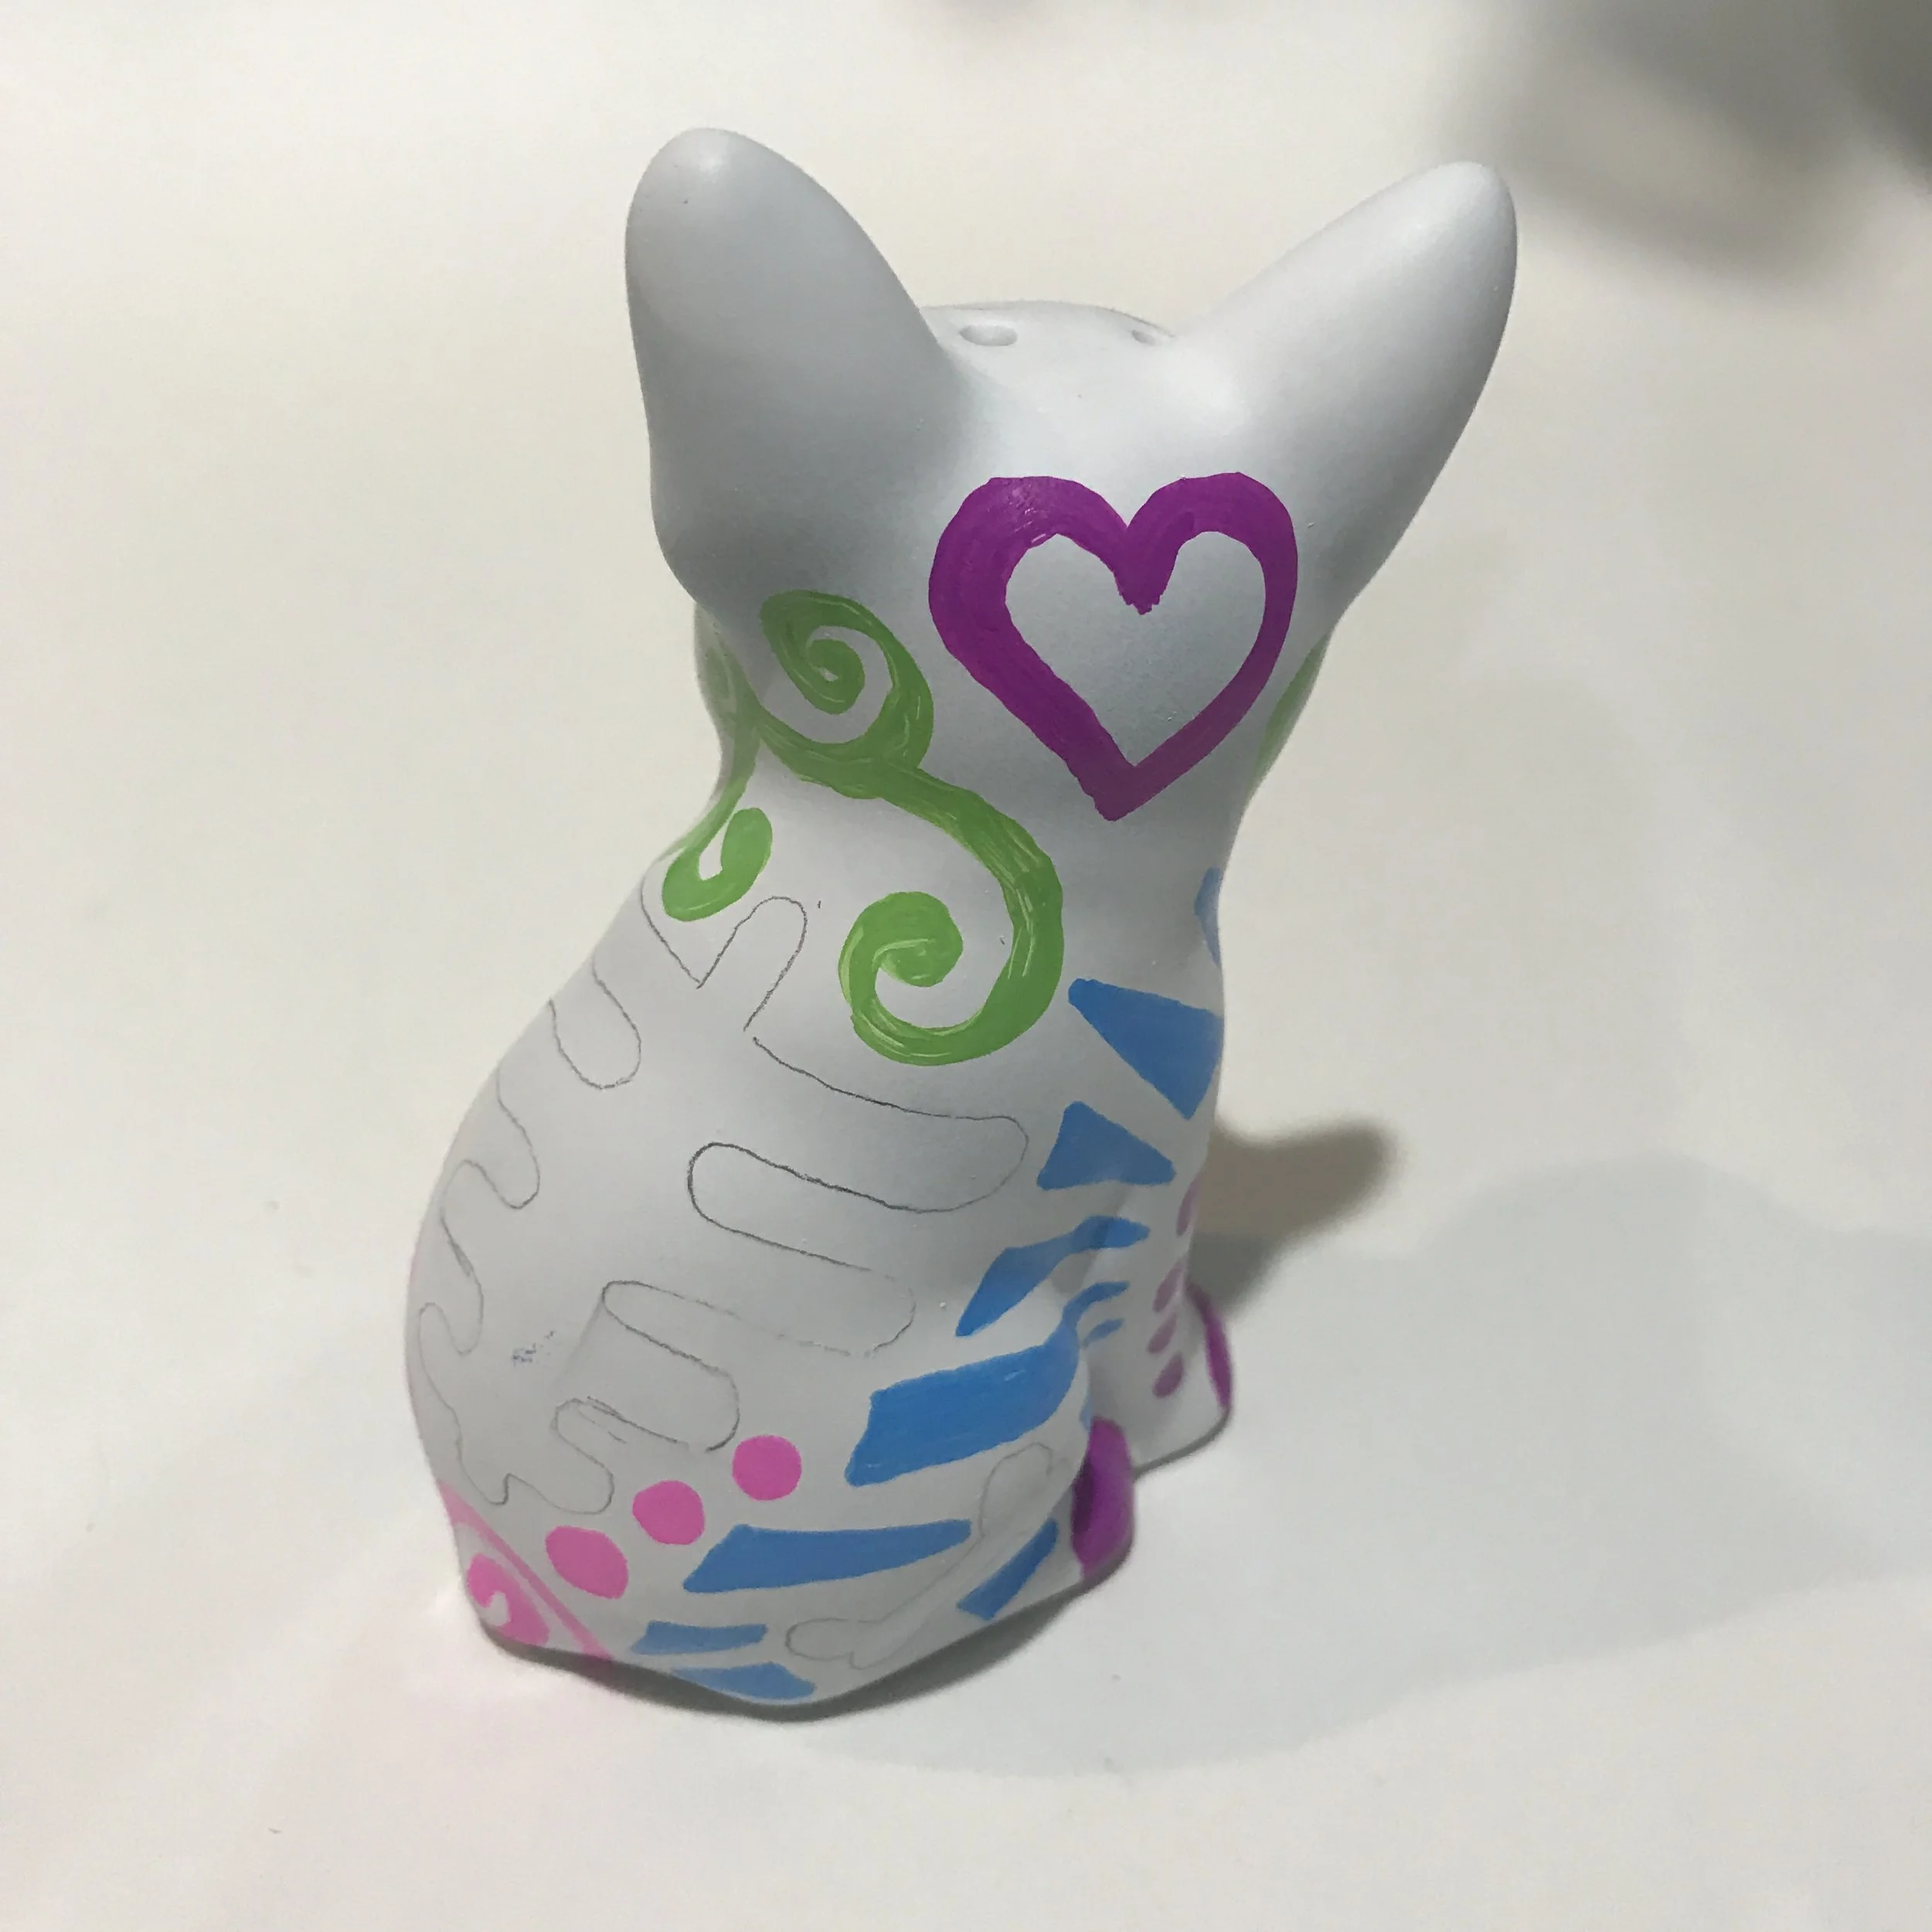
Look up sugar skull designs, henna patterns, mandala art or any patterns. You can even add words to customize your project. The options for decorating are only limited to your imagination. After I block in the white areas with pencil, I draw my patterns and shapes with the markers.
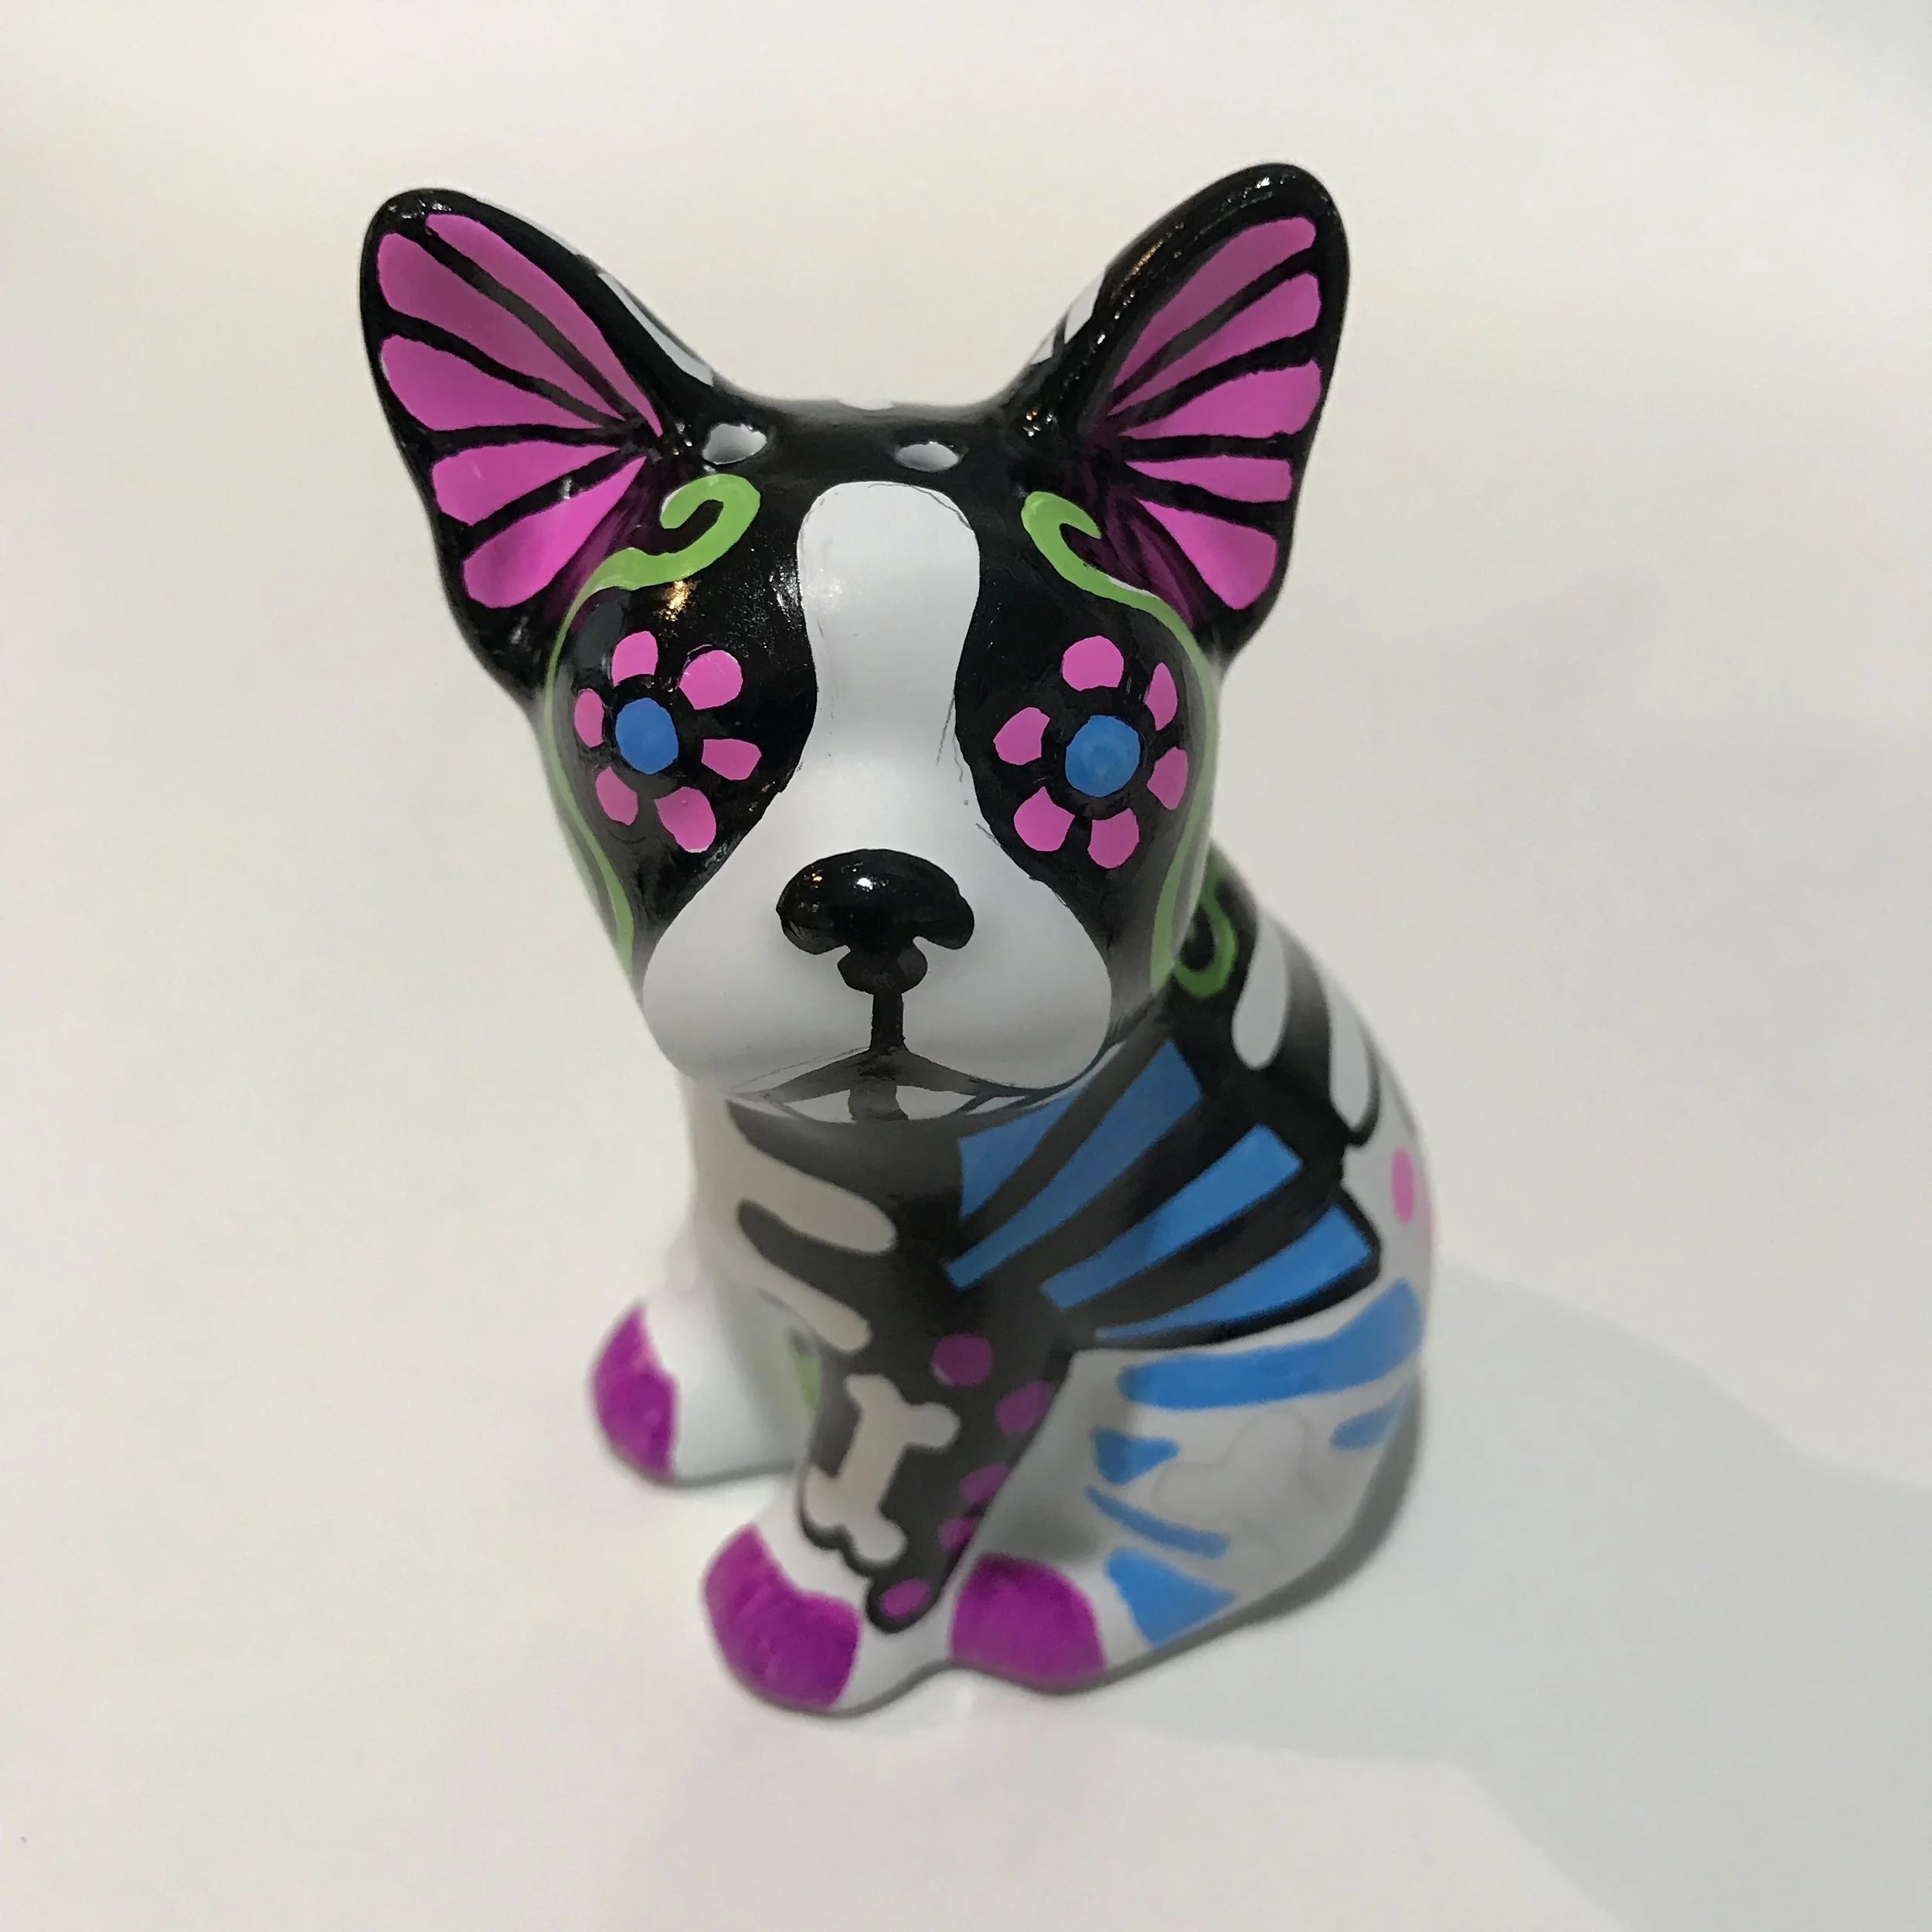
Once all your white is outlined and you've filled in the colors, the tedious work begins. Be sure to have a steady hand, and maybe don't attempt this after your 5th coffee of the day. Haha! Use the fine point black Sharpie and start outlining all the shapes with black, and then go back in with the thicker black Sharpie to fill in the remaining background. Once all the black is drawn on, touch up any color areas that have white splotches and then brush on the clear varnish. Don't put it on too thick and don't brush repeatedly in the same areas or color can pull off and the clear may dry a cloudy white.
After it dries, you have your beautiful hand-painted statue ready for display on your mantle, desk, entryway, etc. I hope you have enjoyed this tutorial. Please feel free to follow me on Instagram and share photos of your completed projects!
Etsy Dallas teams with NorthPark Center for 4th annual Crafts for Crayons event
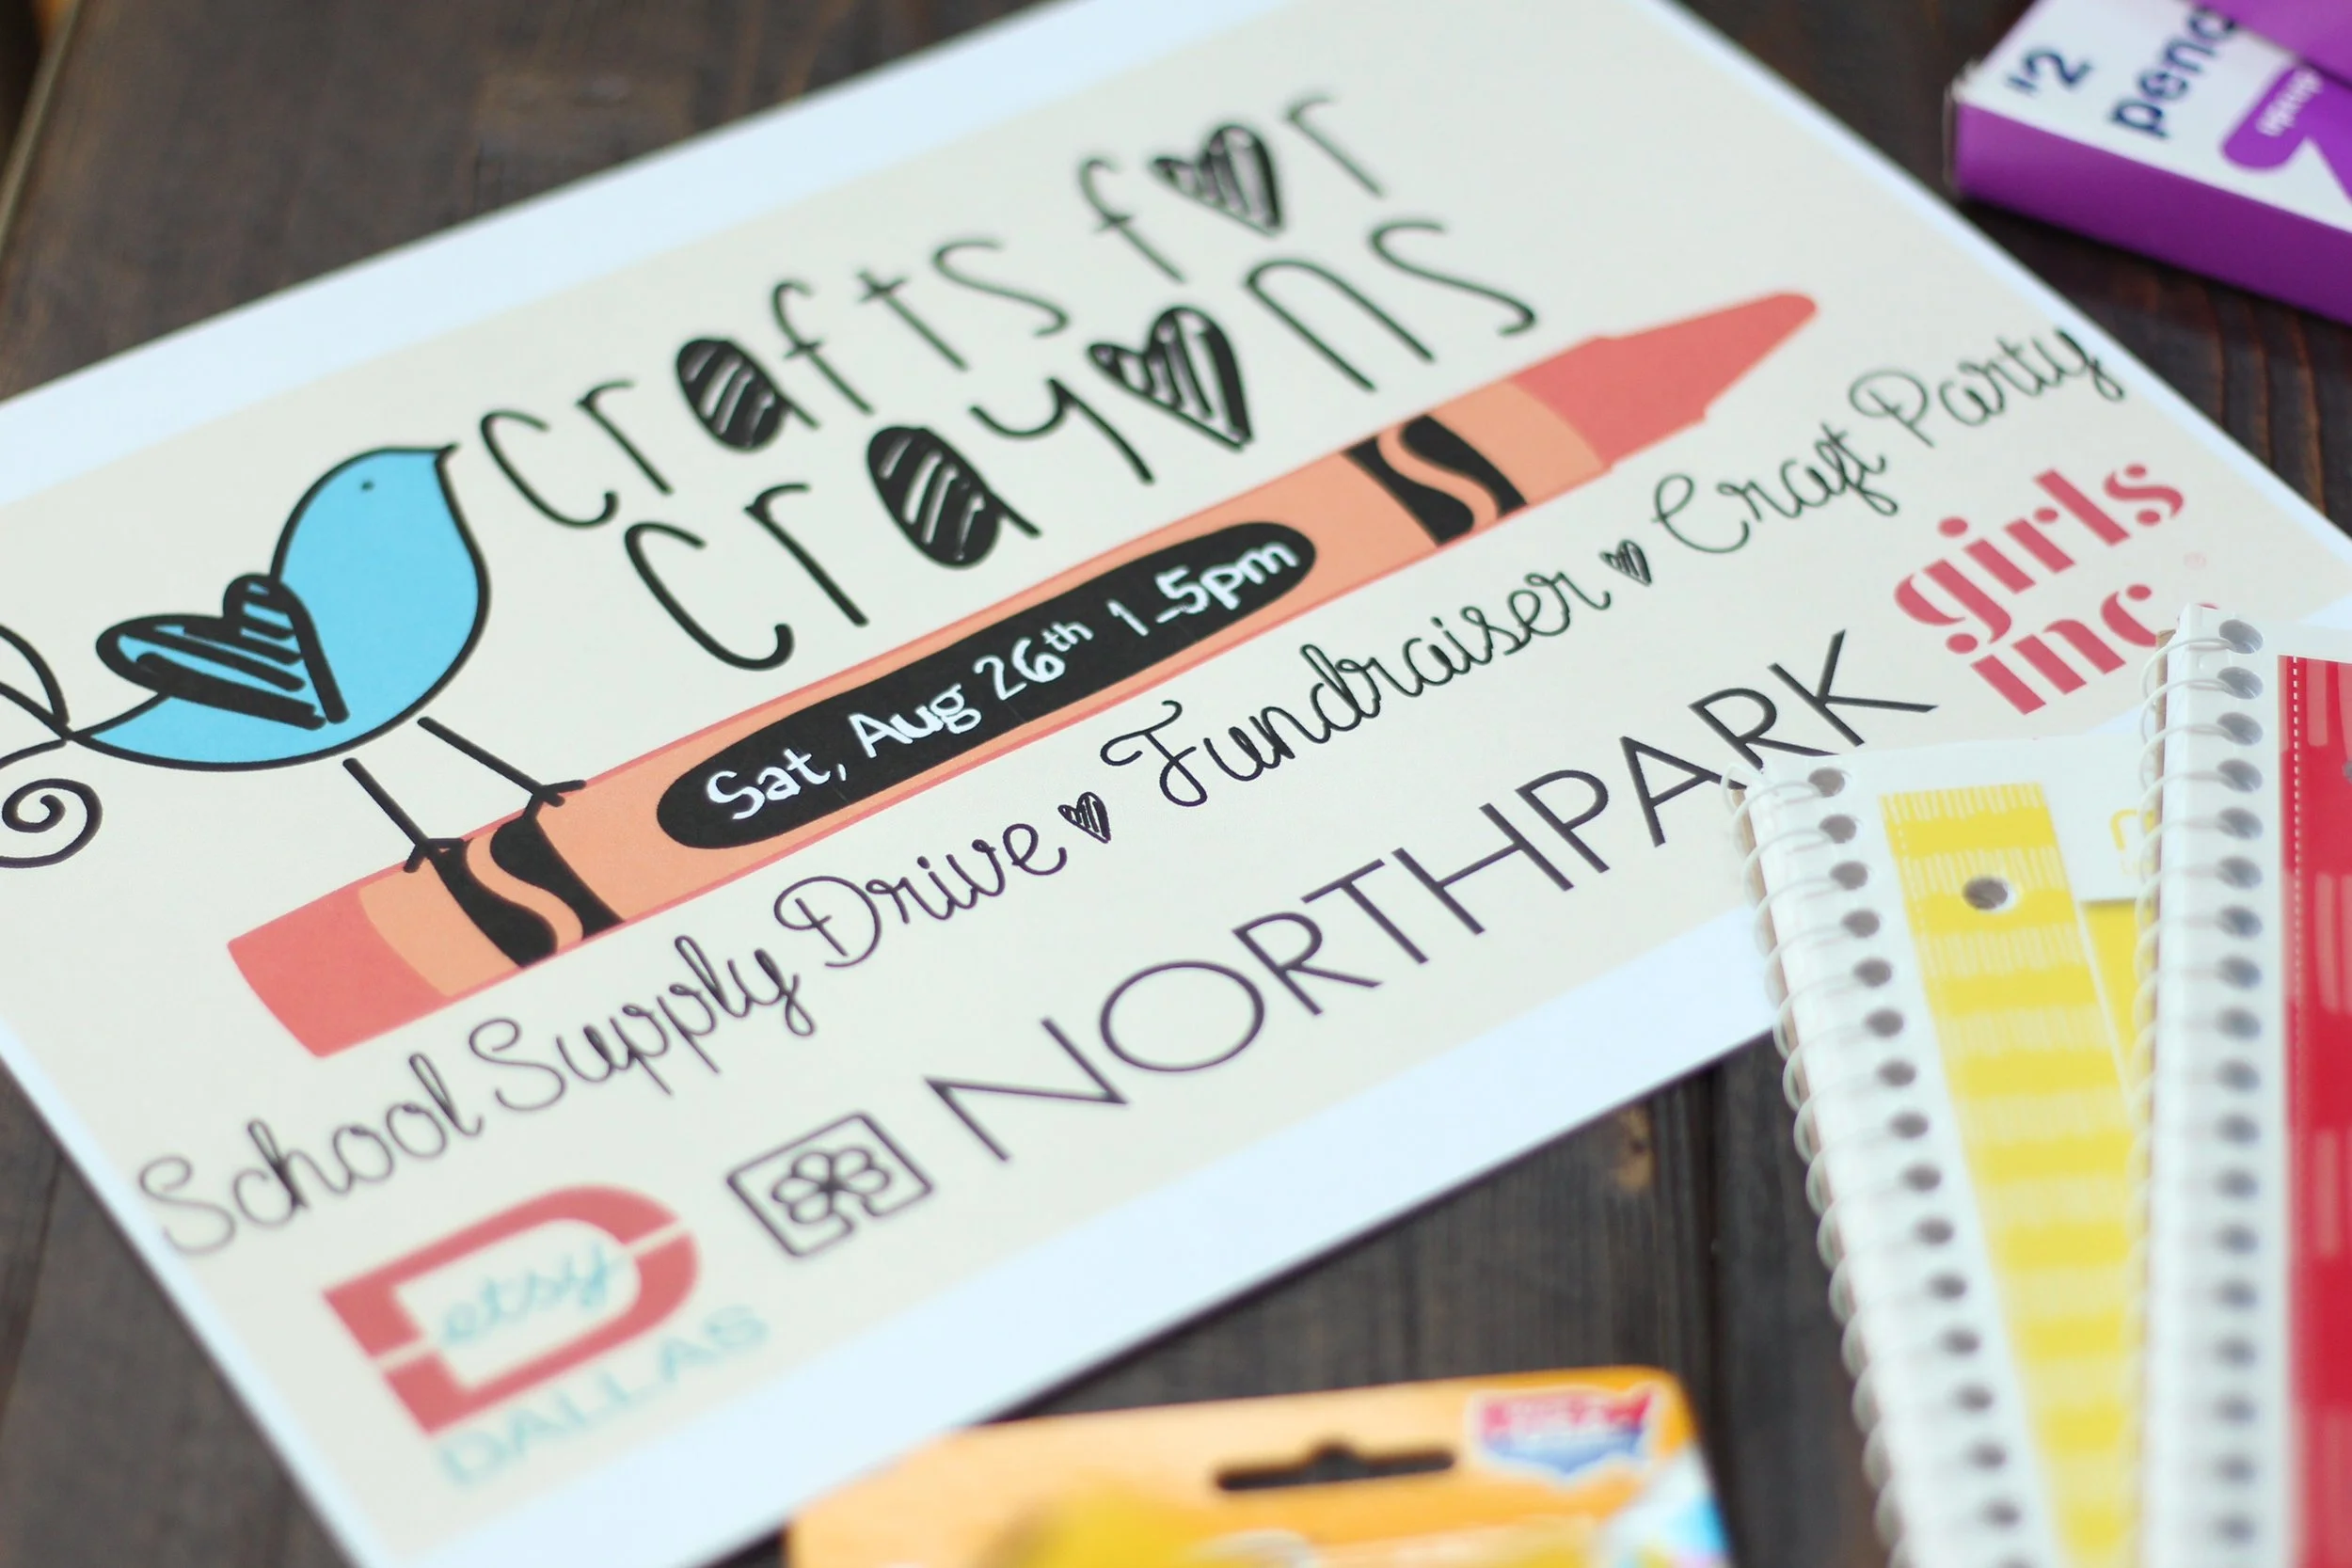
We are hosting our 4th annual Crafts for Crayons school supply drive and craft event at NorthPark Center from 1-5 p.m. on Saturday, August 26. Find us in the NorthCourt between Nordstrom and Macy's.
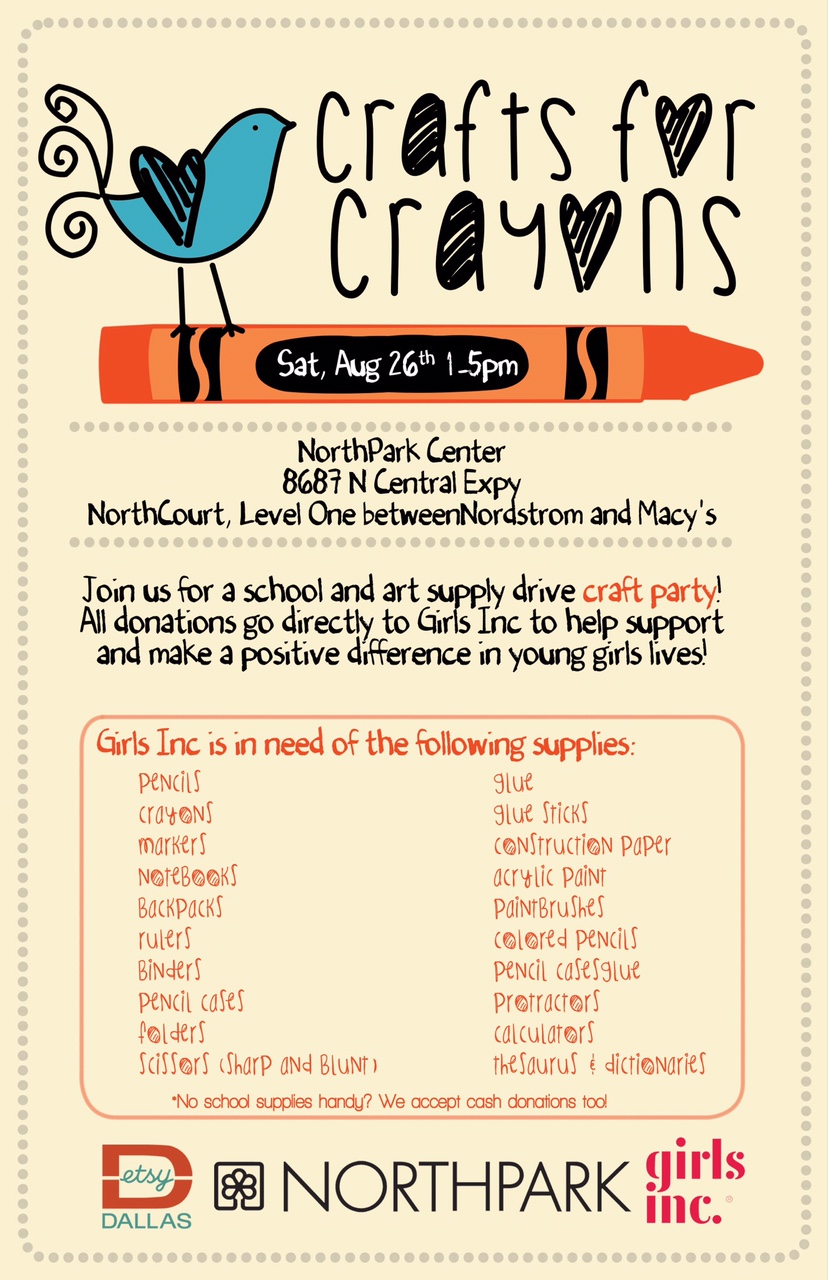
We have fun crafts ready for kids and adults. Just stop by with supplies and donations. "School is starting for so many kids but nearly one in three children in Dallas County cannot afford basic school supplies," Etsy Dallas member Jenny Abney Sivie said. "Crafts for Crayons is a fun afternoon of crafting that also raises supplies and donations for kids to have a better start to the school year."
All donations will go to Girls Incorporated of Metropolitan Dallas, a non-profit organization whose mission is to inspire girls to be strong, smart and bold through life-changing programs and experiences that help girls navigate gender, economic and social barriers. Research shows that empowering girls and women yields benefits for entire families and communities, but many girls face gender stereotypes, narrow expectations, and negative media messages. With support from our communities, young girls can learn that they are strong and can achieve whatever they want in life.
Not sure what to bring? Girls, Inc. is in need of school and art supplies such as paper, crayons, scissors, pencils, pens, glue, markers, and erasers, as well as sports equipment, games, books and more. Everyone is invited to come out, make some crafts and support this supply drive. Every little bit helps!
Product photography for the person wearing all the hats
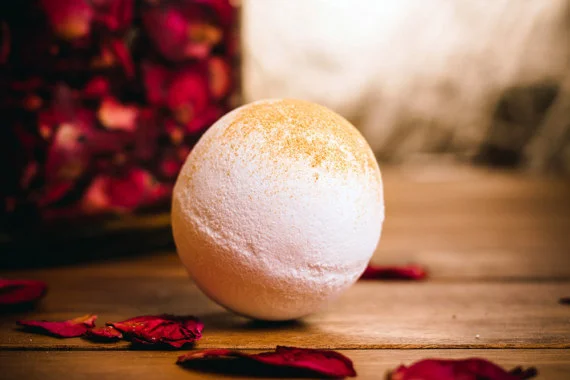
We asked Alexis, of Whipped Up Wonderful, to share some of her product photography tips with us. Her product photos are always so dreamy and beautiful. Here are her helpful suggestions for photography that will definitely up your Etsy listing and Instagram game!
If you are like me, you not only make your product; you package, label, ship and do all the marketing and photography. I’ve taken a lot of bad photos: I’ve tried an “edgy” crooked look, busy backgrounds and overlooked blurriness. Like anything, I improved with practice, and a little revisiting my photography class book from high school. Of course, I’ll also guess you don’t have a photo studio. The cool thing is all you need is a bright sunny window, and a few props, if any, and of course your camera or smartphone.
The White Background:
For your minimalist needs look no further than Amazon for a pop up studio. These fold away boxes offer a full white background, diffuse the light around the subject and make your handmade items “Amazon” ready.
The Catalog:
When you need a look that is more like a catalog style, or you want to try to sell by hitting an emotional key with your customers, then grab your items and let’s look around the house.
Your bath products might look great beside that lovely tub. Your candles might look great on your coffee table. Open those windows wide and get creative.
Pro Tip : Your house isn’t exactly House Beautiful? Pop over to your local home improvement store to create some unique backdrops using wood or tile. Not super handy? Try scrapbook pages or poster board for smaller items.
You might want to experiment with the lighting at different times of day in your house. Sometimes you might only have a few workable hours.
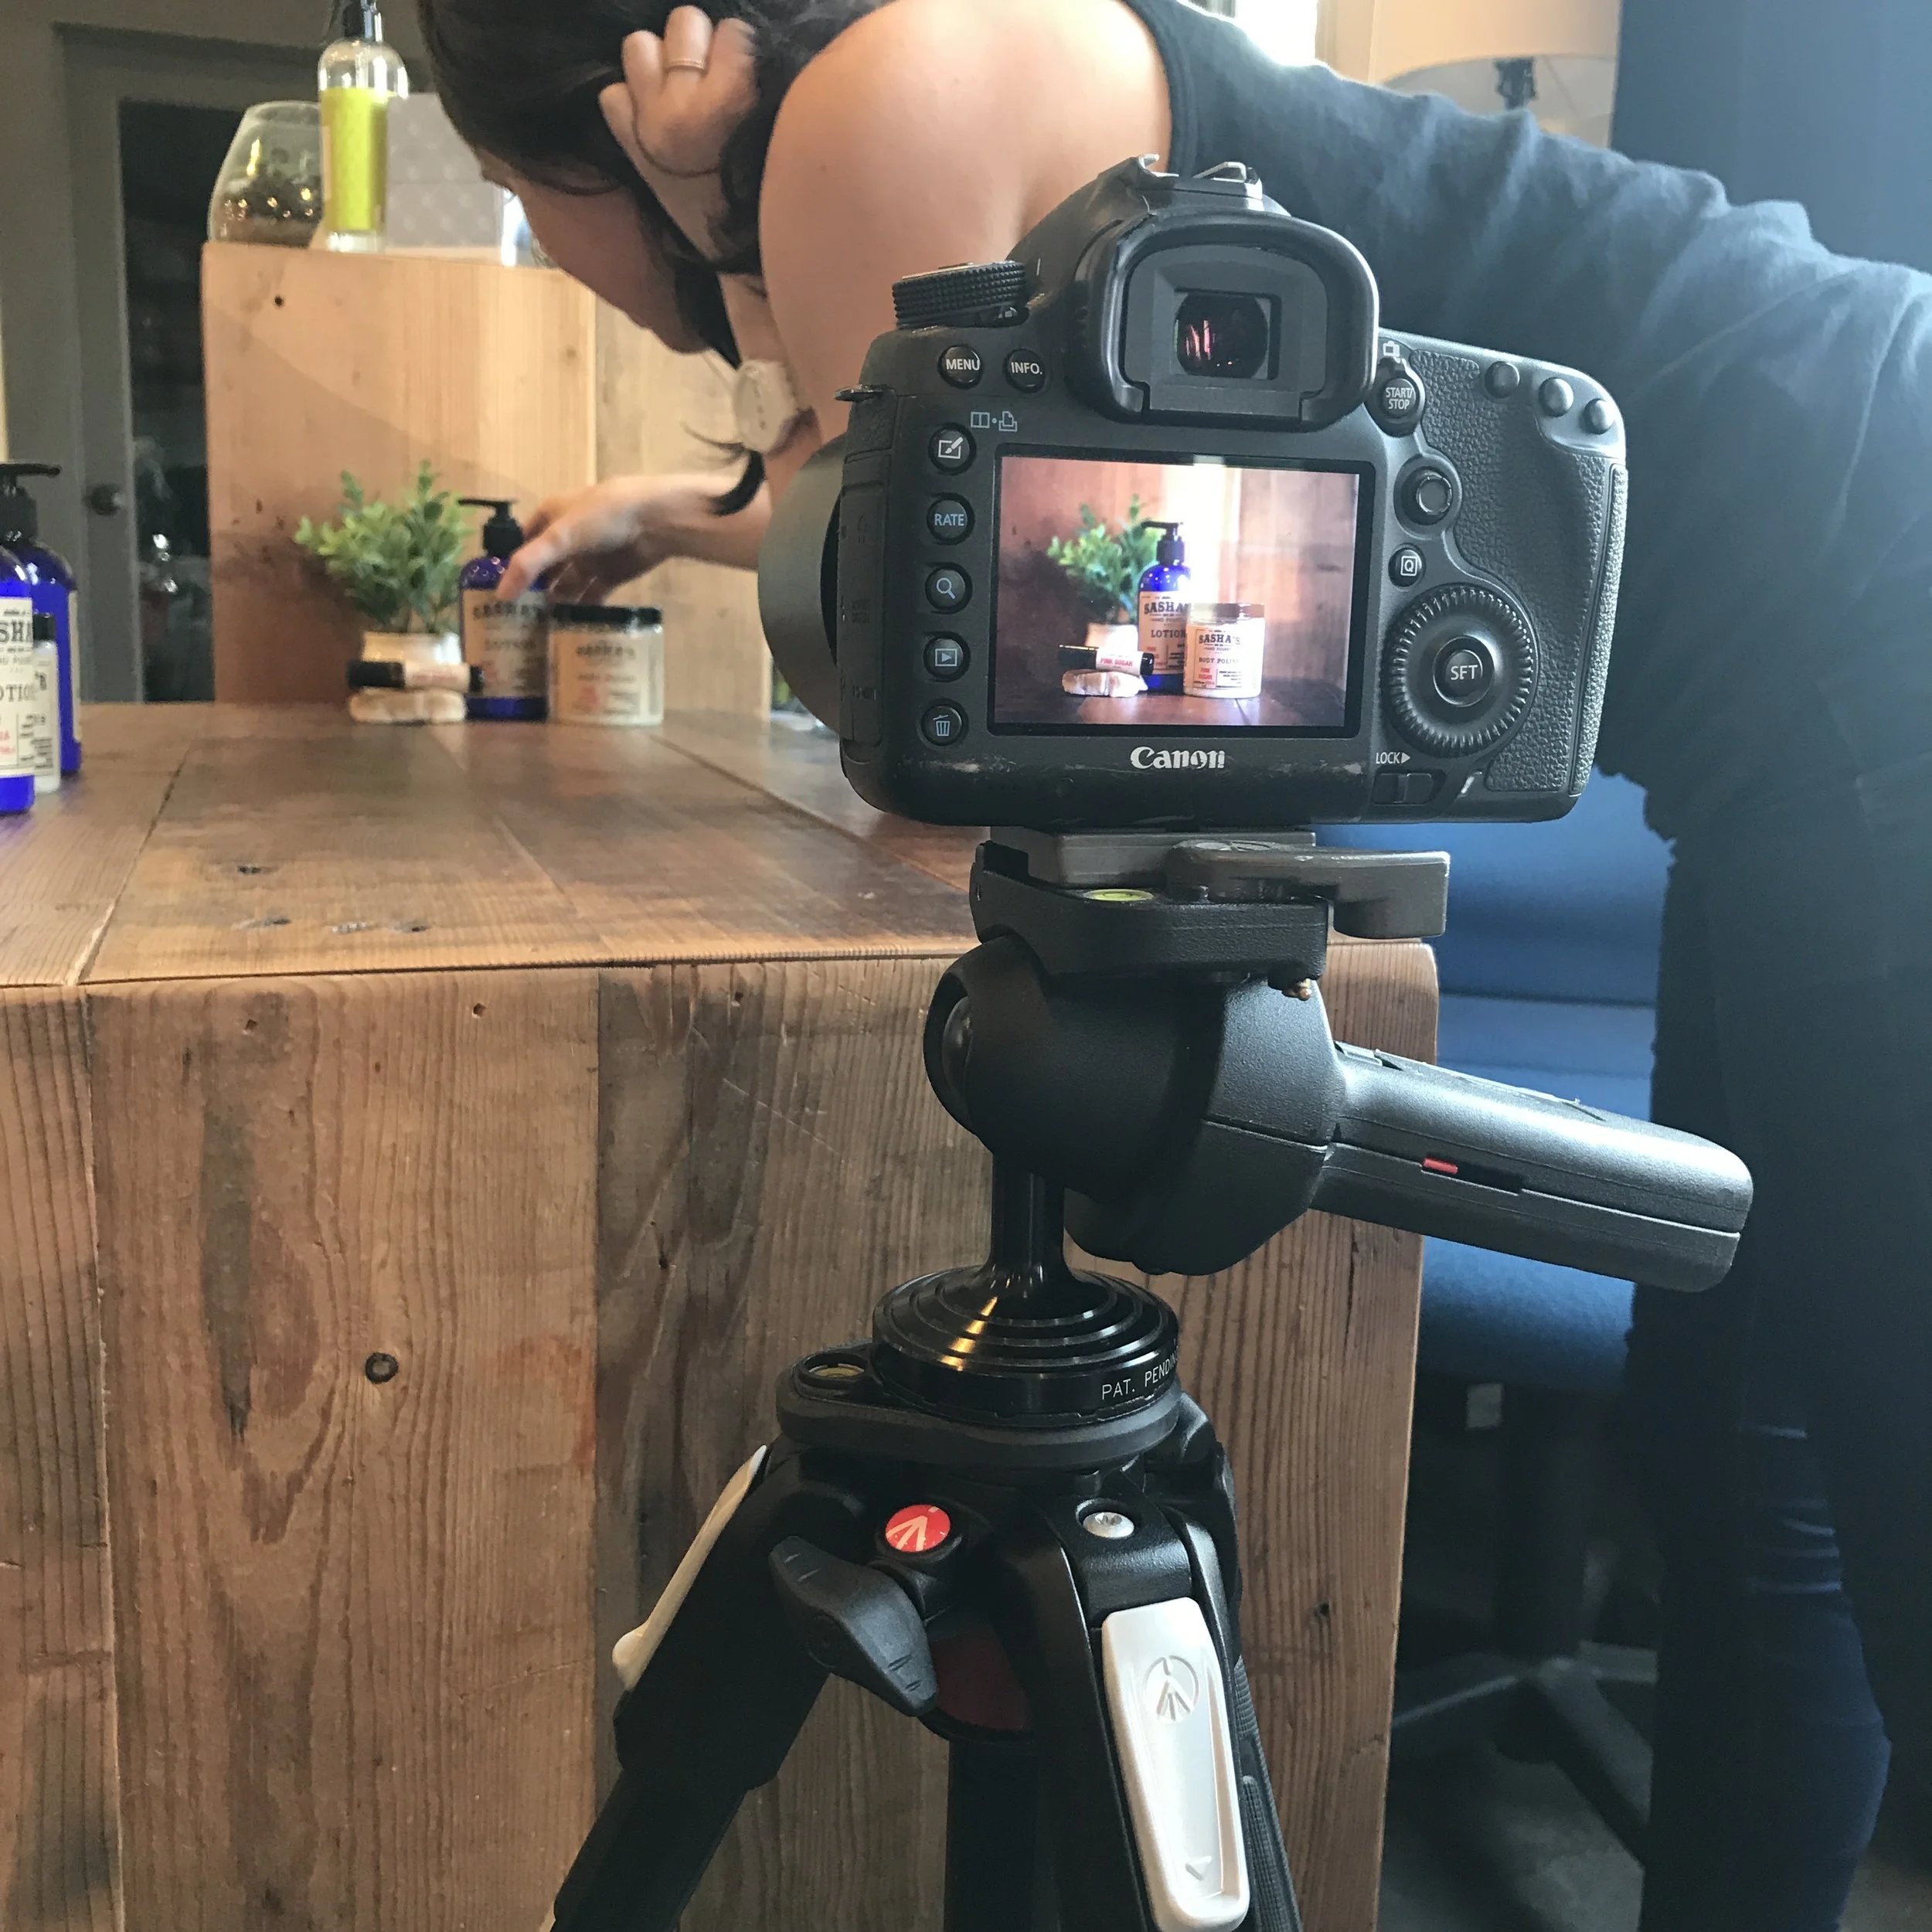
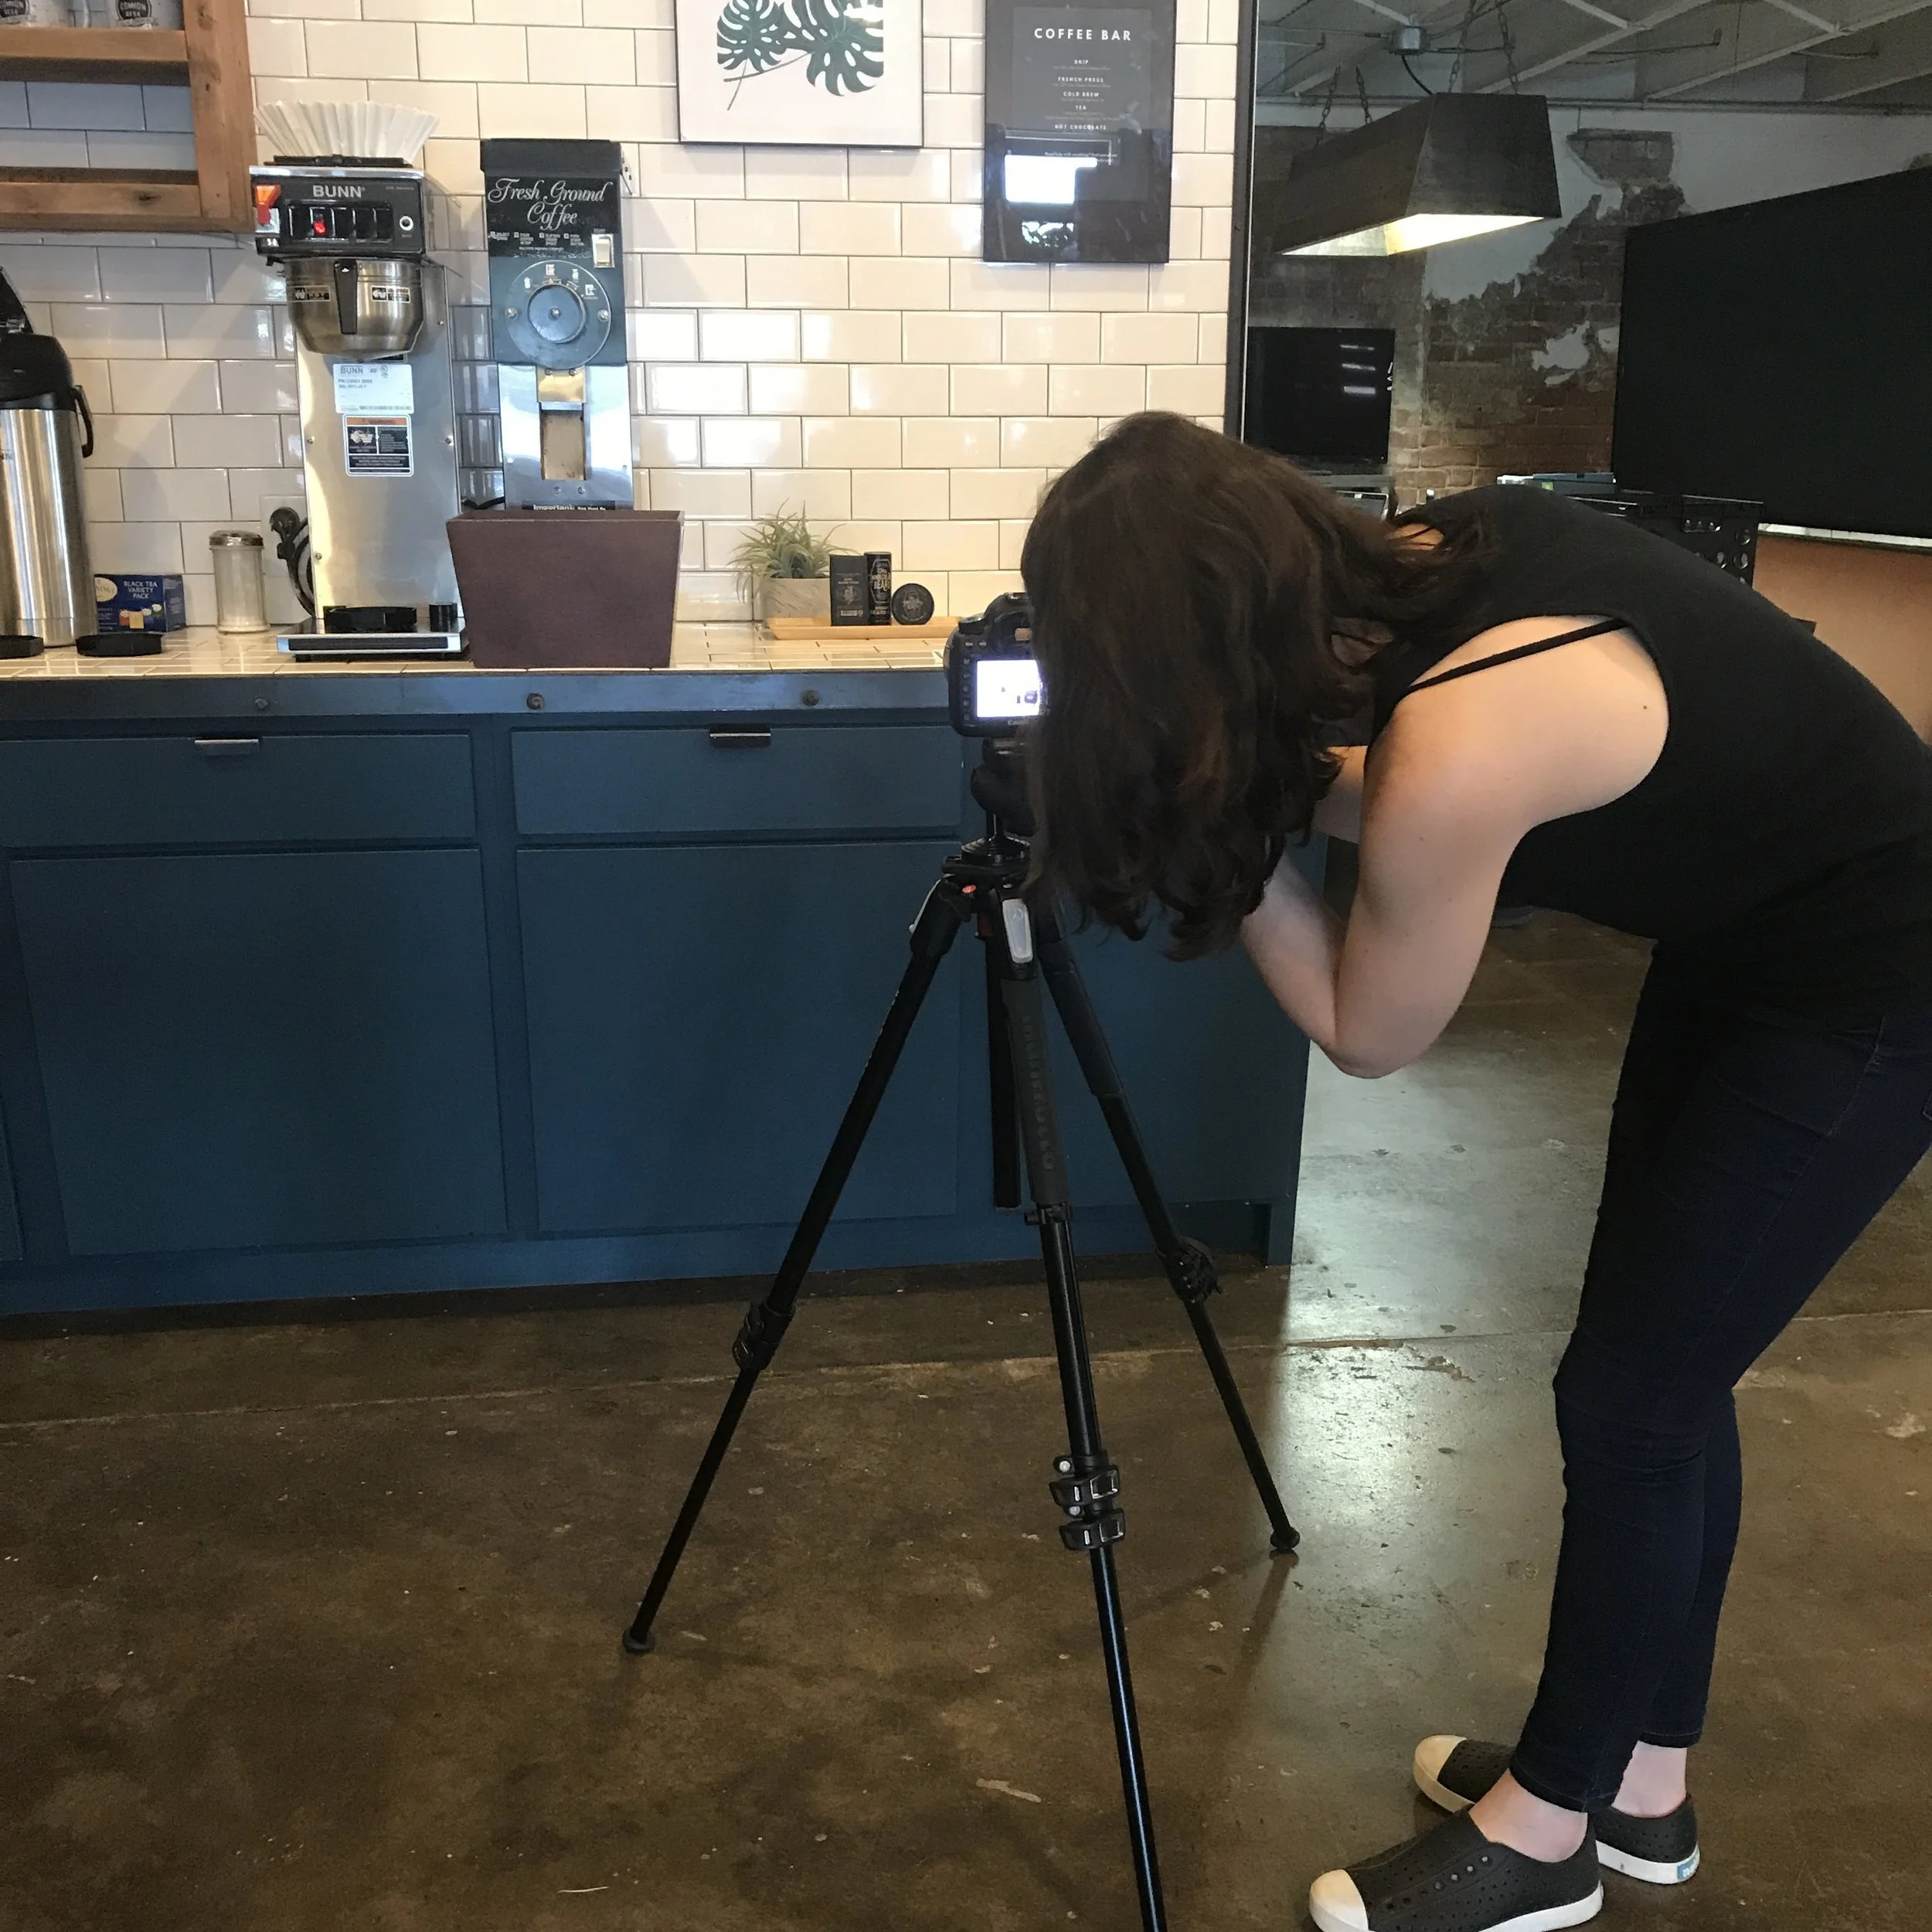
Invest in a tripod. If you need anything to keep a cohesive style, get a tripod, even if you are using your smartphone. You don’t need to drop a lot of money on it either.
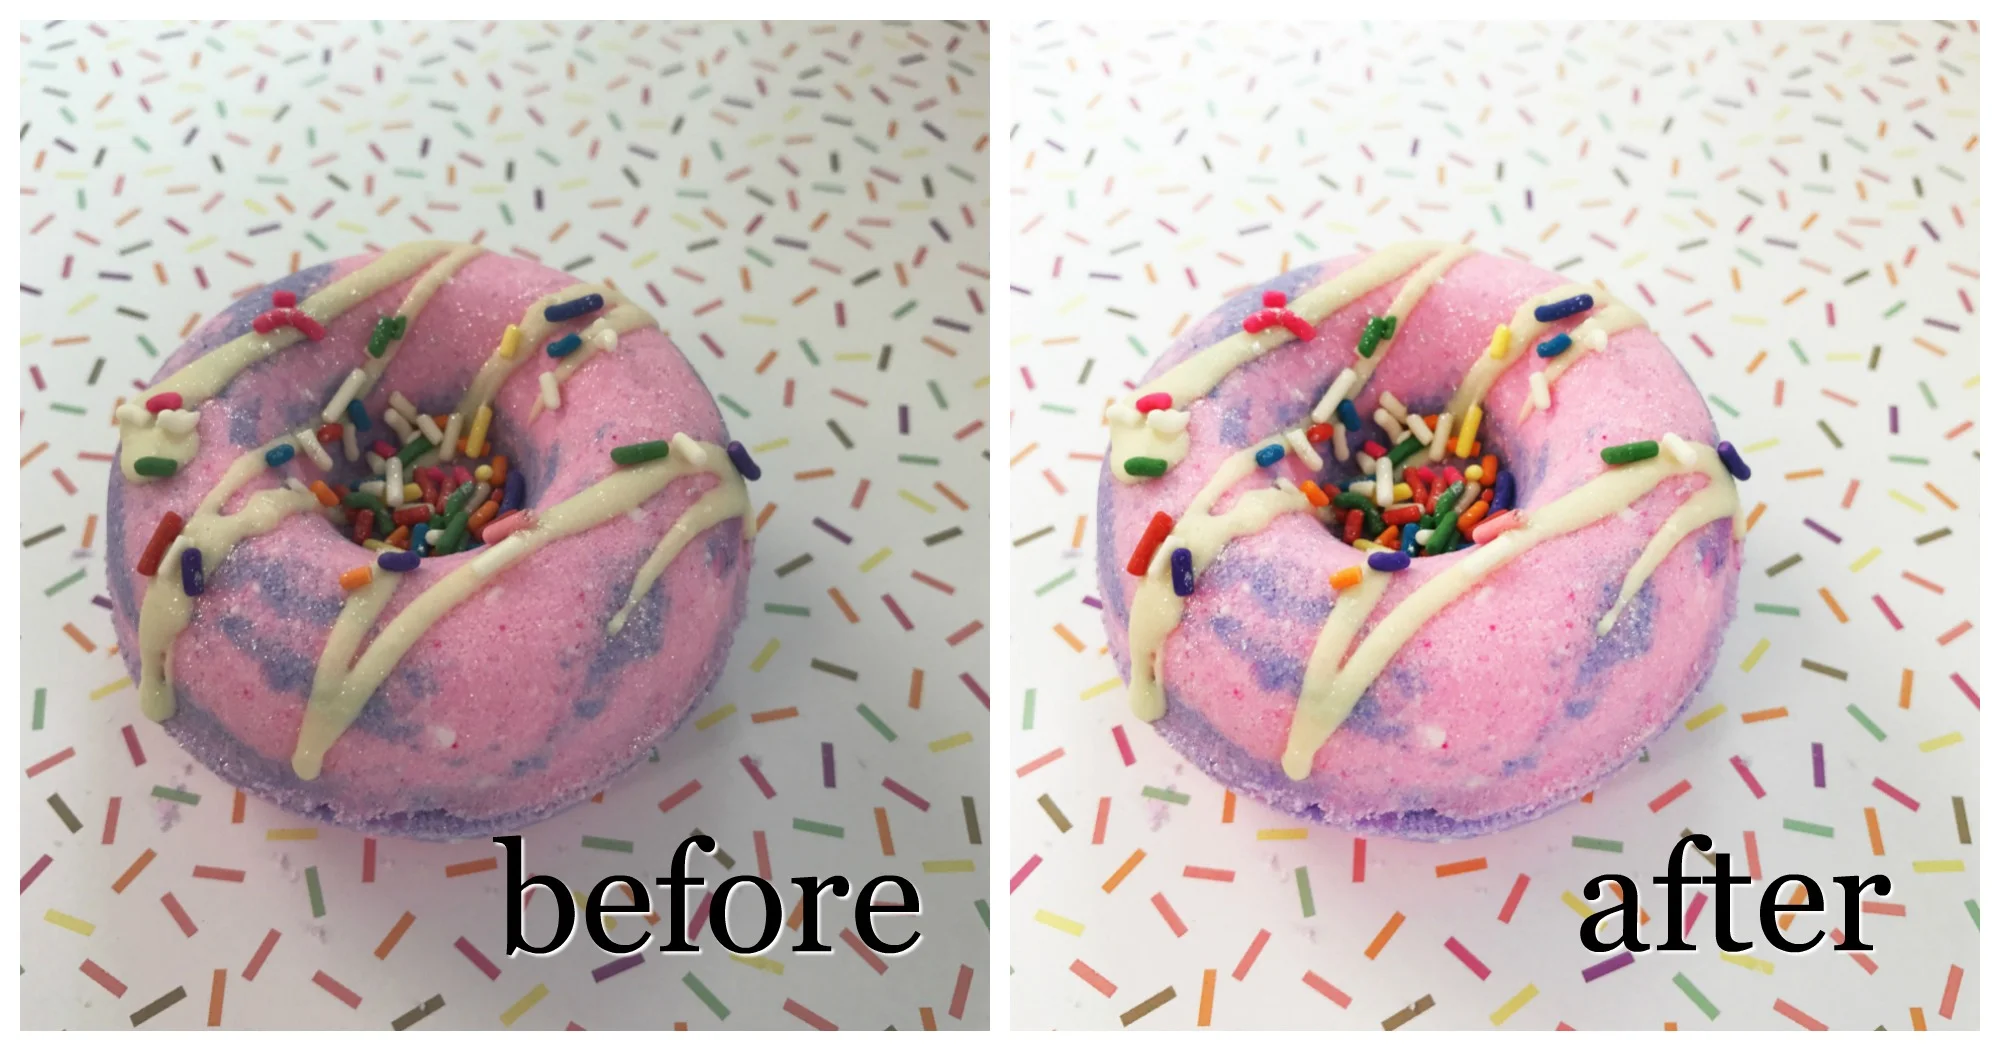
Now for the editing. Very rarely will you take a photo from camera to computer and find it to be listing ready. Your computer might already have some photo editing software. If not, there are quite a few easy editing programs online that are cheap or free.
Pro Tip: Steer clear of filters. While trendy and eye catching, they will distort colors and rely on gimmicks (such as bokeh or color washes) that aren’t catalog caliber.
Focus on brightness, white balance and just a touch of saturation to balance and color correct your photos.
And there you have it! Smartphones and the internet have given us all a little leg up in the photography department. Good luck!
Full Moon Rug IKEA Hack

Hey friends, Katrina from Rhapsody Letterpress here with a project for you sky watchers and DIYers. My family loves astronomy. I shopped for a moon rug before my son was born but never found one quite right, so we decided to stretch our creative muscles and make one ourselves this week. I put together a short video showing how we did it below using a 51" IKEA ÅDUM rug, a bottle of black liquid Rit dye, bleach, a squirt bottle, and a cloth rag.
We are so pumped about the upcoming eclipse on the 21st, my five year old especially. I hope you fellow moon lovers enjoy!
Creativity Camp: Faux Agate Sun Catcher
I have had so much fun doing projects with my family and sharing with you all Summer! I can't believe we only have two weeks left. This week we made a magical little sun catcher out of glue, food coloring, and glitter. I have to say, the finished product looks much more sophisticated than the $5 I put into this. Chances are, you already have the supplies around your house, too. Gather your school glue (clear for more transparency, but white will work too), food coloring, glitter, wax paper, skewers, small plastic cups, dental floss or thin string, a stick, and twine. Read on for the tutorial!

Lay out your wax paper, and draw the outline of some organic blobs with your glue.

Sprinkle on your glitter, and move the bits that fell in the center towards the edge.

Mix some food coloring and glue in your plastic cups. Stir with a skewer.

Squirt or pour your colored glues inside the blob, alternating colors. You can reuse an old bottle, or an old nose bulb like we did. (Lol) Careful not to fill the center higher than the edge, or the glue will leak over.

Allow your slices to dry 24 hours or more, then slowly peel them from the wax paper. They will look hard, but still feel flexible.

Lay out your pieces in the way you would like to hang them, and poke holes in the top and bottom as needed.

Cut your floss to the proper lengths leaving enough room to tie onto the stick at the top.

String the floss through the holes being careful to maintain the correct distance as you tie.

Tie the floss to the stick. Knot a piece of twine at both ends of the stick to create a hanger, and find a sunny window to enjoy your colorful creation!
Be sure to tag us on Instagram @etsydallas #EDCreativityCamp if you give this project a try. We would love to see!
Creativity Camp: Jolly Rancher Lollipops

I have a super easy and fun treat for you all today! This was a five star project as rated by my five year old. There is smashing, and sprinkling, and candy licking! You will need foil, skewers (halved) or lollipop sticks, a stapler, Jolly Ranchers, sprinkles, plastic baggies, and a hammer. Gather your supplies, and read on for the tutorial!

Sort your candies by color/flavor, and preheat your oven to 275°F.

Smash them with a hammer inside a plastic bag.

Roll out several squares of aluminum foil to make the molds, and line a pan with another sheet of foil.

Fold your foil up by half inches all the way up to make a sturdy, pliable mold.

Staple the ends together, being careful to line up the bottom edge of the foil.

Round the foil molds and fill them with the smashed candies. Put them in the oven for 5-7 minutes. Pull them out once all the candy has melted. Add sprinkles if you would like them inside your lollipop.

While the candy is still hot, slip the sticks under the foil and twist it into the candy to coat both sides.
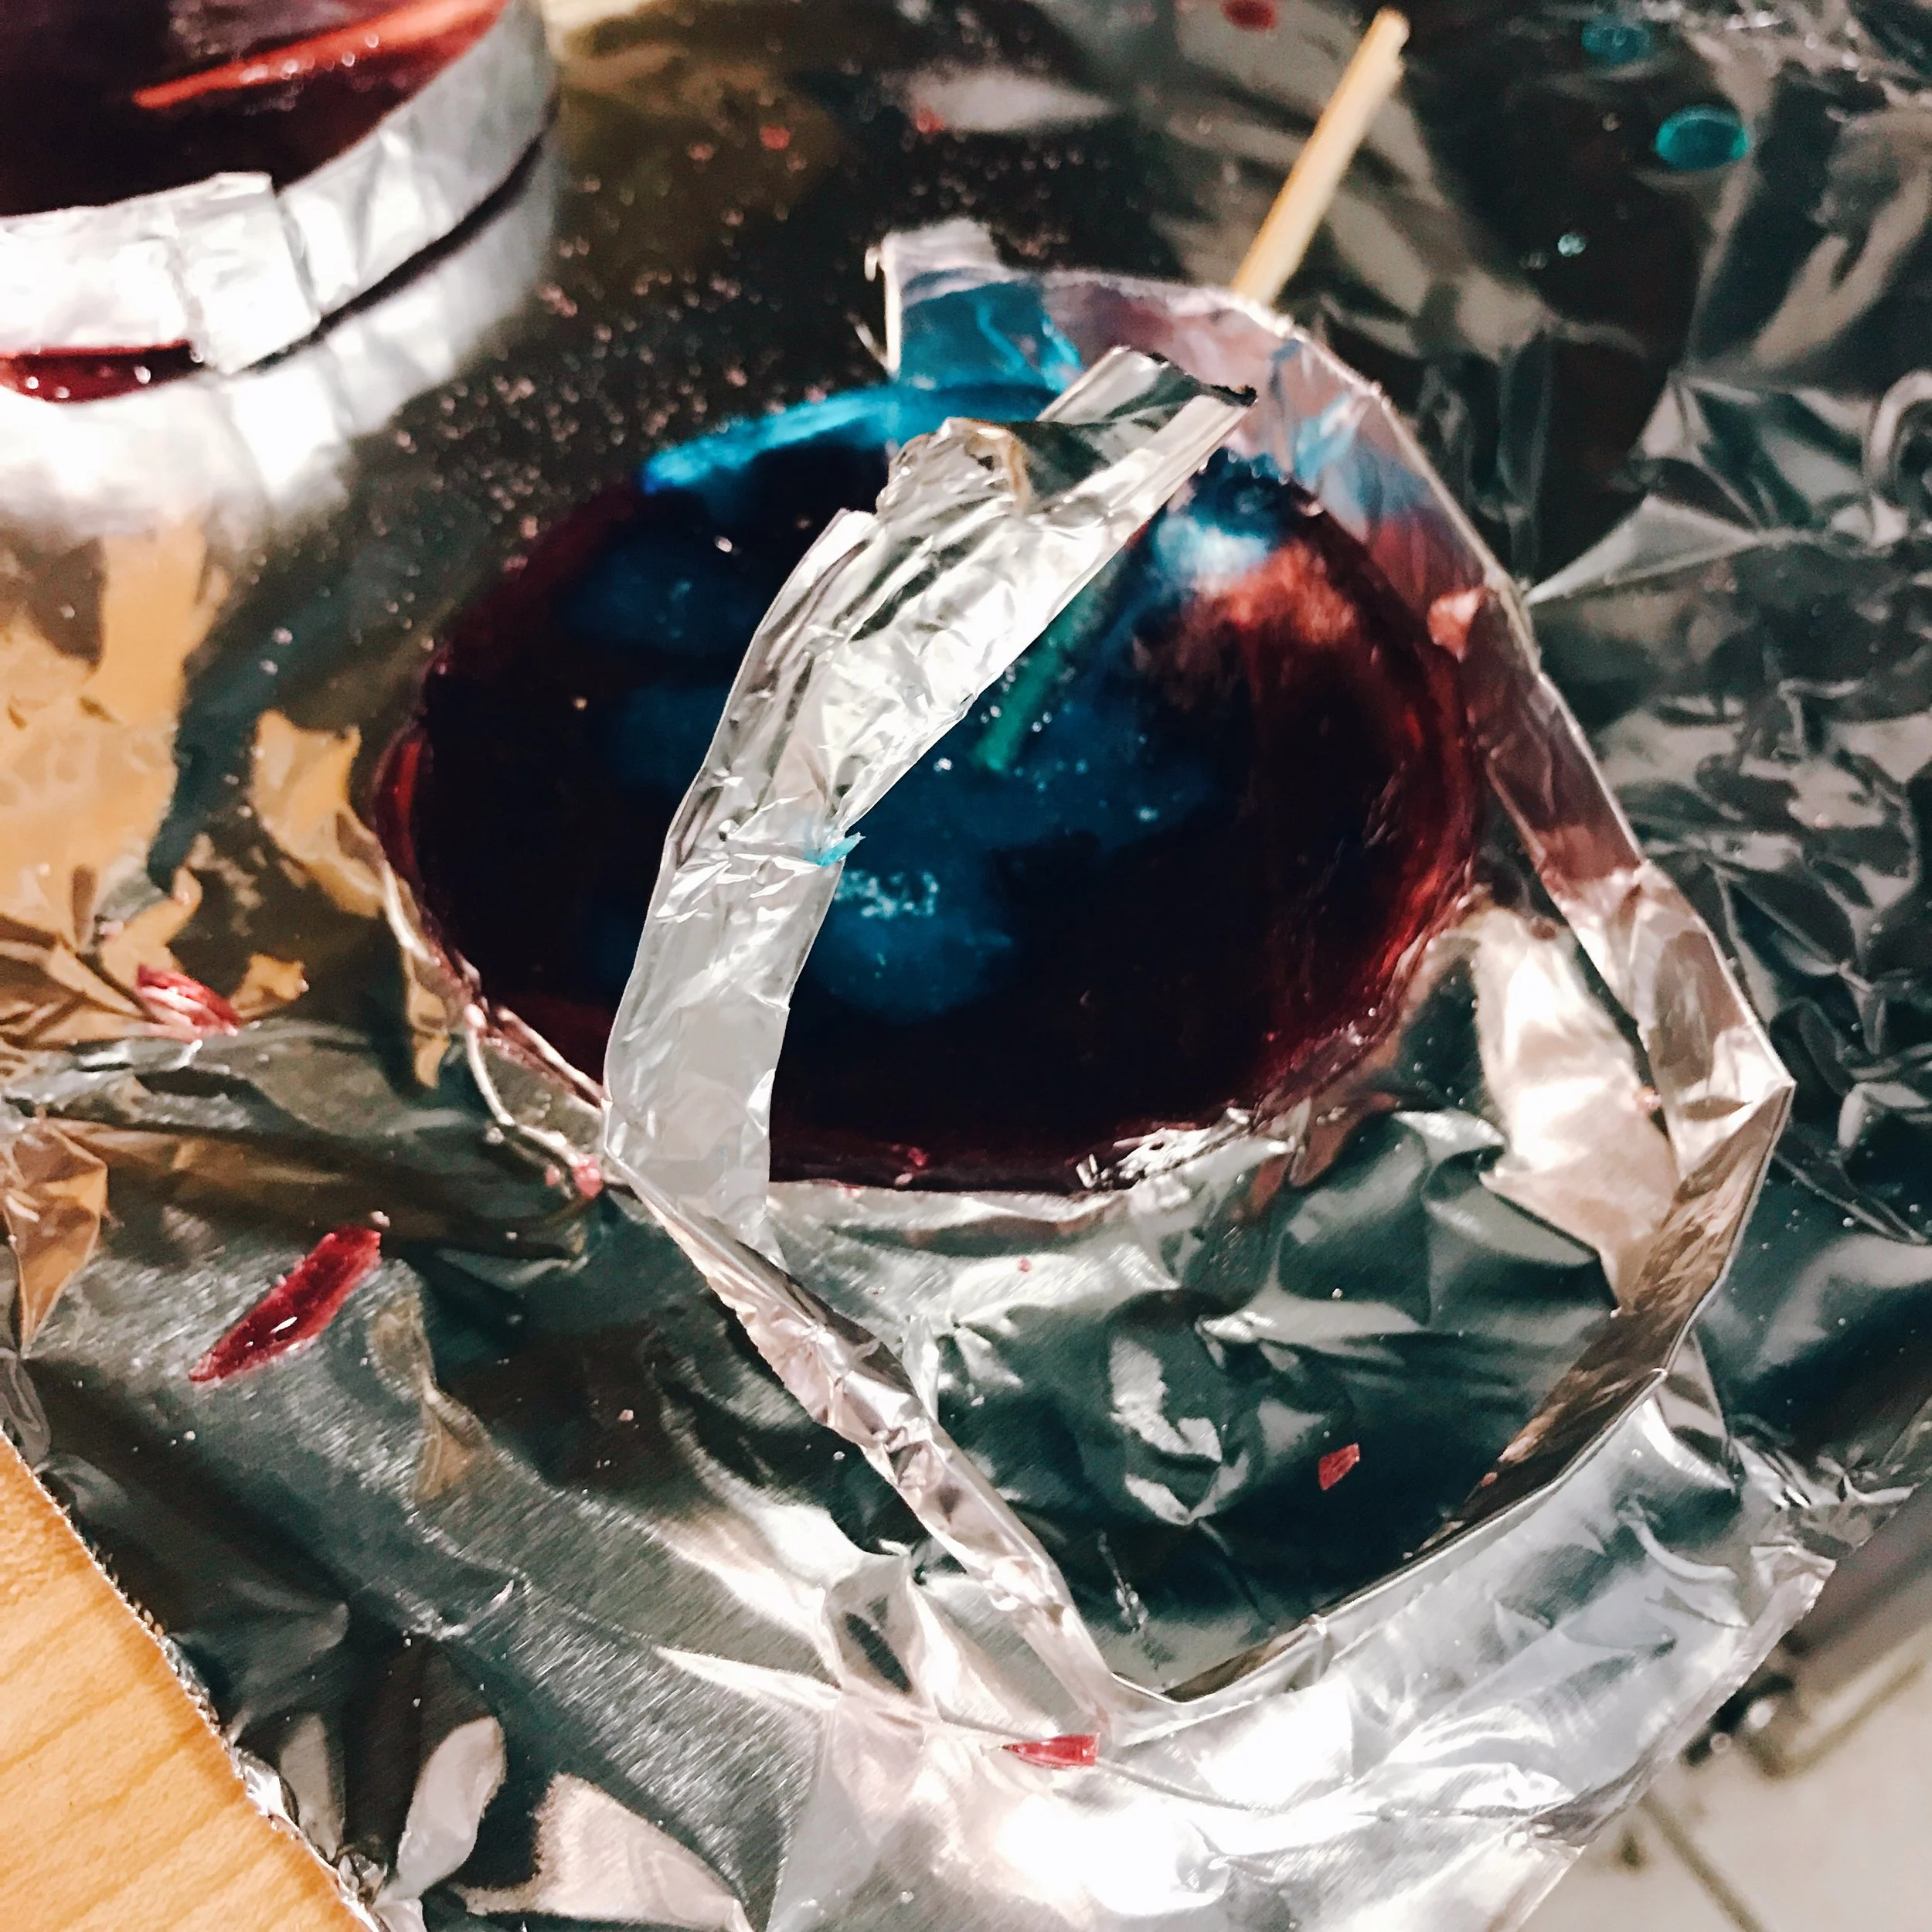
Once the candy has cooled and hardened, break apart the foil mold where you stapled it and peel it off around the sides of the lollipop. Then peel the foil off the bottom. If you would like to add sprinkles to the outside, dampen the lollipop with water to make it sticky, add sprinkles, and allow it to dry again.

Gift or enjoy! Get creative, and share with us on Instagram @etsydallas #EDCreativityCamp!
DIY Natural Bug Repellent
Hello Summer! It’s time for the pool, BBQ’s, and all sorts of outdoor fun. It's also time for mosquitoes, flies, gnats and all kind of other buggy invasions-especially this summer in Texas.
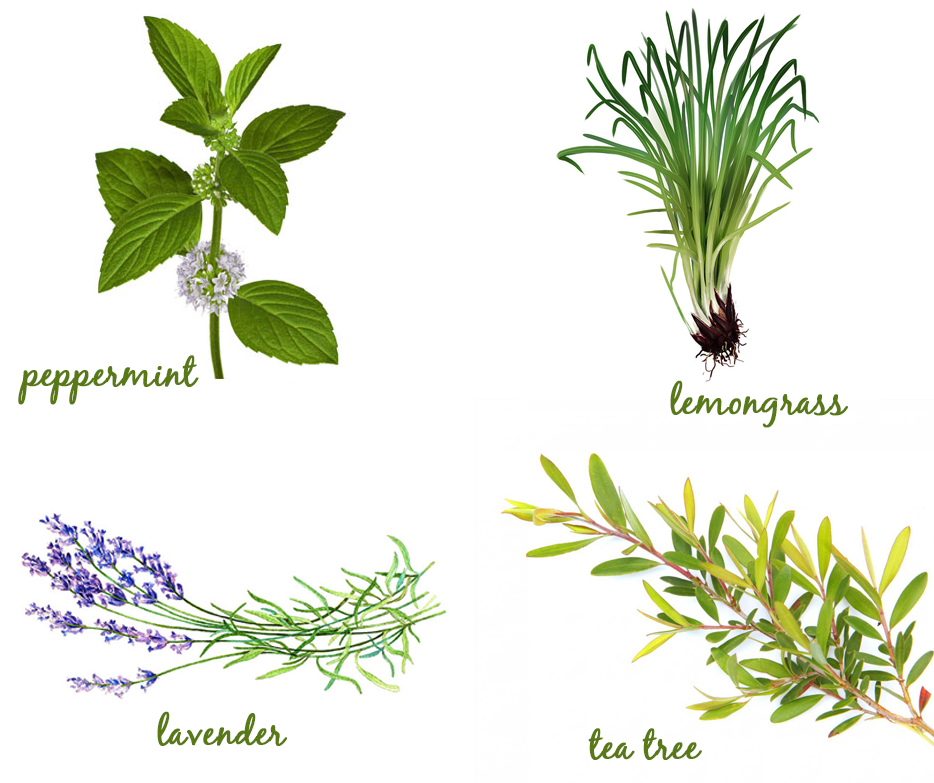
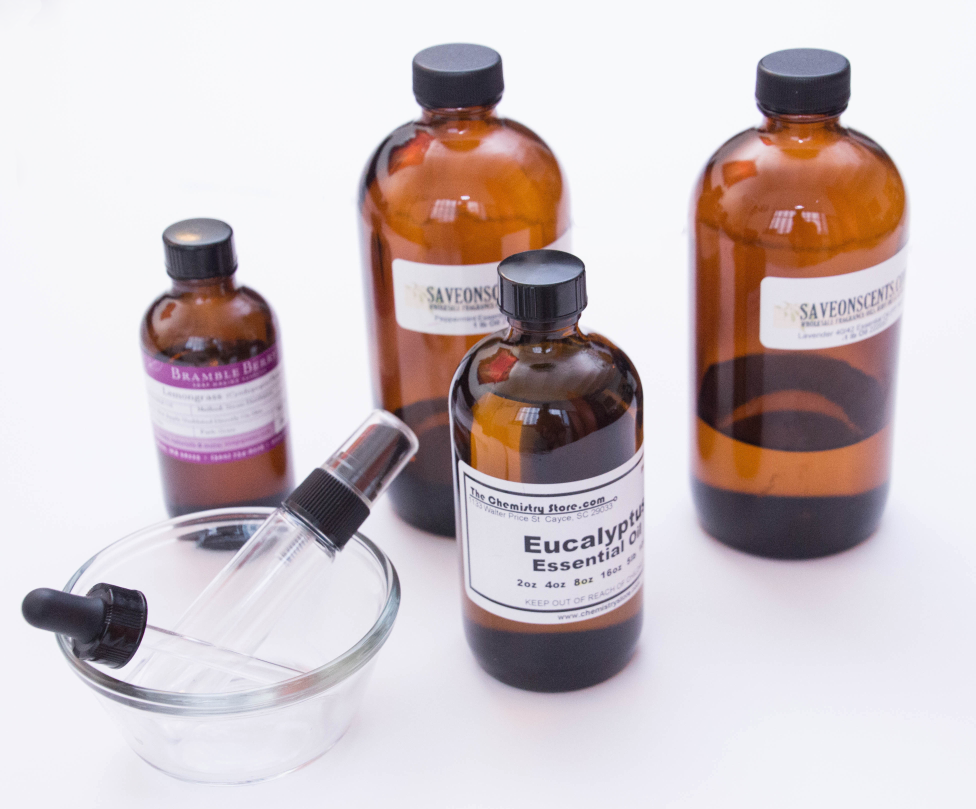
Sabrina & Jenny, of The Pig and the Peacock are here to help you out giving you all natural ways to keep the bugs at bay. Today they are covering essential oils that you can easily get at your local natural grocers that target annoying outdoor bugs. Read on for more info and a recipe to make your own!
Peppermint Oil
With its strong scent and tingly sensation, it is great for repelling lots of different types of bugs. The minty clean aroma of peppermint repels mosquitoes, ants, fleas, beetles,flies. It will even repel spiders! There are a number of ways to use peppermint oil, you can make a spray, burn a candle, or soak cotton balls with the oil.
Lemongrass Oil
Lemongrass is a natural bug repellent. Spend a lot of time in you yard having parties or grilling? Plant some lemongrass around your yard to keep the pests away. You can also make a spray and use this in your home to repel fruit flies (and leave your house smelling oh so citrusy)!
Lavender Oil
If you don’t already have a bottle of Lavender Oil at home, run and get yourself a bottle asap! This magical oil has been used for centuries for a plethora of things, including keeping bugs at bay. In addition to keeping moths out of your closet, it will keep mosquitoes, fleas, and ticks at bay outdoors. Bonus that it smells so good!
Tea Tree Oil
Like Lavender Oil, Tea Tree Oil is another must have around the house with many beneficial properties in addition to repelling bugs. Using Tea Tree Oil either in a spray or on a cotton ball can keep flying insects, spiders, and even lice away.
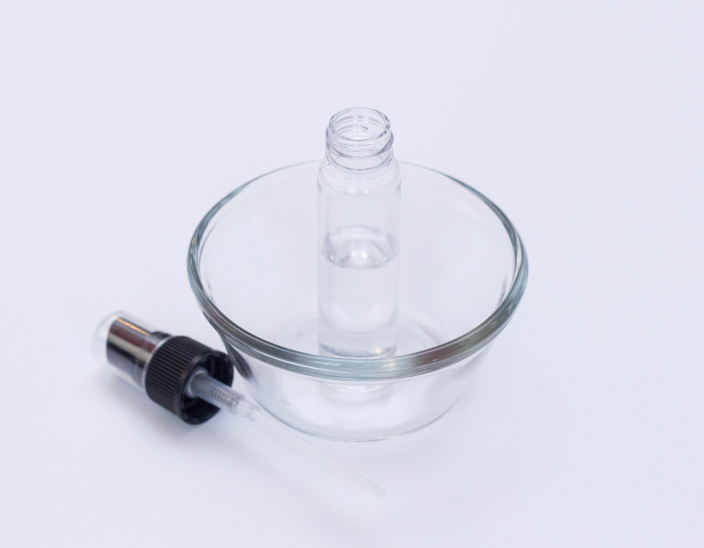
How to use these oils? The best part about these four Essential Oils besides being easy to find and buy is that they all blend well together.What you’ll need is Lavender and Peppermint Essential Oils, a 2 ounce fine mist spray bottle, witch hazel or vodka, an eyedropper (if your essential oils did not come with one), and a small bowl or cup.
To make, take your spray bottle and put it in your bowl or cup to prevent spills. Pour 1 ounce of your witch hazel or vodka into the spray bottle. You could also use rubbing alcohol or a light oil, like sweet almond here too.
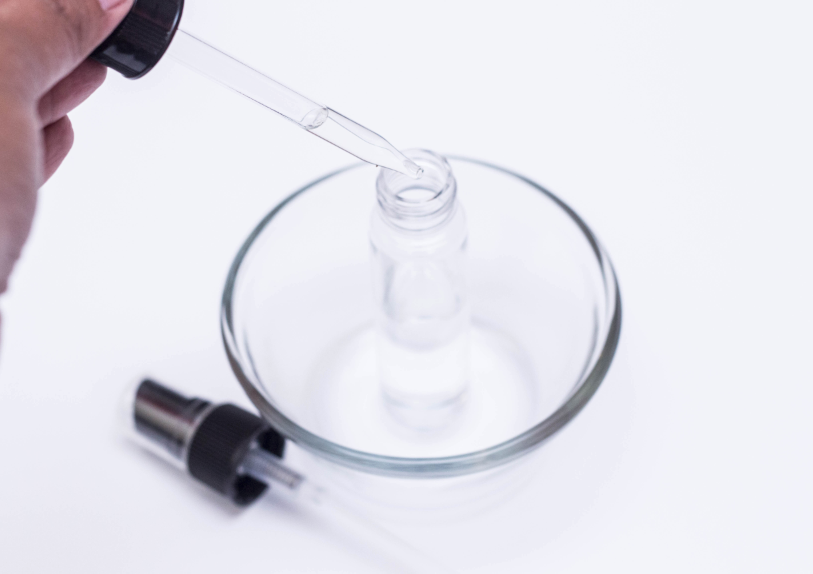
Next, add 10 drops of peppermint oil and 20 drops of lavender oil. If you will be using this on small children, cut the amount of essential oils to 25% as their skin is more sensitive.
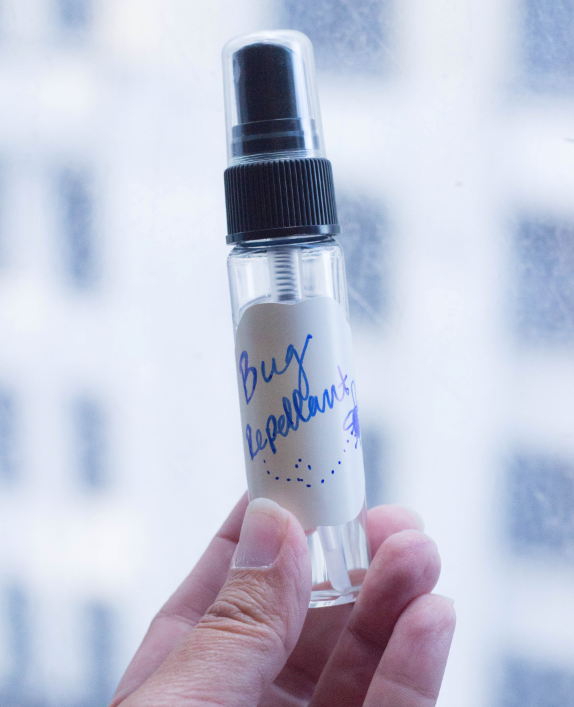
Finally, shake it up to mix it well and put a label on it! Not only will this recipe help keep bugs away but you will smell great too!
Kid-friendly Work Tunes with Molly
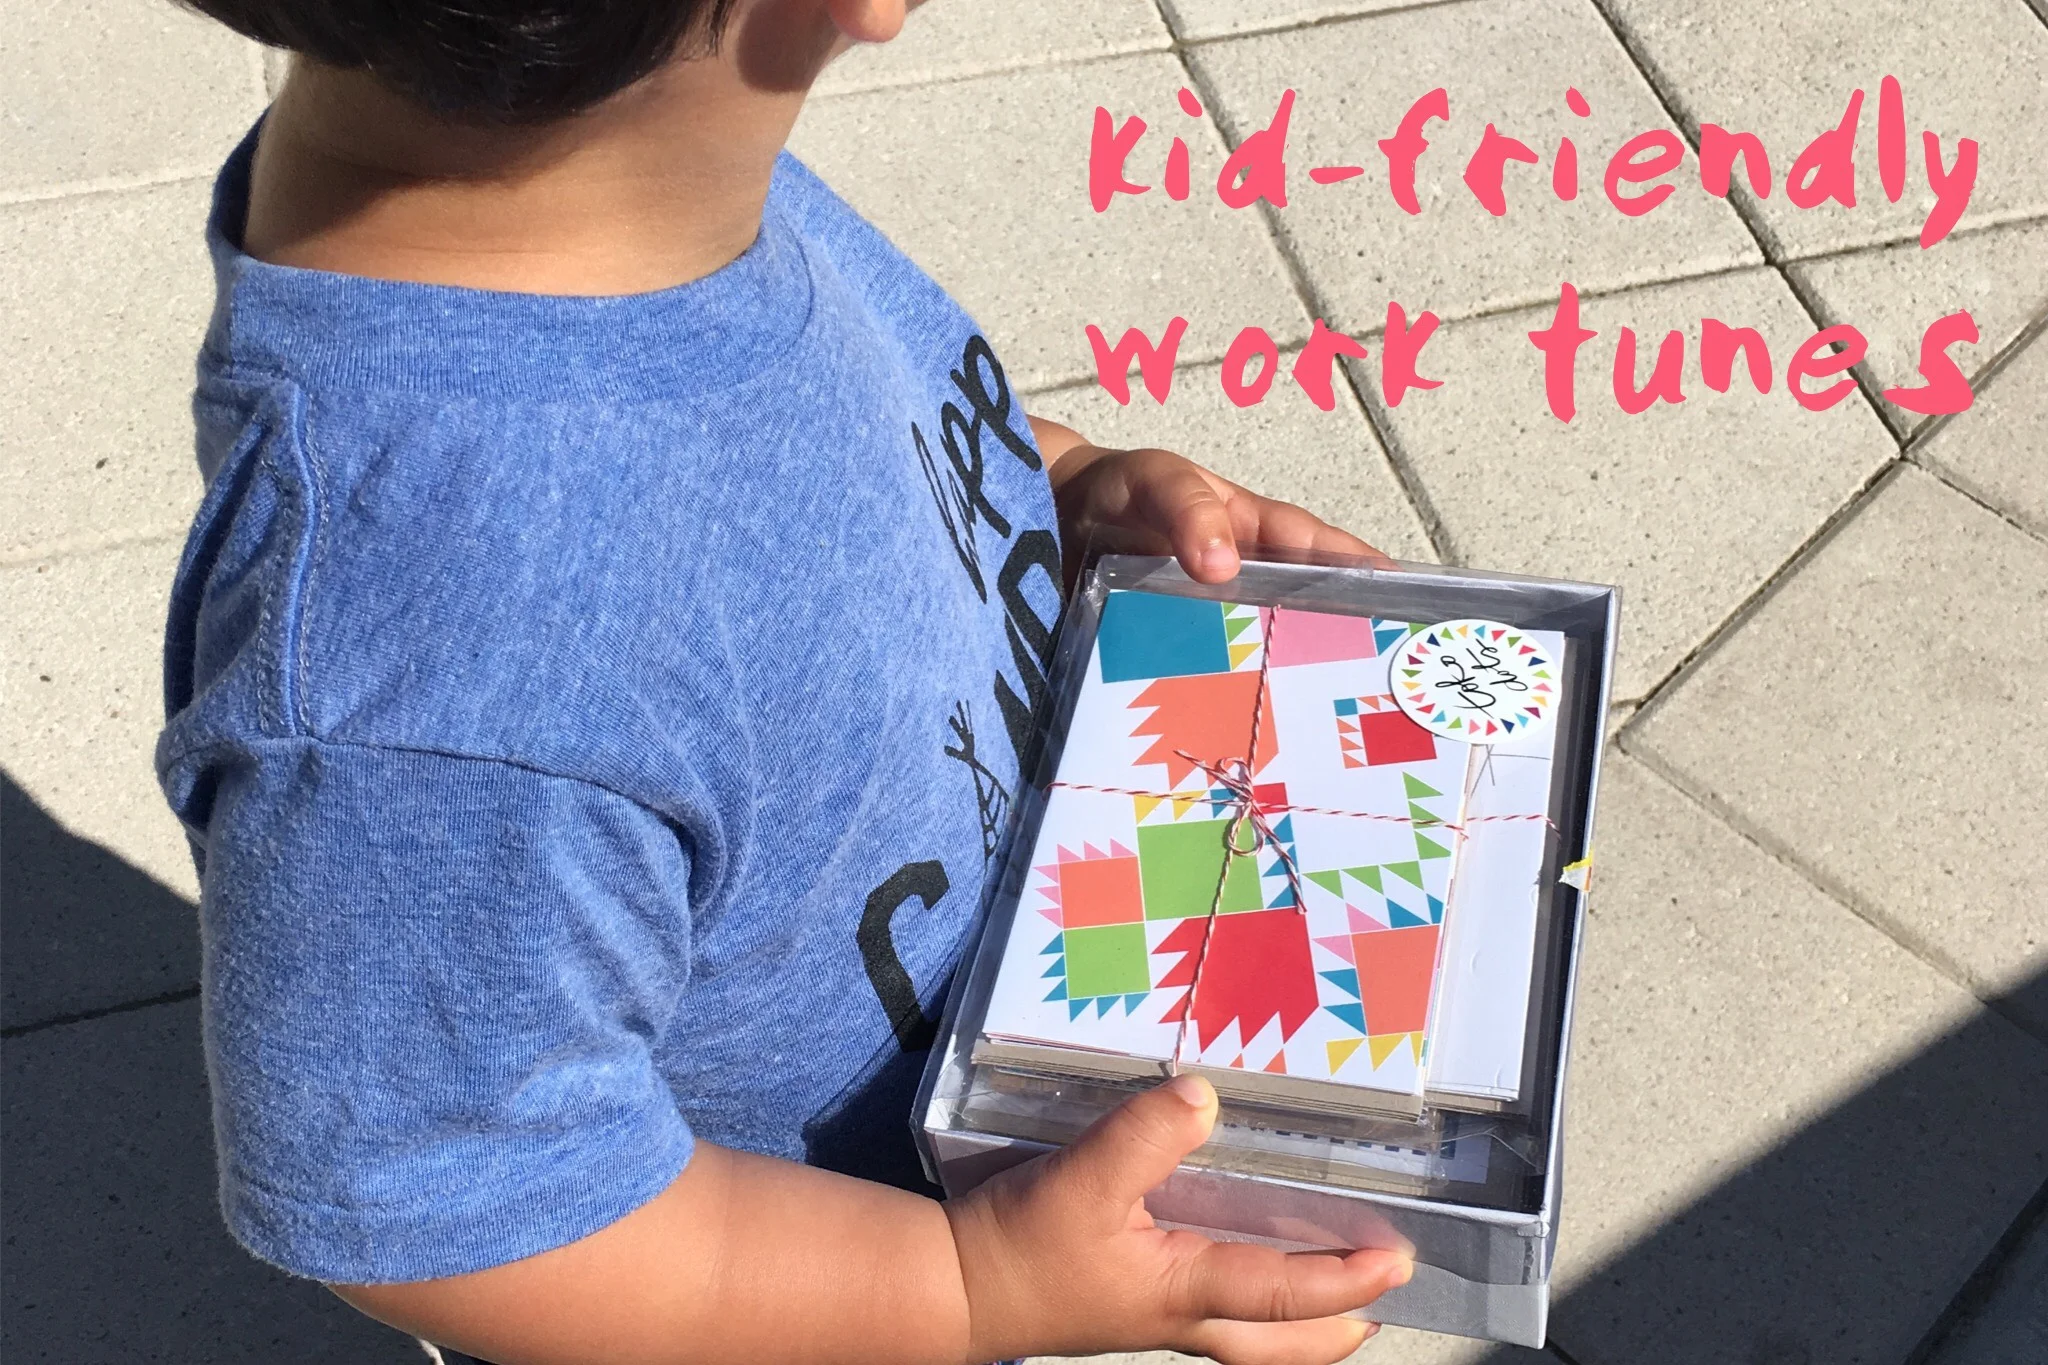
Hey friends, Molly from Tokodots here, part-time stationery addict and full-time toddler mom, to share the soundtrack of my life these last few months if you need to get out of your music rut but you have little ones with big opinions on music.
Now that summer's here, you might need some appropriately upbeat tunes to get moving on a hot day, so check out my kid-approved playlist below. All the songs have been enthusiastically recommended by my music loving 2-year-old but are fun for mom and dad to listen to as well. I wouldn't recommend letting on that the songs can be individually repeated though, lest you find yourself listening to one of them on an endless loop (please learn from my mistake on this one). This music is best suited to creative endeavors like coloring and hand-lettering, but just as good for house cleaning, dancing before naptime or as a soundtrack to a backyard splash in the pool. Enjoy!
Creativity Camp: Basic Shibori Dyeing
Welcome back! This week, we are making over some old white cotton shirts with shibori, a Japanese folding technique to create dyed patterns in fabric. You can use this folding method with any type of modern dye, or the beautiful, traditional indigo vat. For simplicity's sake, we are using Rit Dye on the stove top this time.
Gather your supplies, and keep reading for the tutorial. We need a bottle of dye, half a cup of salt, a squirt of dish soap, a gallon of water in a large pot, tongs, fabric or clothing, and rubber bands/clips/pipe cleaners/popcicle sticks.

First, let's do an accordion fold on your item of clothing. Fold your item in half. Then fold the top half back to line up with the edge. Flip over your item and fold the other side back and match the edge again. Now fold the sleeves back. The goal is to make all the edges line up evenly for the next step. (You can stop here, And move on to rubber bands or keep on like the photo.) Now, fold one bottom corner to the edge to make a triangle. Flip the item over, and fold the triangle up along the edge. Flip and fold, flip and fold triangles all the way to the end.

Use rubber bands, bottle caps, clips, pipe cleaners, and popsicle sticks to create resist patterns. Now let's prepare the dye.

This part is for adults or older kids. Be careful! Turn your stove on high to boil, and add the salt. Once dissolved, add the dye and a small squirt of dish soap. (We are using black on small items for saturated colors, so we only used half the recommended water.) Reduce your stove to medium heat, and dye your items for 30 minutes.

Use your tongs to remove your folds, allowing the dye water to drain as much as possible.
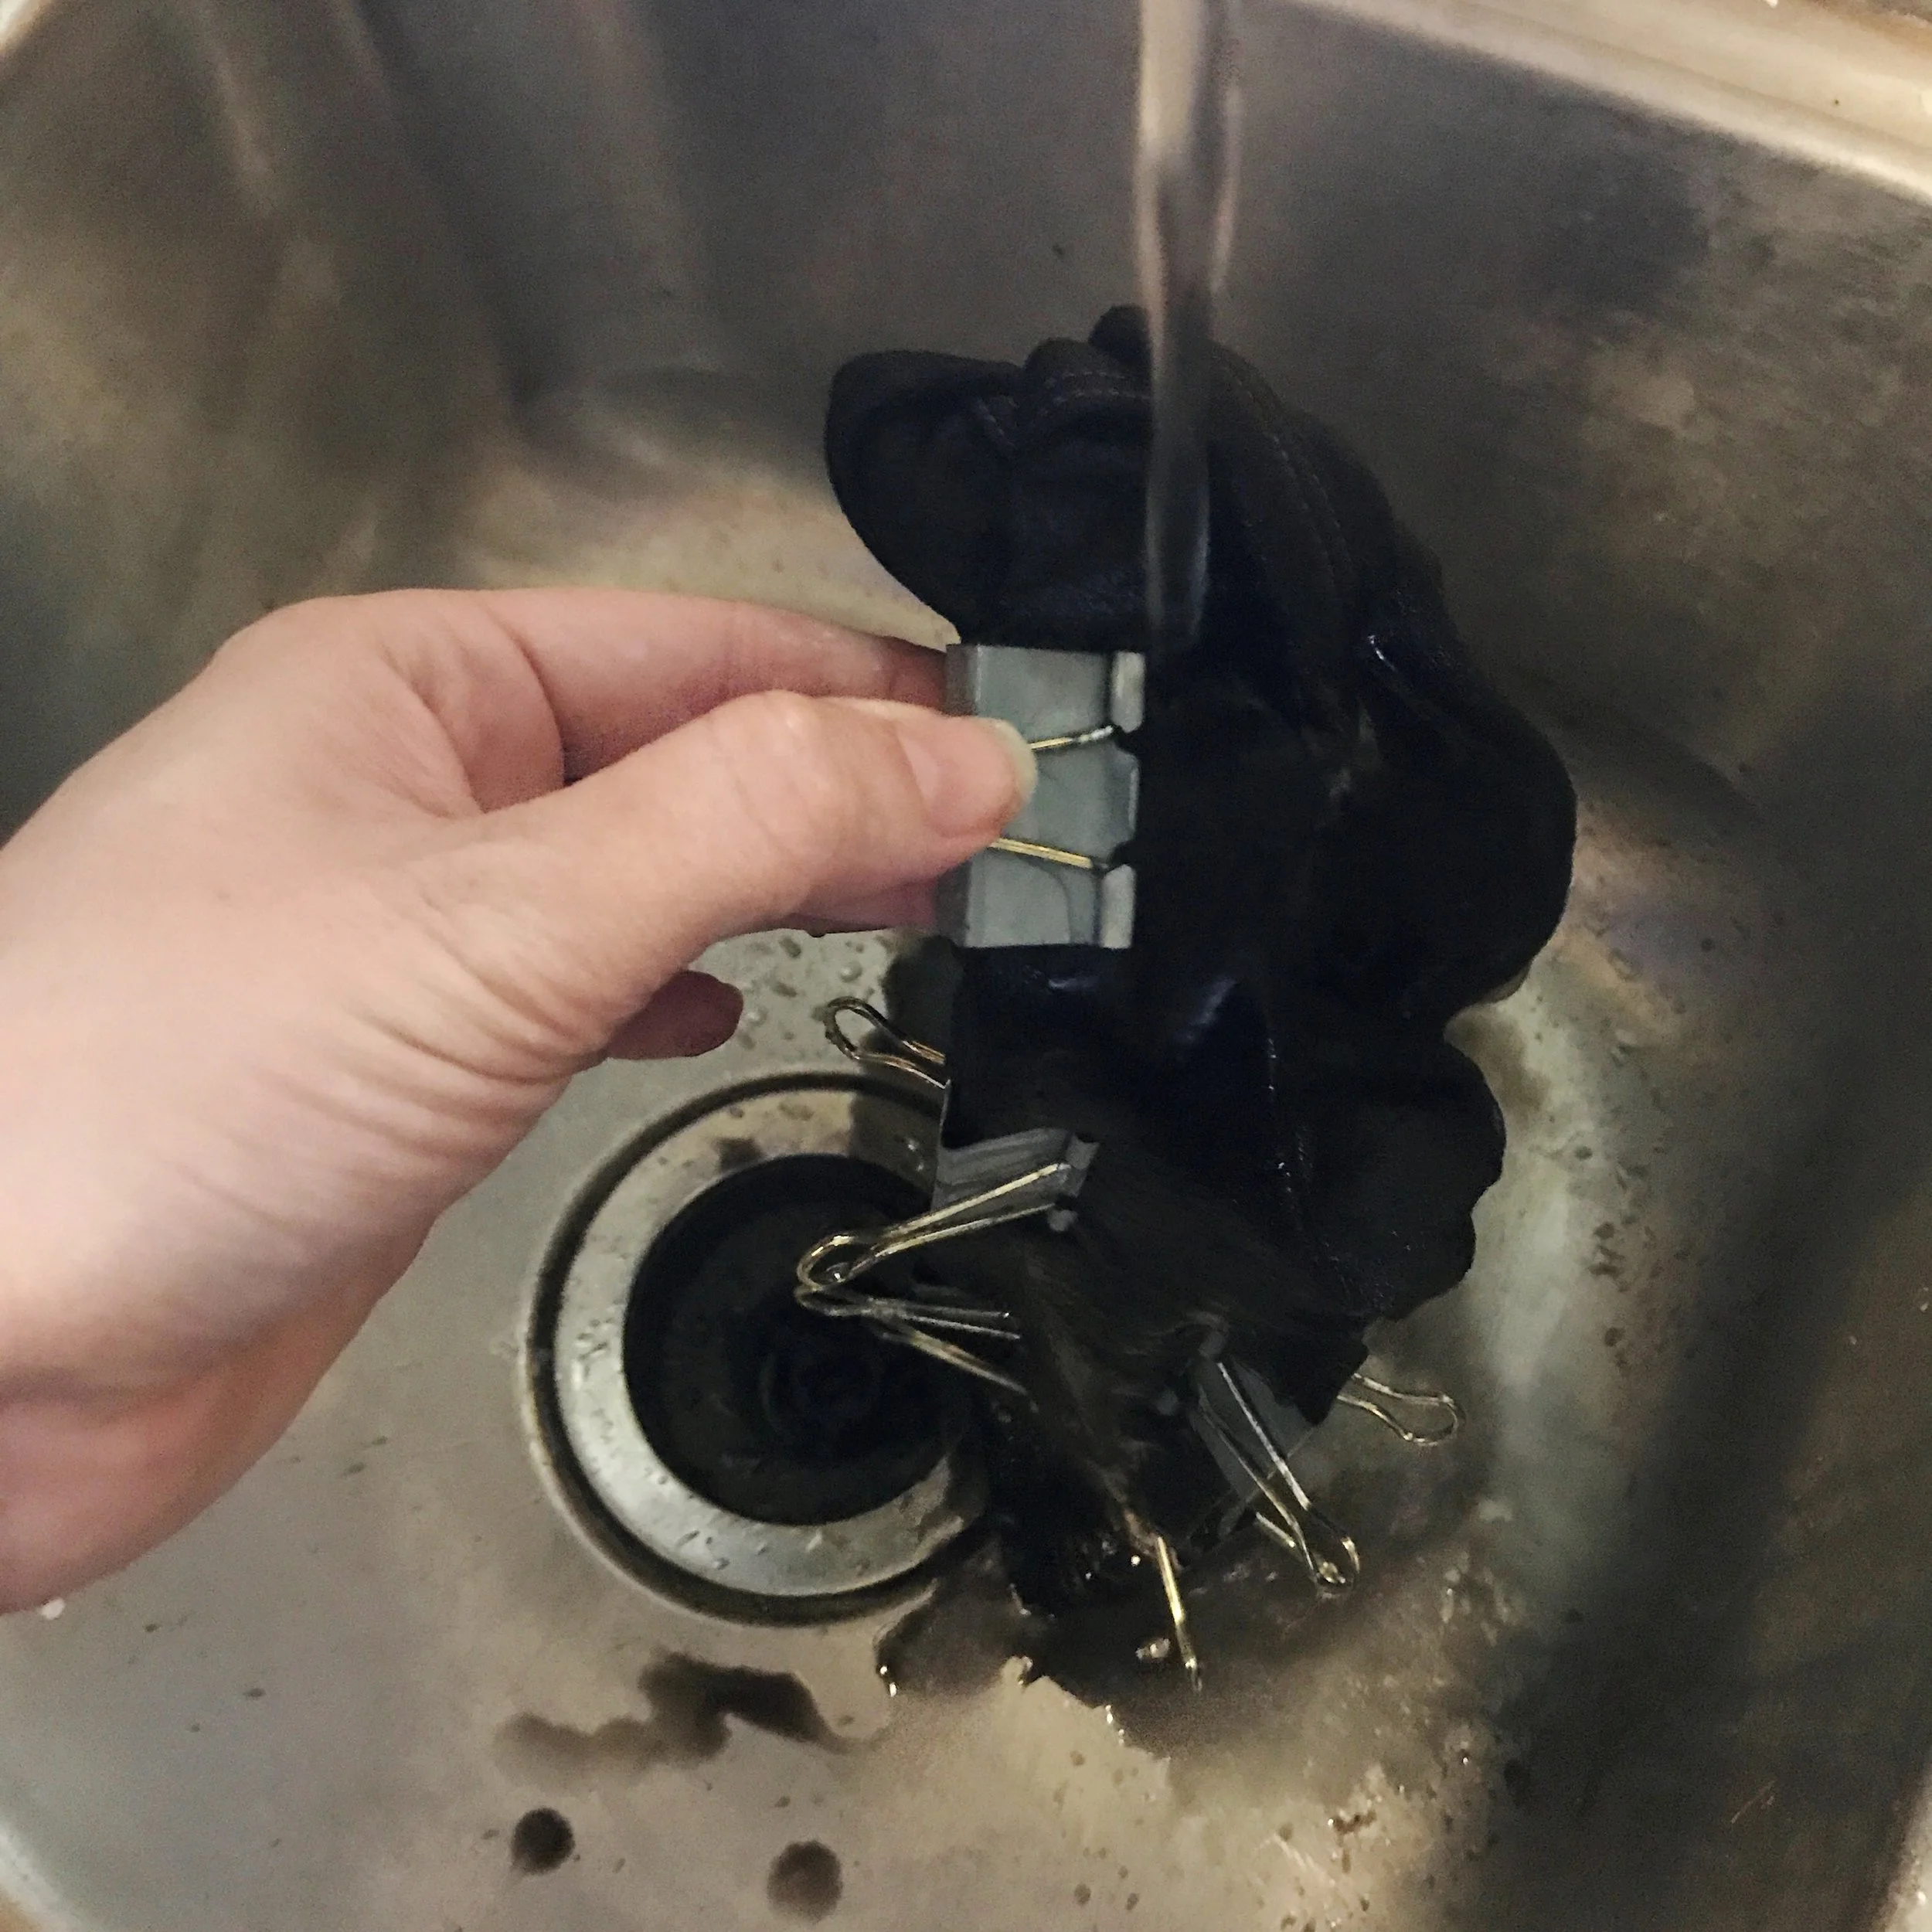
Rinse your items in the sink until the water runs mostly clear, then remove your rubber bands and clips. (Don't use dye in porcelain or porous sinks, it will absolutely stain! You can take them straight to the washer, but your whites may not be as white.)

Wash your items on cold with detergent, and dry them. From left, the patterns are the square accordion fold with popsicle stick resist, the pipe cleaner resist, the triangle accordion fold with bottle cap resist, and the binder clips resist.
I hope you enjoyed this project! Now you can make tea towels, napkins, pillow cases, wall hangings, and all sorts of good stuff! Be sure to tag us @etsydallas #EDCreativityCamp if you try it!

P.S. Use gloves! Lol!
Creativity Camp: Chalk Pastel Fireworks
Happy Monday, folks! We have an explosive 4th of July inspired project today, and an introduction to drawing with pastels. You are going to need a set of chalk pastels, some black paper, and a reference photo of some fireworks. Google a good one, and meet me back here for instructions.

Now that you are ready, pick a color and make a smoky haze by lightly rubbing the side of the pastel in a circular pattern on the paper. This is a great time to map out your composition. Chalk pastels are highly pigmented, so they seem to glow against dark backgrounds.

Use your finger to rub the pastel into smoke.
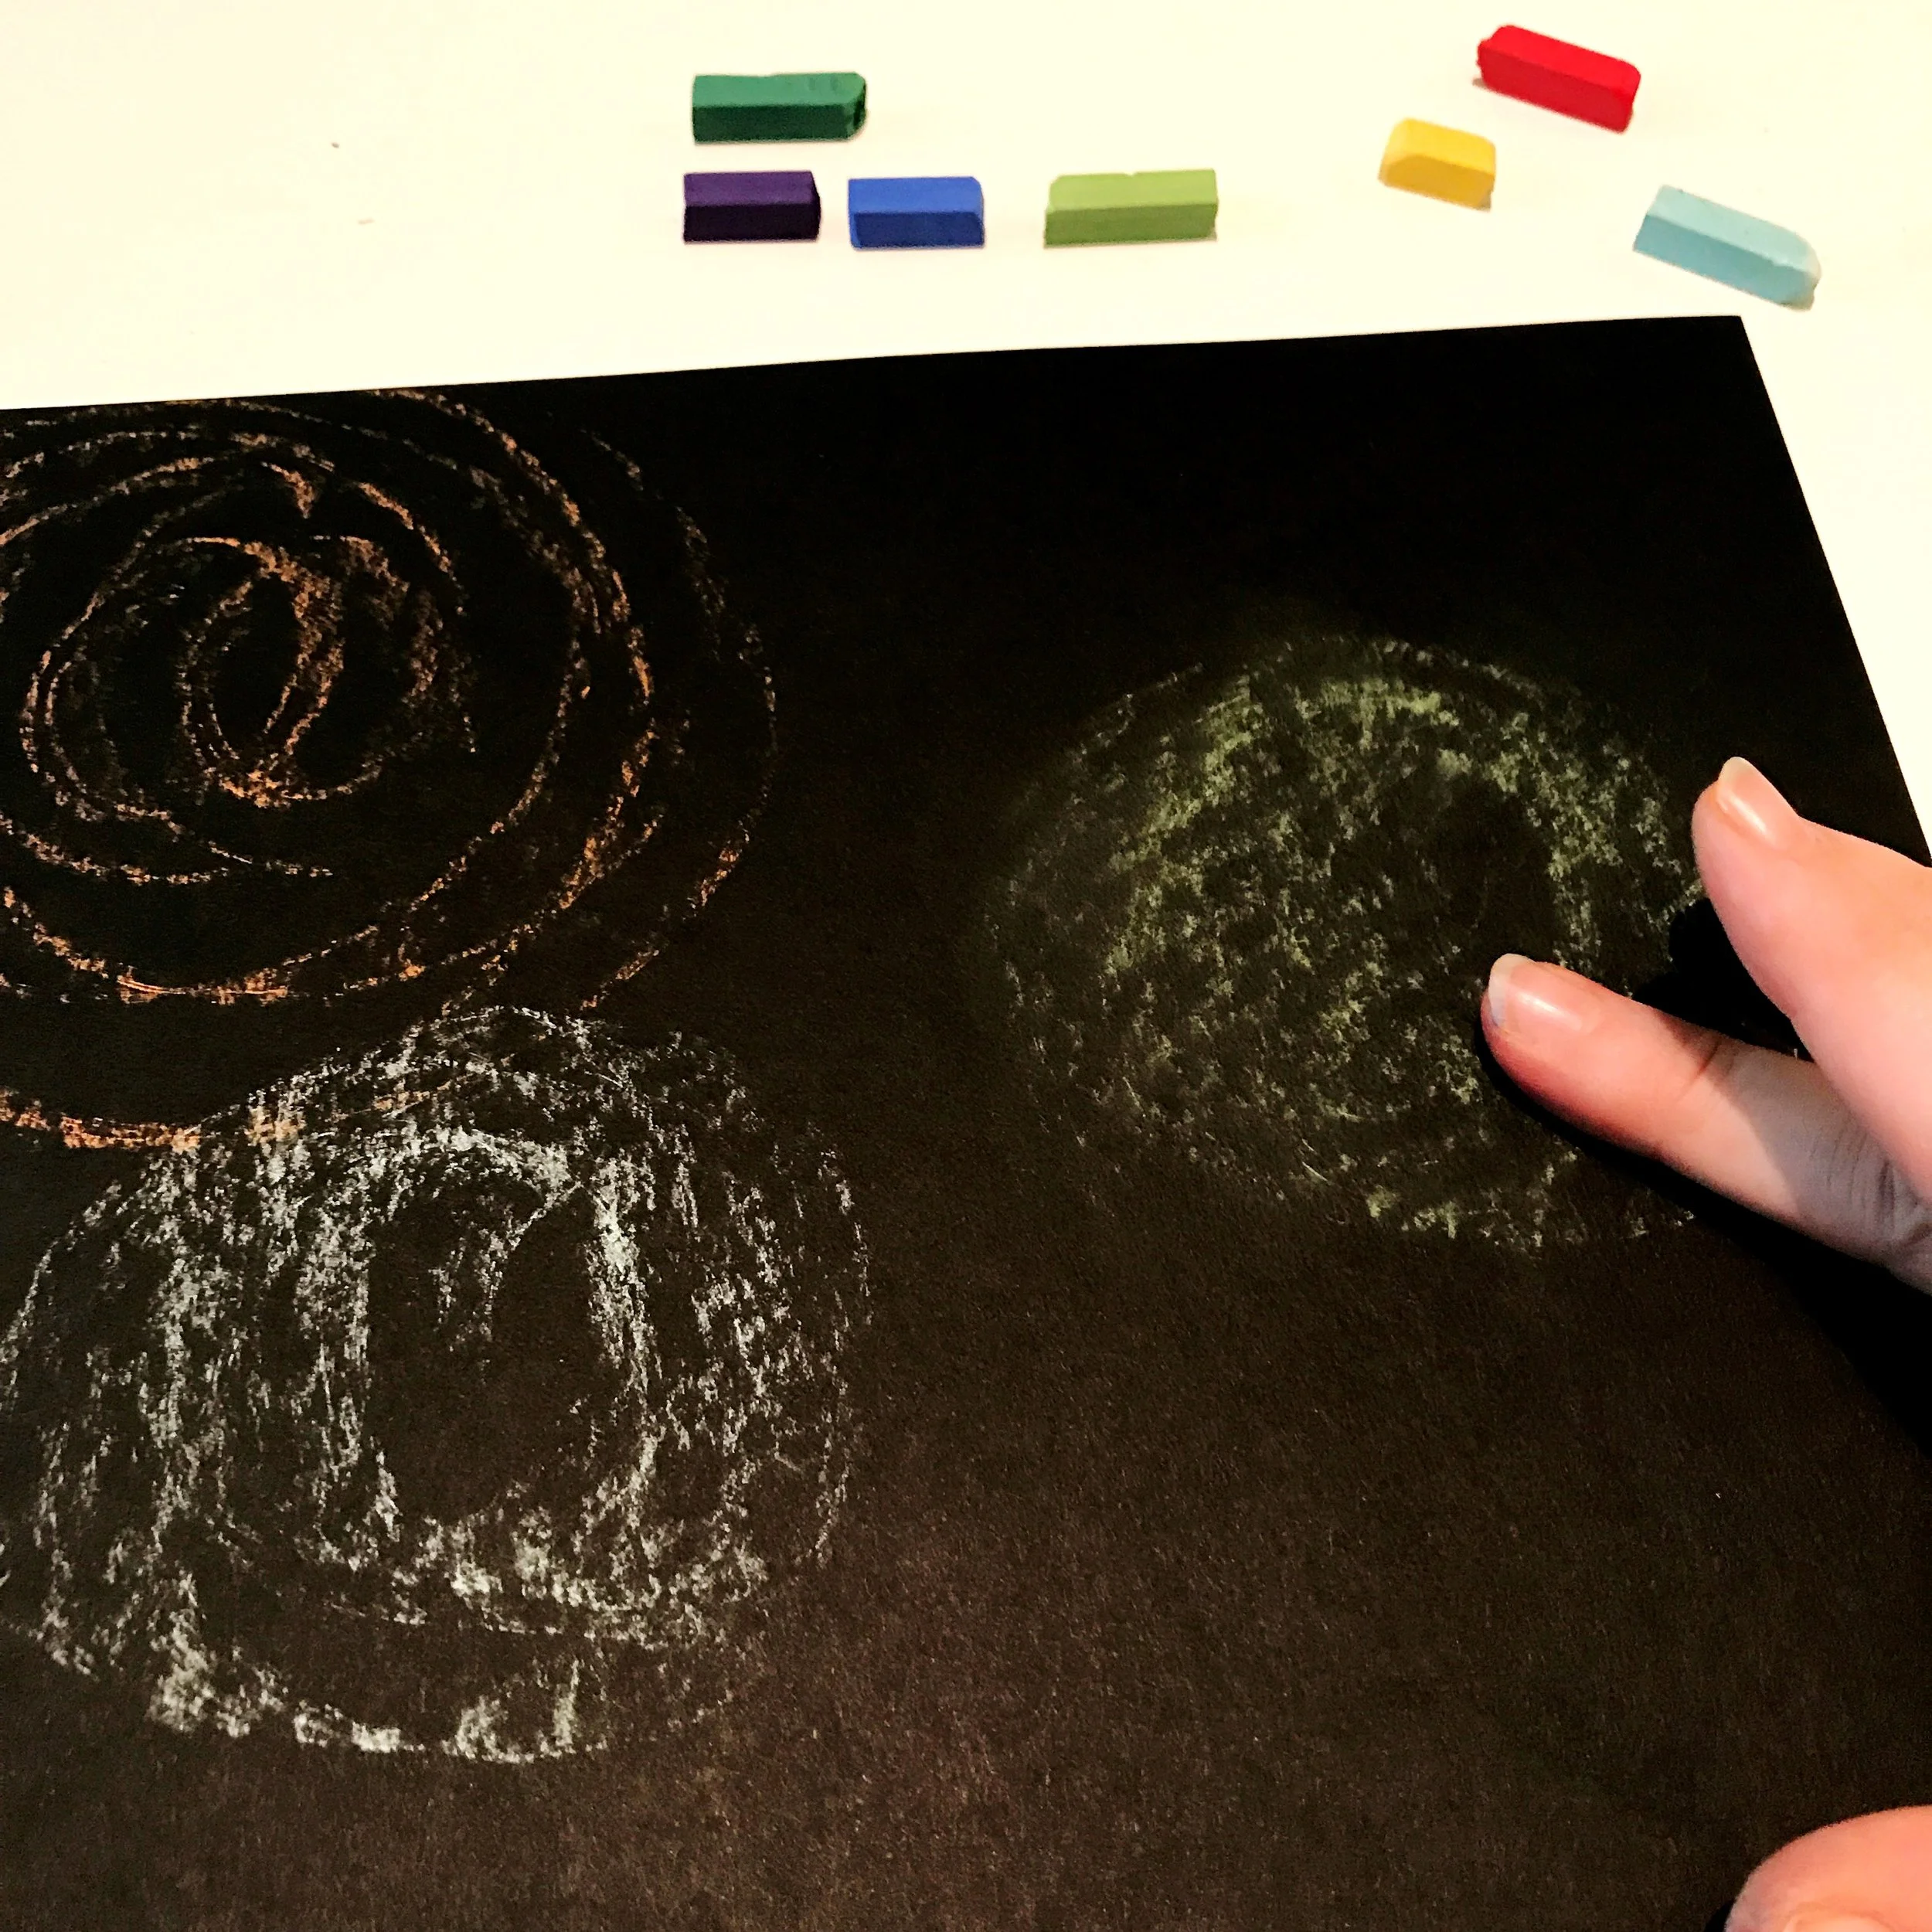
Find the center of your circle, and work your way around it with short organic lines.

Choose another color, and draw more lines. Be aware of the direction you drew your original lines and try to match the angles.

Keep going and alternating colors and building lines until the explosion looks full. A little imperfection in the lines makes it look more realistic, so allow your lines to be different lengths.

Begin and build your other fireworks the same way.

Use lighter colors on top of darker colors to connect areas and create highlights.
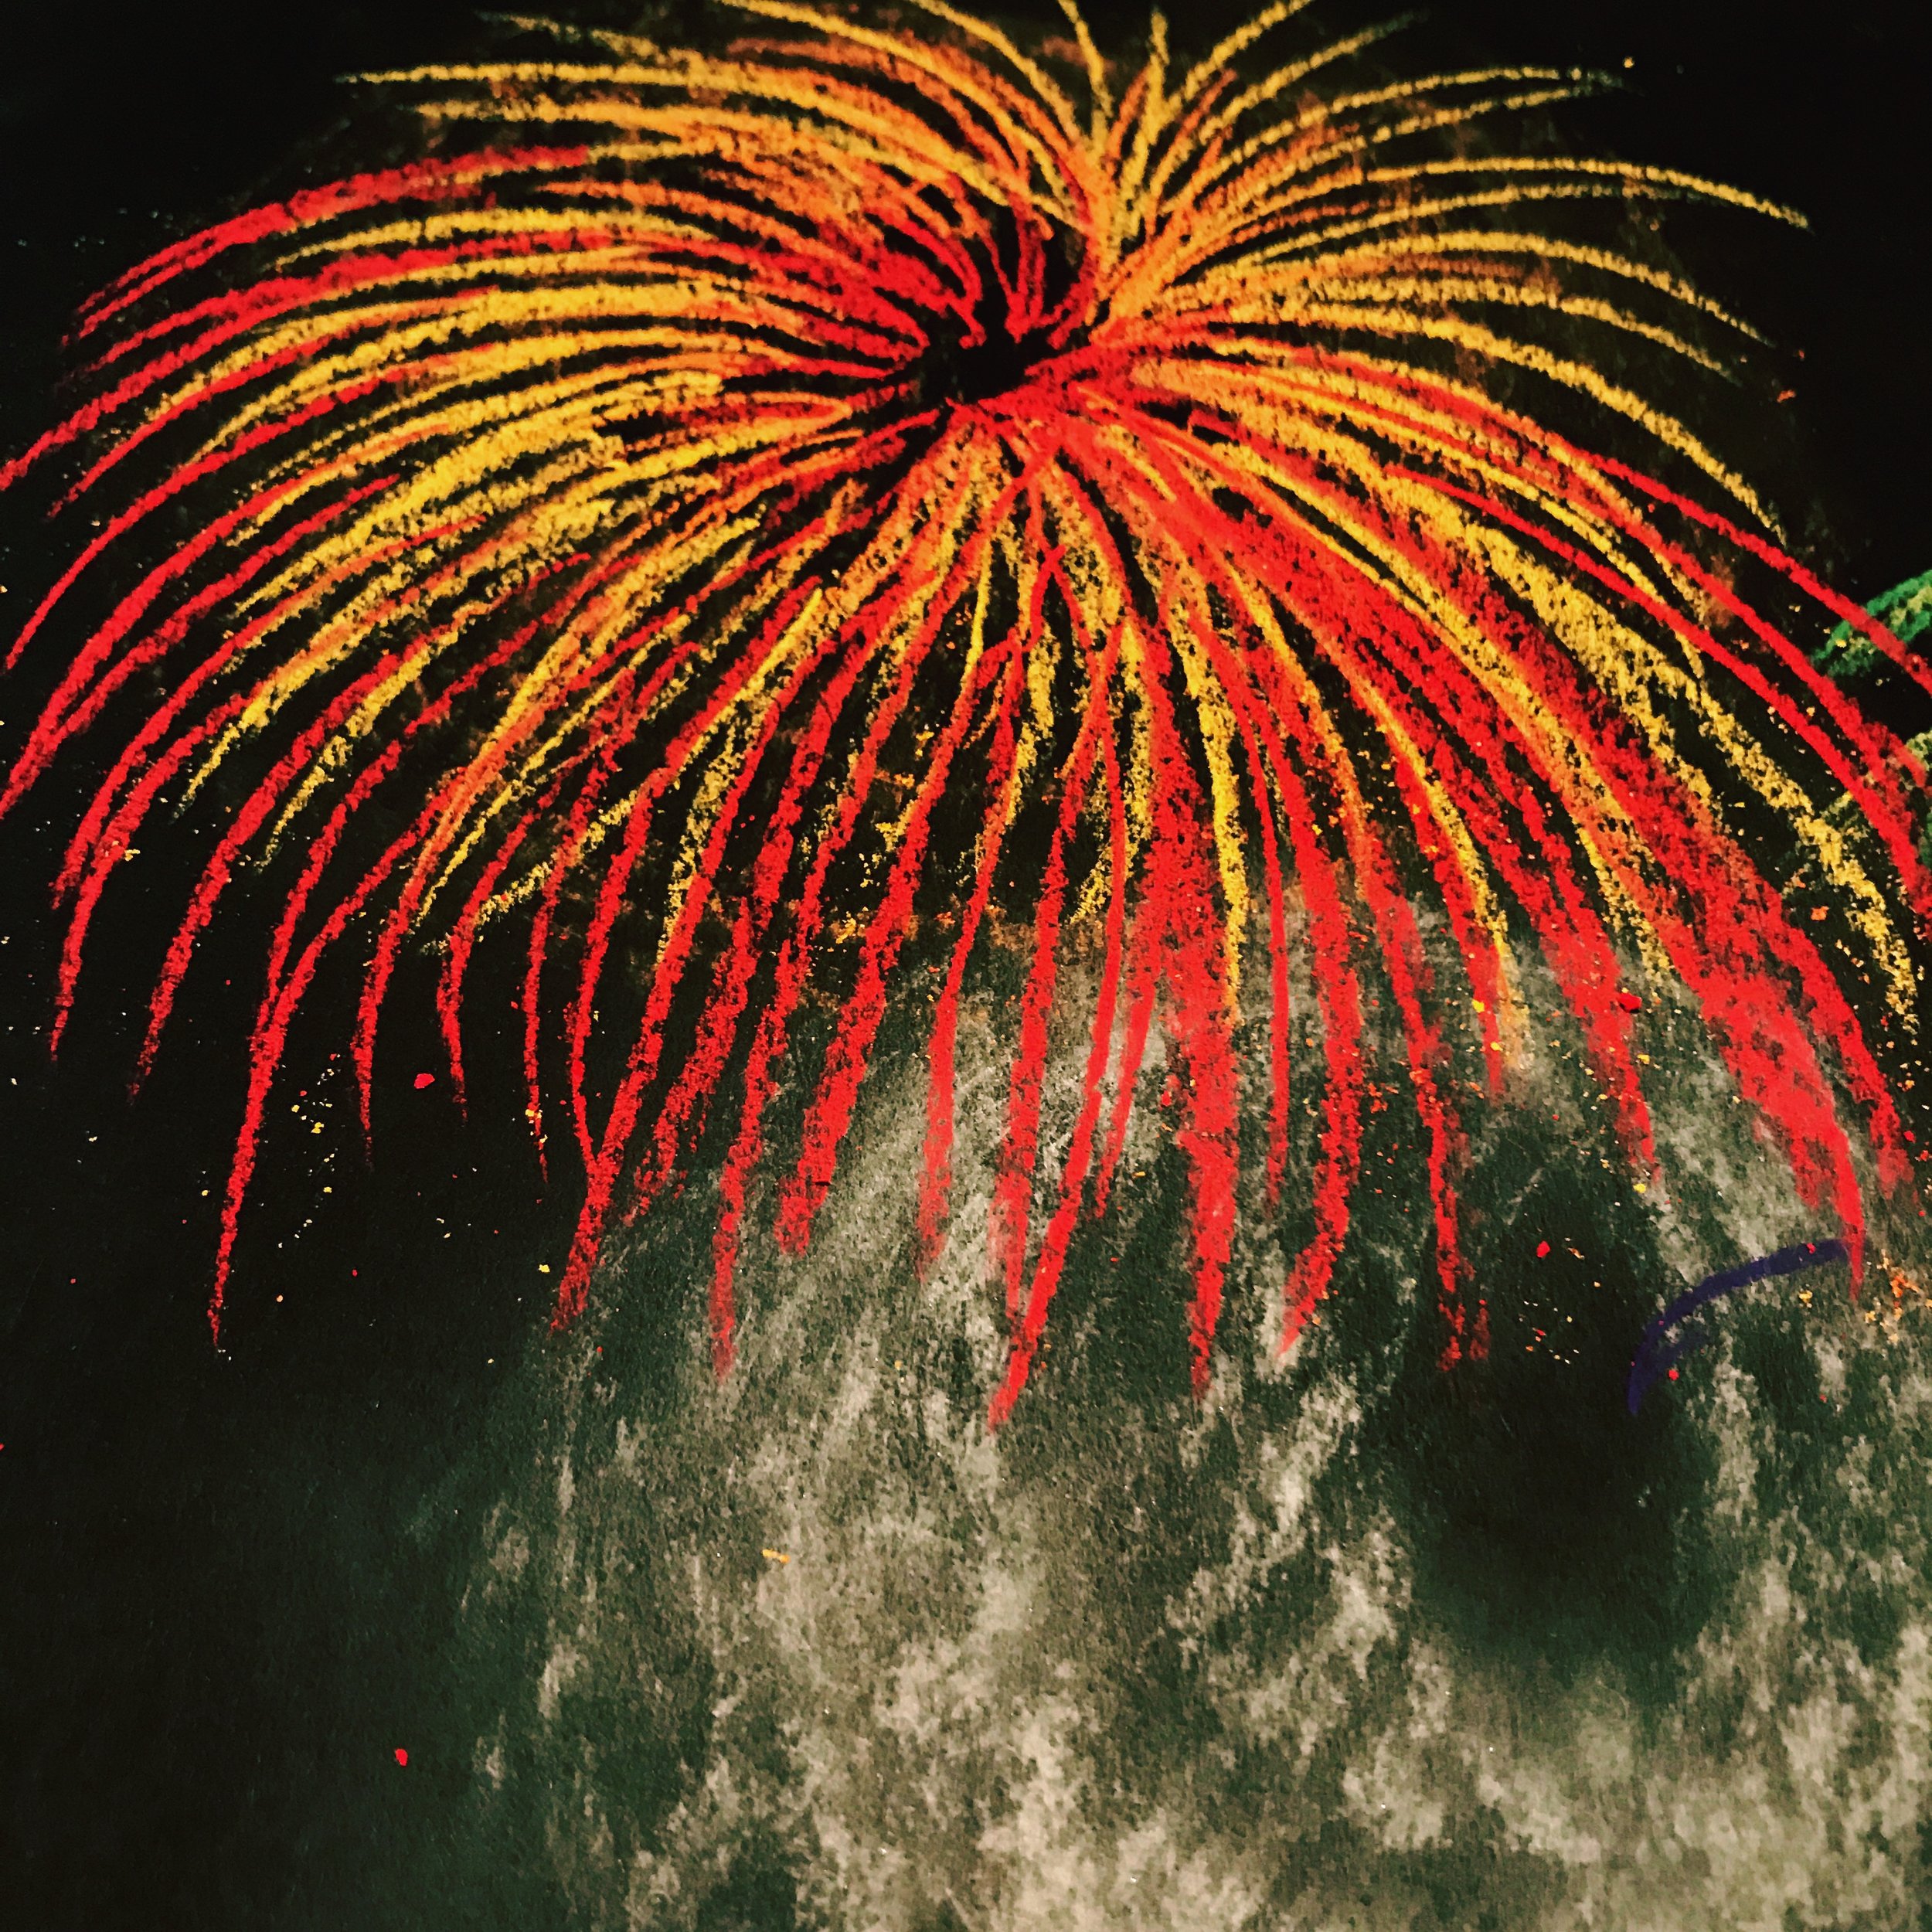
It gets really fun when the lines start overlapping!

To finish, use your finger to smudge some of the ends of the lines as though you were continuing the lines. This will soften the edges and create areas of focus in your composition.

That's it! Happy Independence Day! We wish you all a safe and exciting 4th with your loved ones! Be sure to tag us @etsydallas #EDCreativityCamp, we would love to see!

Creativity Camp: Marbled Clay Monogram Charms

Today's project is a gateway technique, you've been warned. You can make anything with polymer clay! Until you get the hang of it, start small with simple, rewarding projects like coasters or beads. There are tons of videos on YouTube for inspiration. Google "polymer clay cane tutorial" and prepare to be amazed. For this project, you'll need some Sculpey in a few different colors, a fine tipped metallic paint pen or metallic acrylic paint, an x-acto knife, toothpicks, a nickel, a nail file, and a necklace chain with a jump ring or string.
First, make three "snakes" with your different colored clays.

Then, twist your snakes together.

Fold, break, and smash the clay.
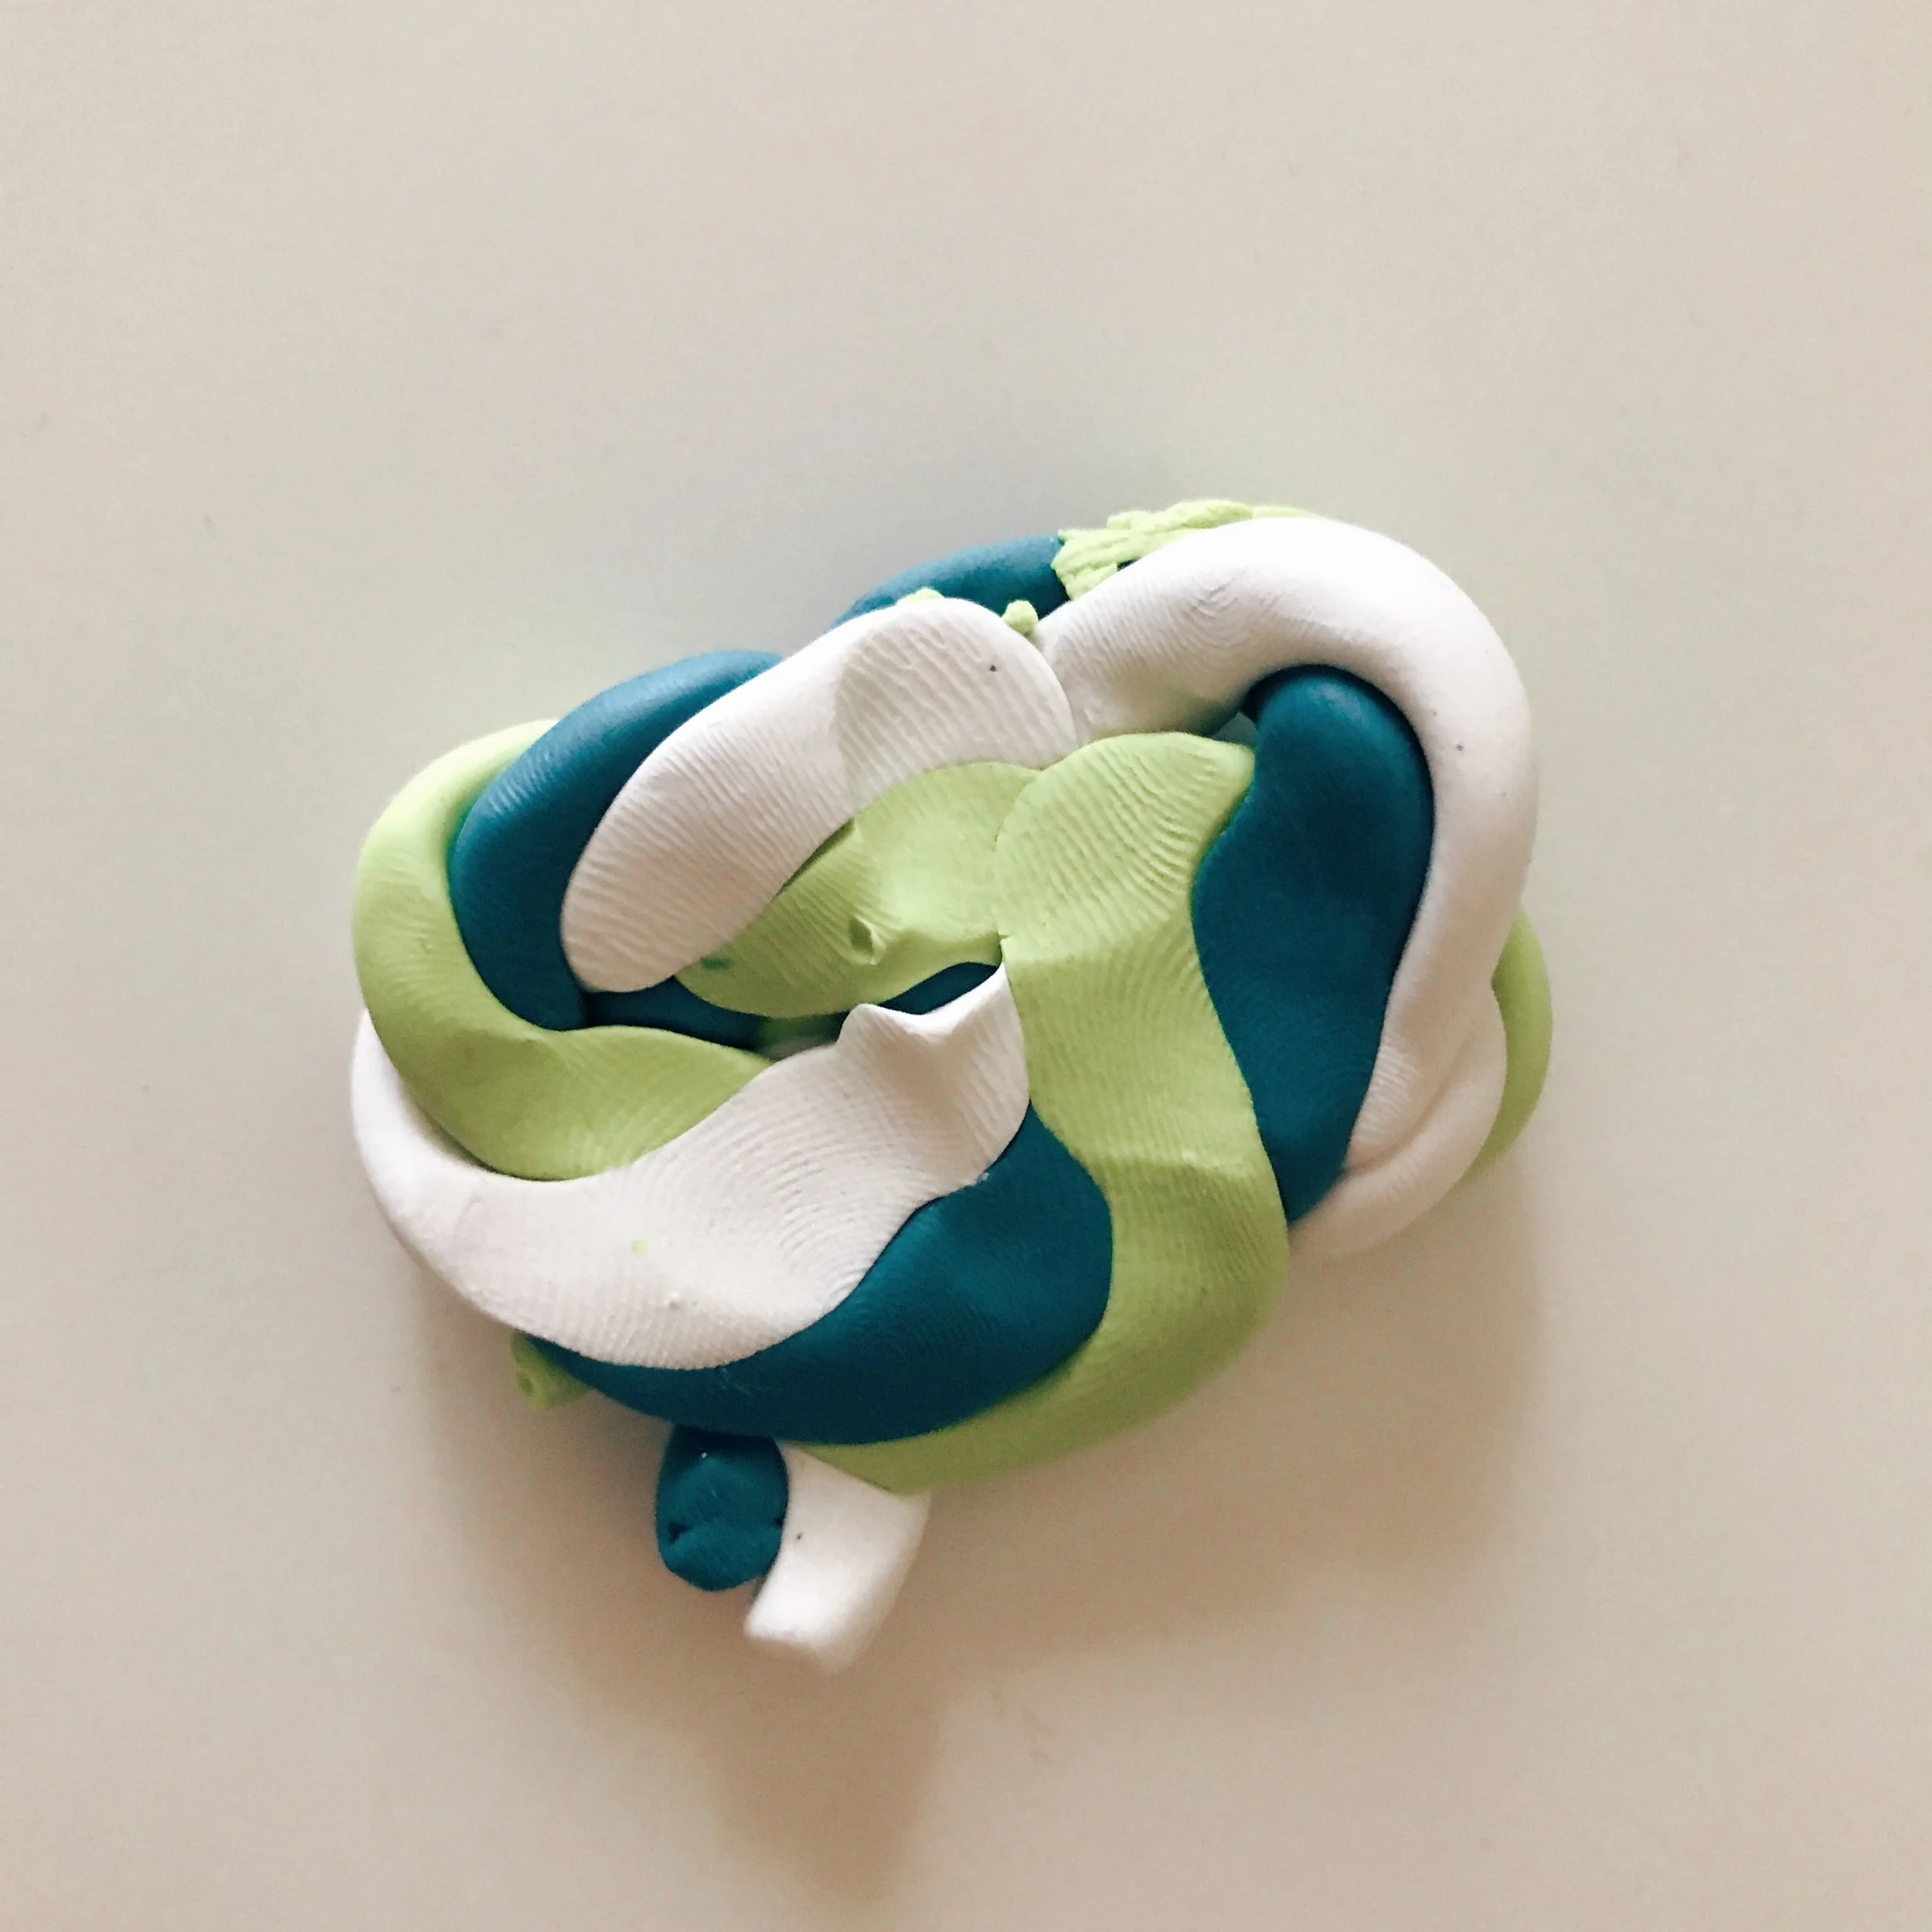
Keep going until everything is mixed, but not so far that the white disappears.

This looks like a good place to stop. Now, smash with a book or roll it flat with a rolling pin.
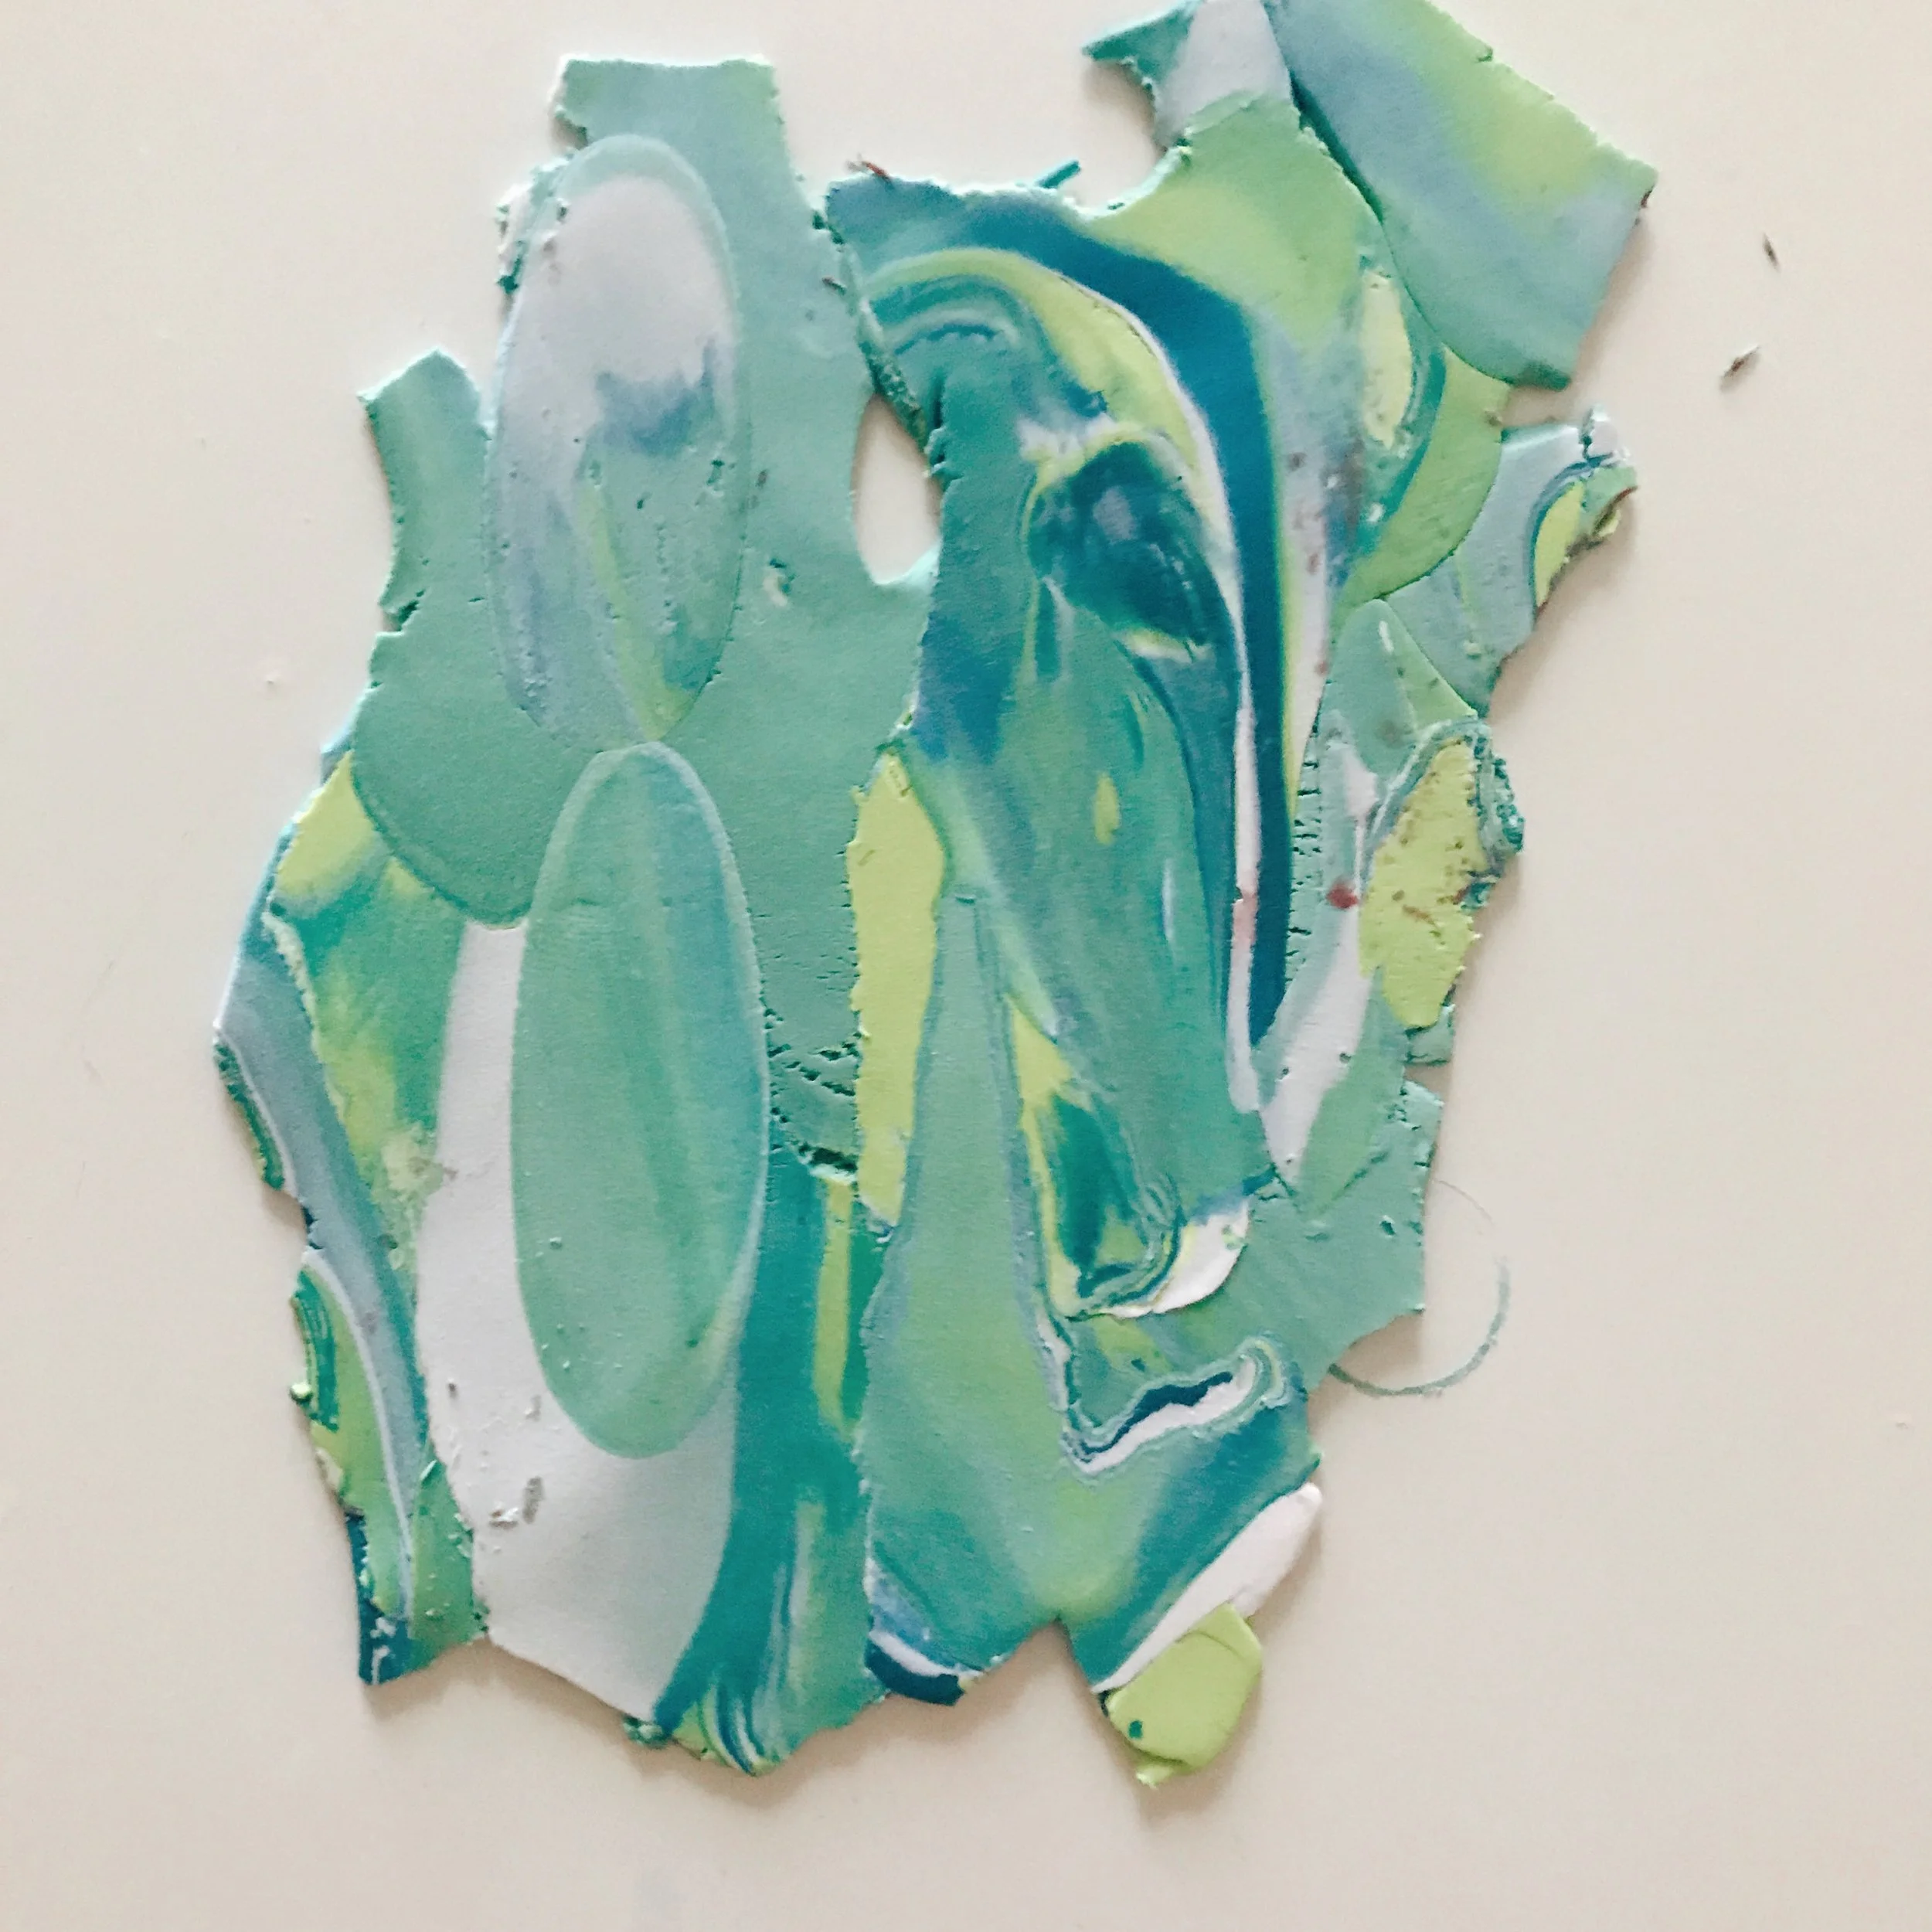
Pick out a section you like, and set your nickel on top. Use your x-acto knife to cut around the nickel.

Spin a toothpick in the top to make the hole for the jump loop.

Carefully lift your polymer clay "coins" and place them on a lined baking sheet.

Use your x-acto knife or toothpick to press in a letter. You could also use a rubber stamp. Bake your pendants at 275°F for 15 minutes.
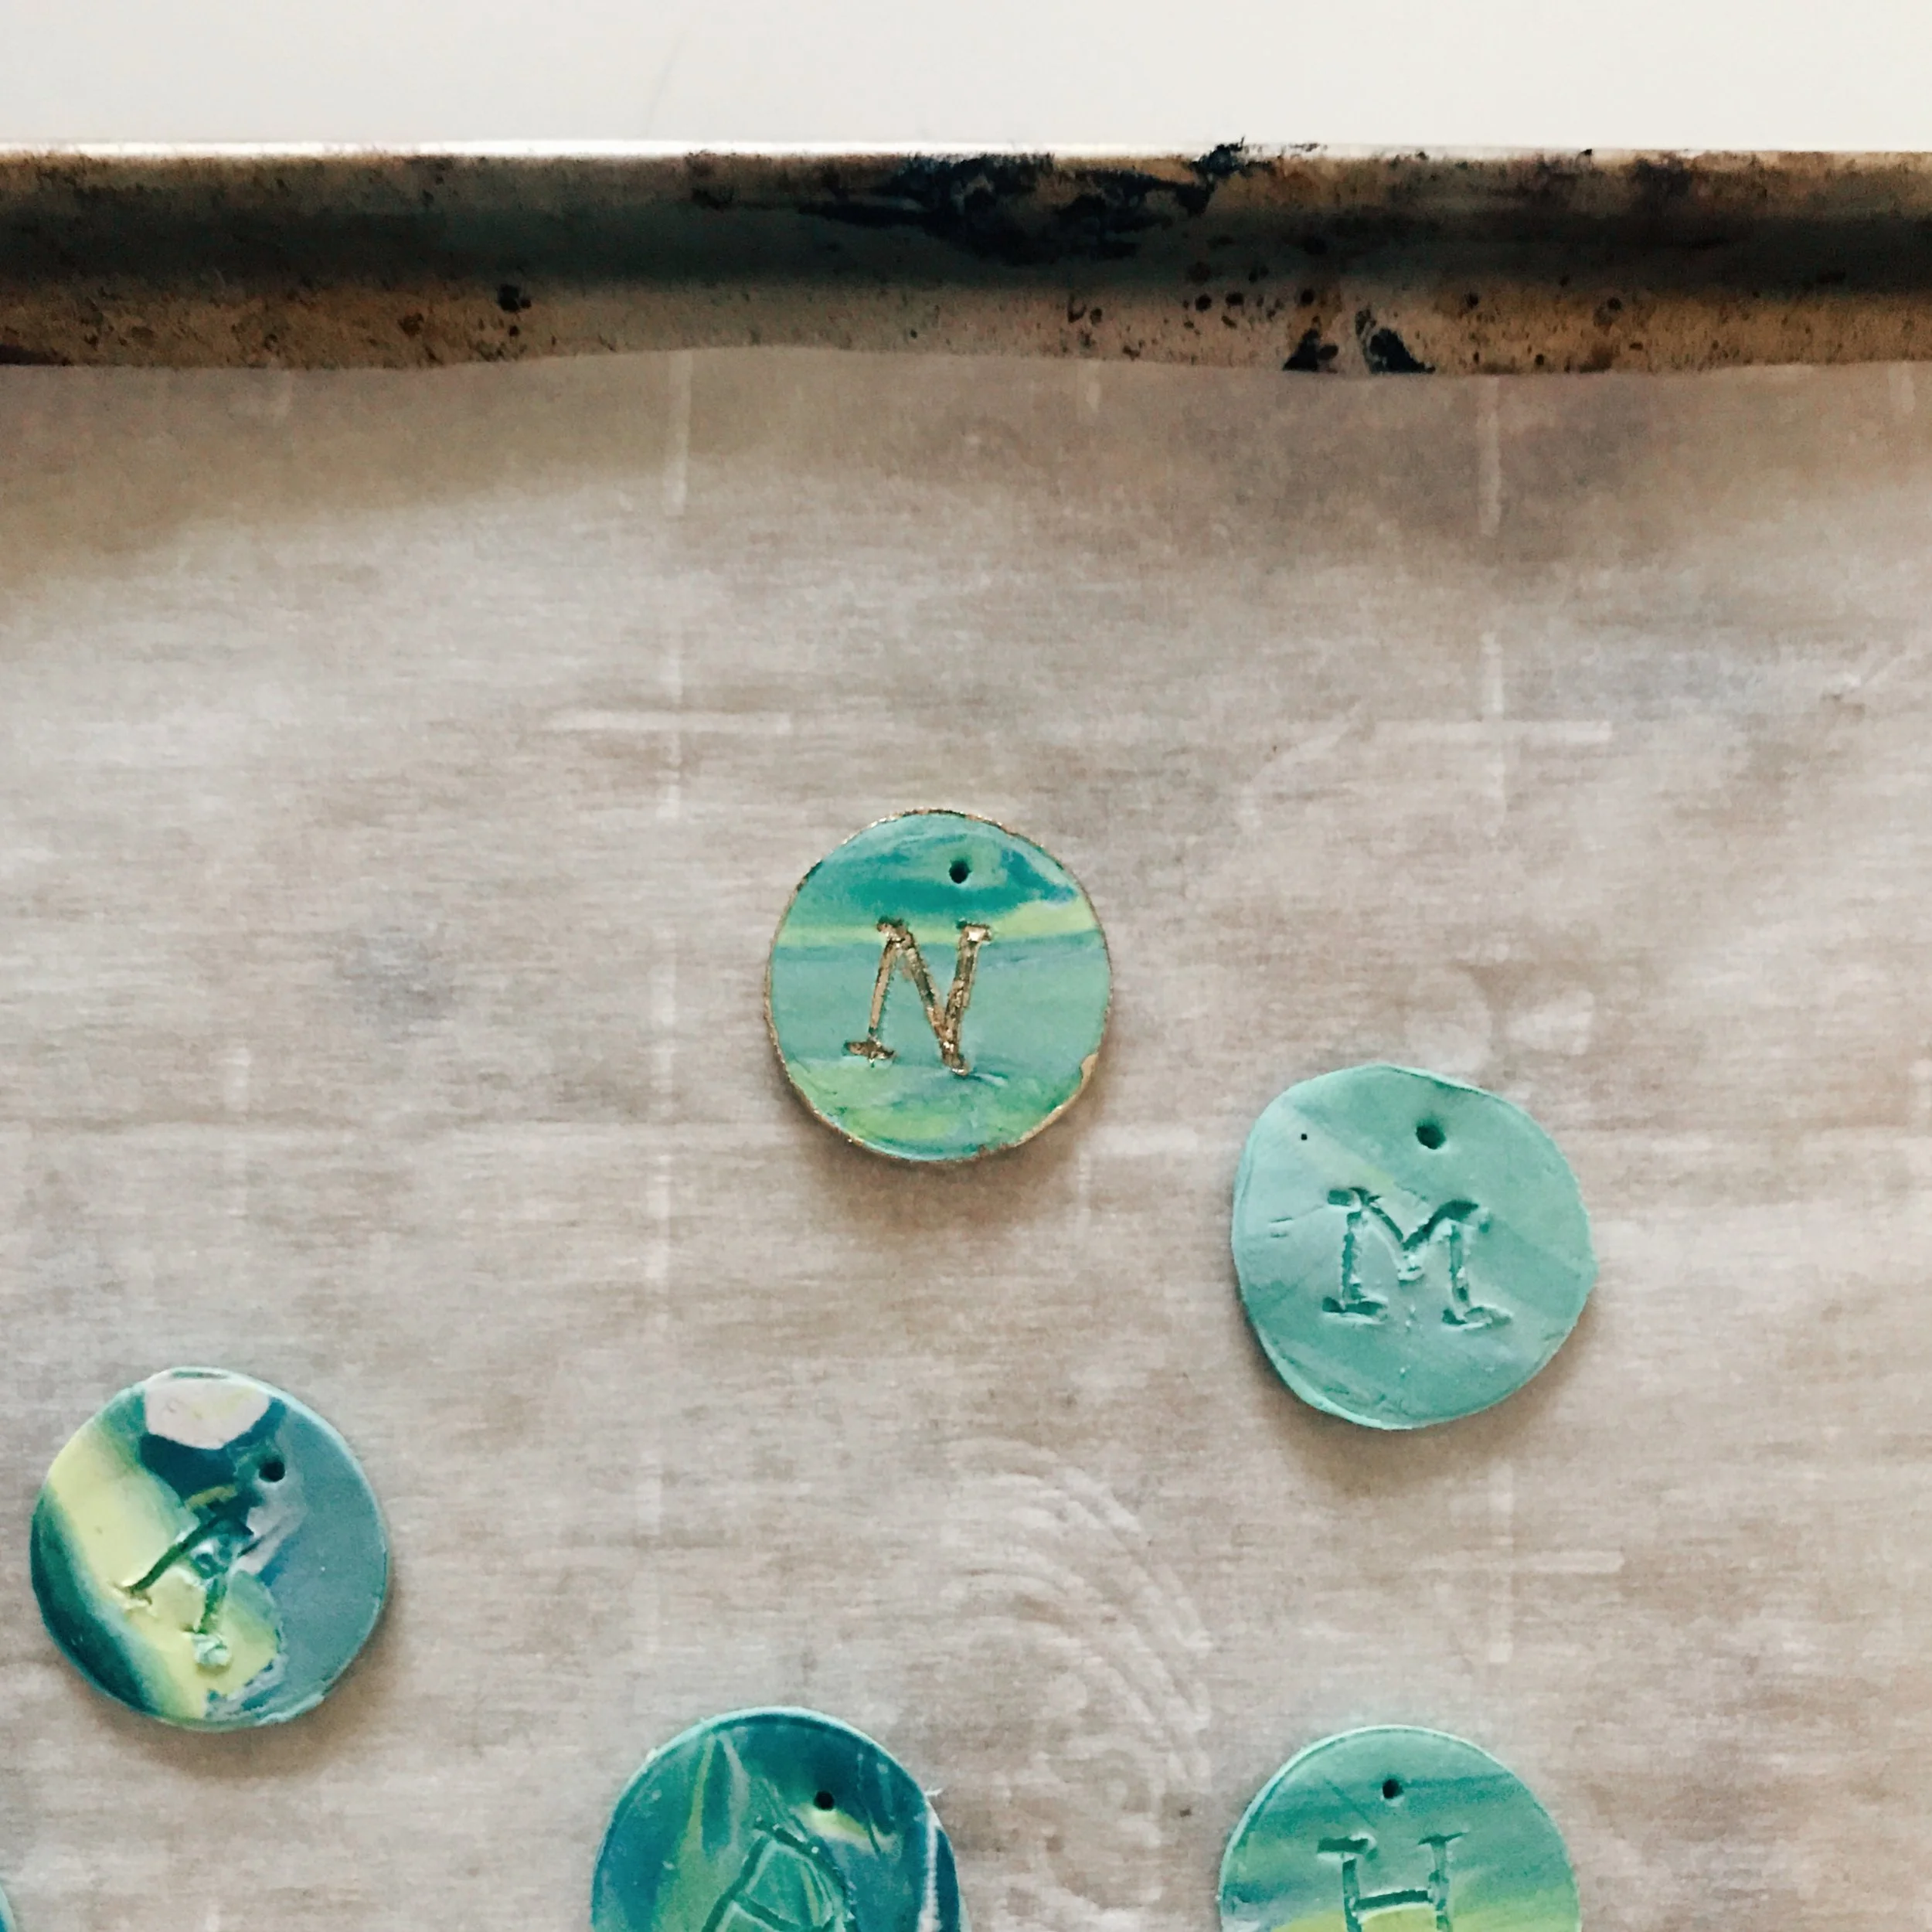
Once they have finished cooking, sand off the rough bits with a nail file, and use your metallic paint pen inside the letter and around the edges.

Let the paint dry and you're almost done! Use nice string or a jump loop and chain to turn this into a little necklace. Seal your pendant with varnish or polyurethane to make it more durable. Attach your jump loop, string it on your chain, and voila! Your handmade marbled clay monogram necklace is finished. We made several to share with some friends.

Thanks for joining us again this week, we hope you are having fun! Remember to tag us @etsydallas #EDCreativityCamp if you give this project a try!
Creativity Camp: Faux Watercolor Painting
Hello! Welcome back to our Creativity Camp. I hope you are enjoying this series, and that you and your kiddos are feeling inspired! Today, we are beating the rainy day blues with some colorful faux watercolor paintings. All you need is some watercolor paper (or heavy paper), tissue paper, tape, washable markers, and a water spritzer. Follow along!
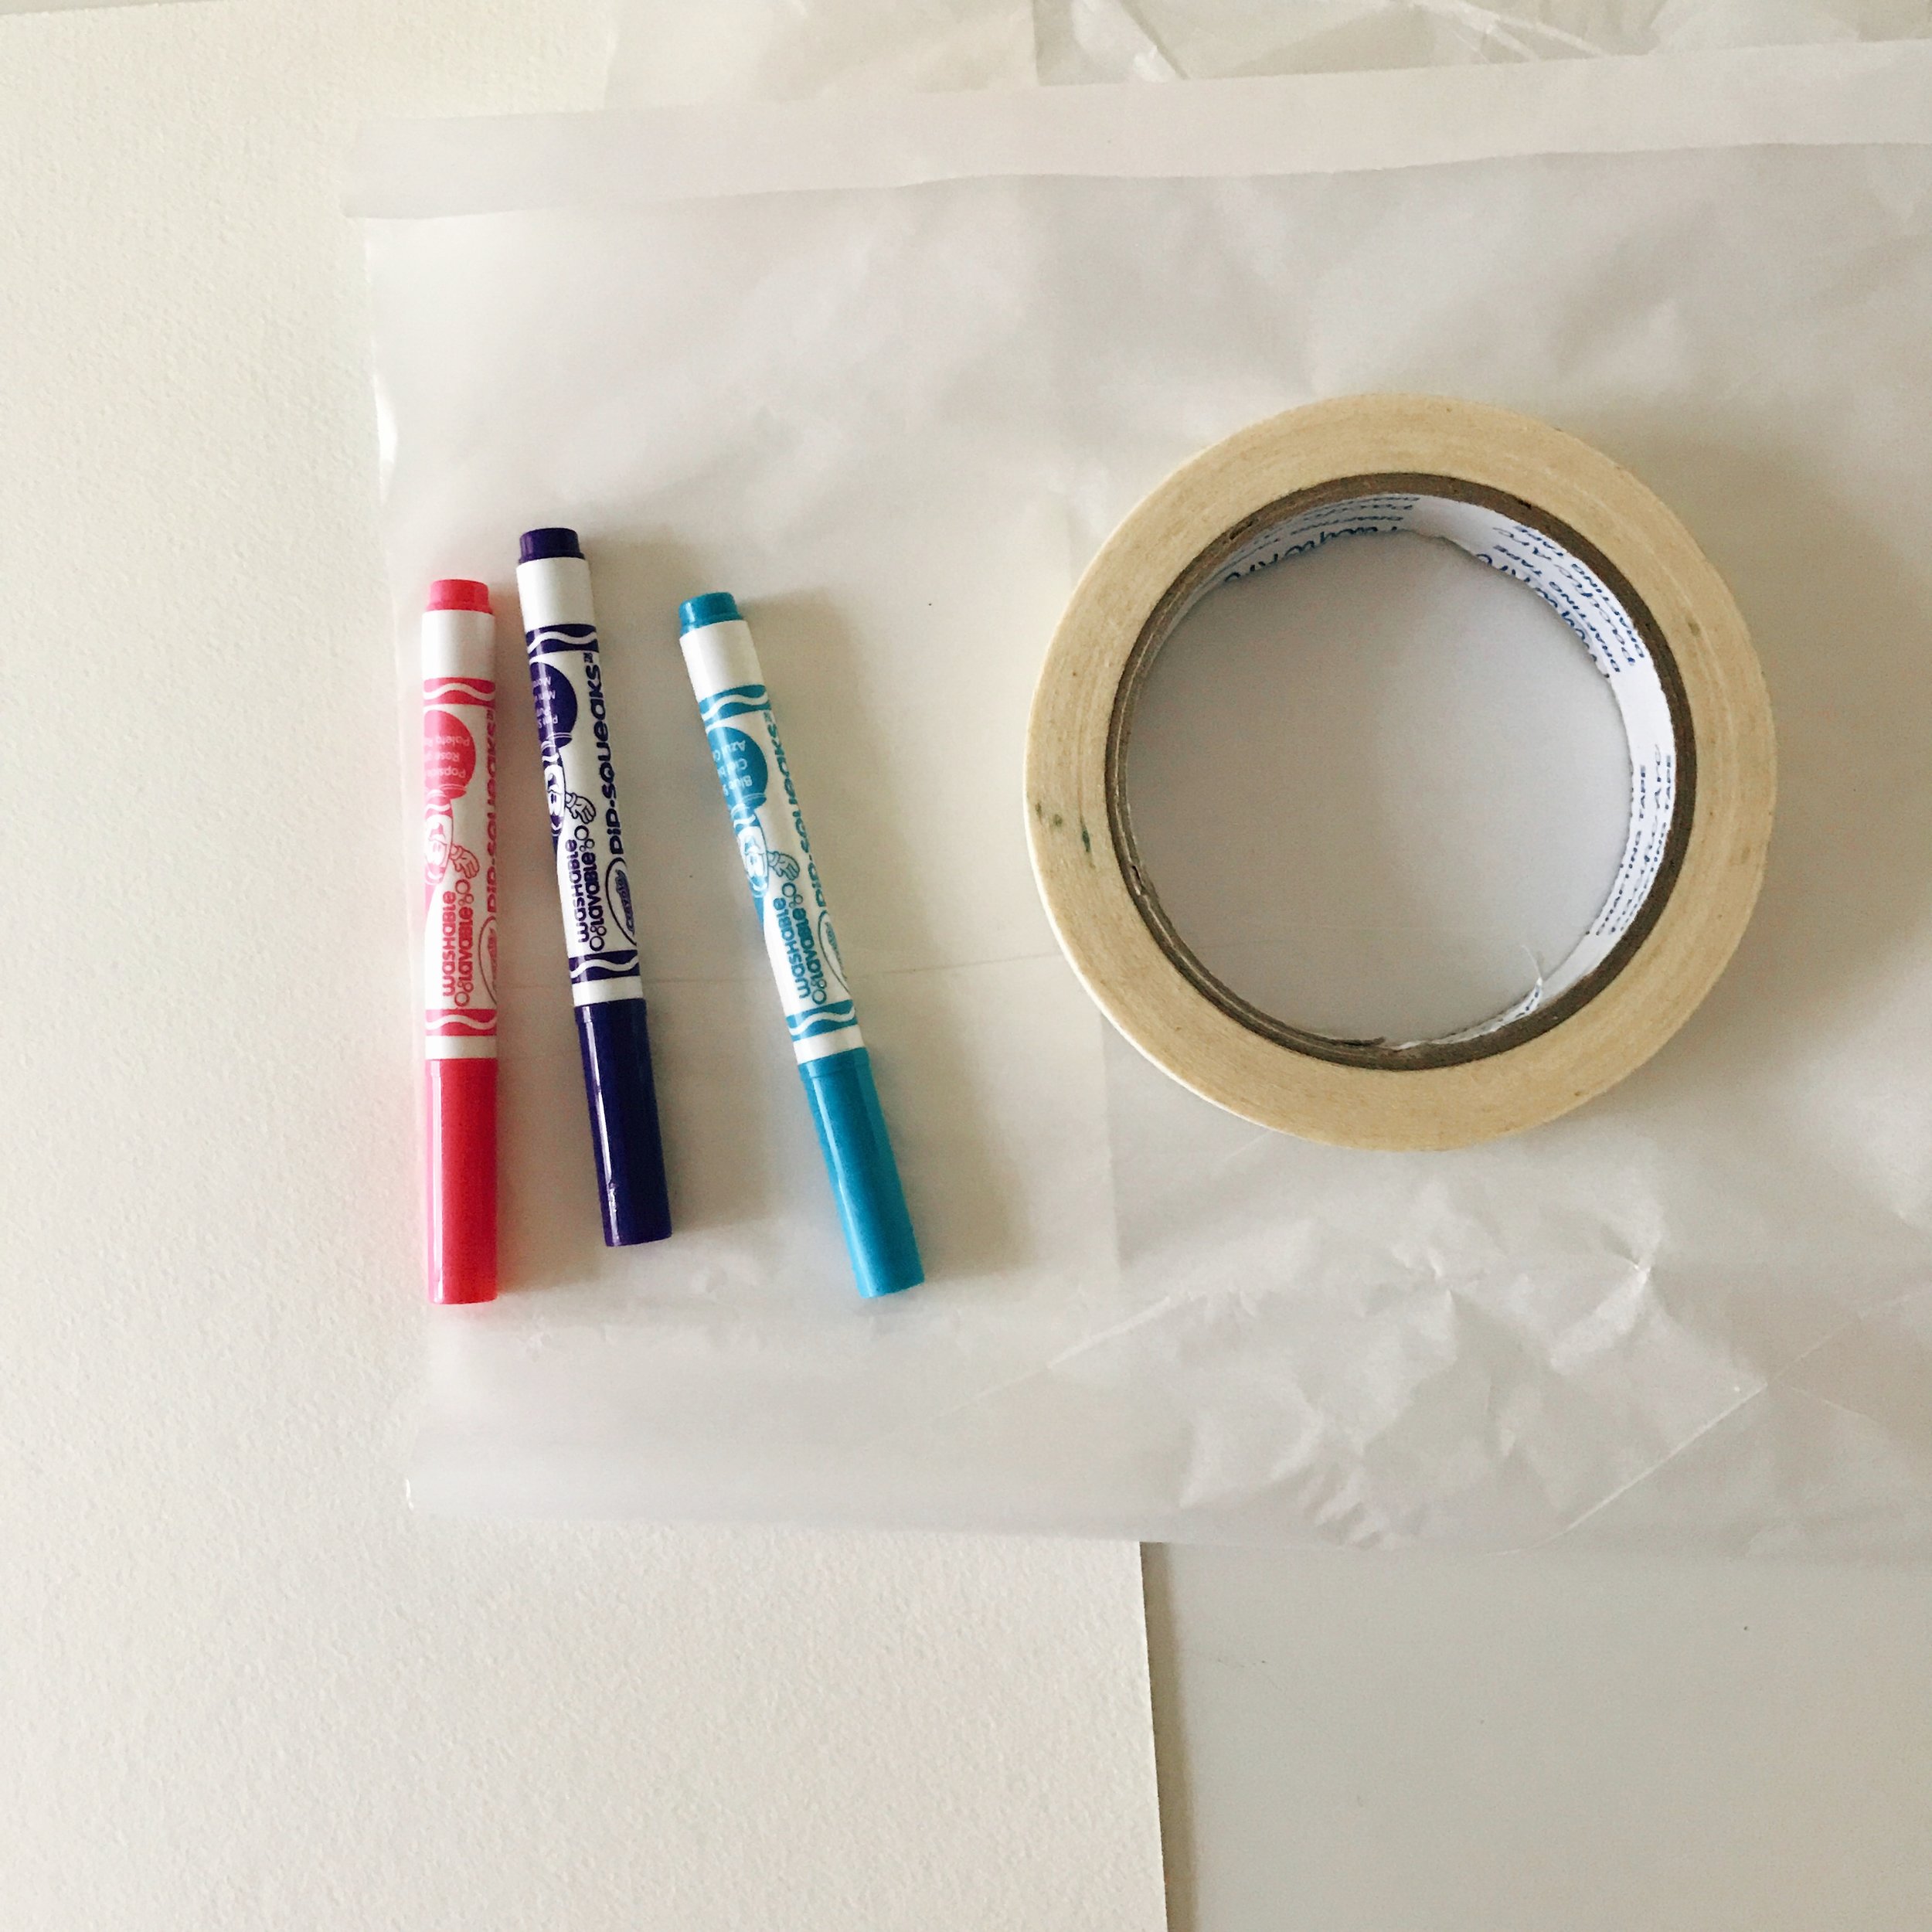
Wrap your watercolor paper with the tissue paper, and tape on the back.

Use the markers and tape to draw circles in all different colors around the paper. Leave a little bit of white space for a more interesting composition.
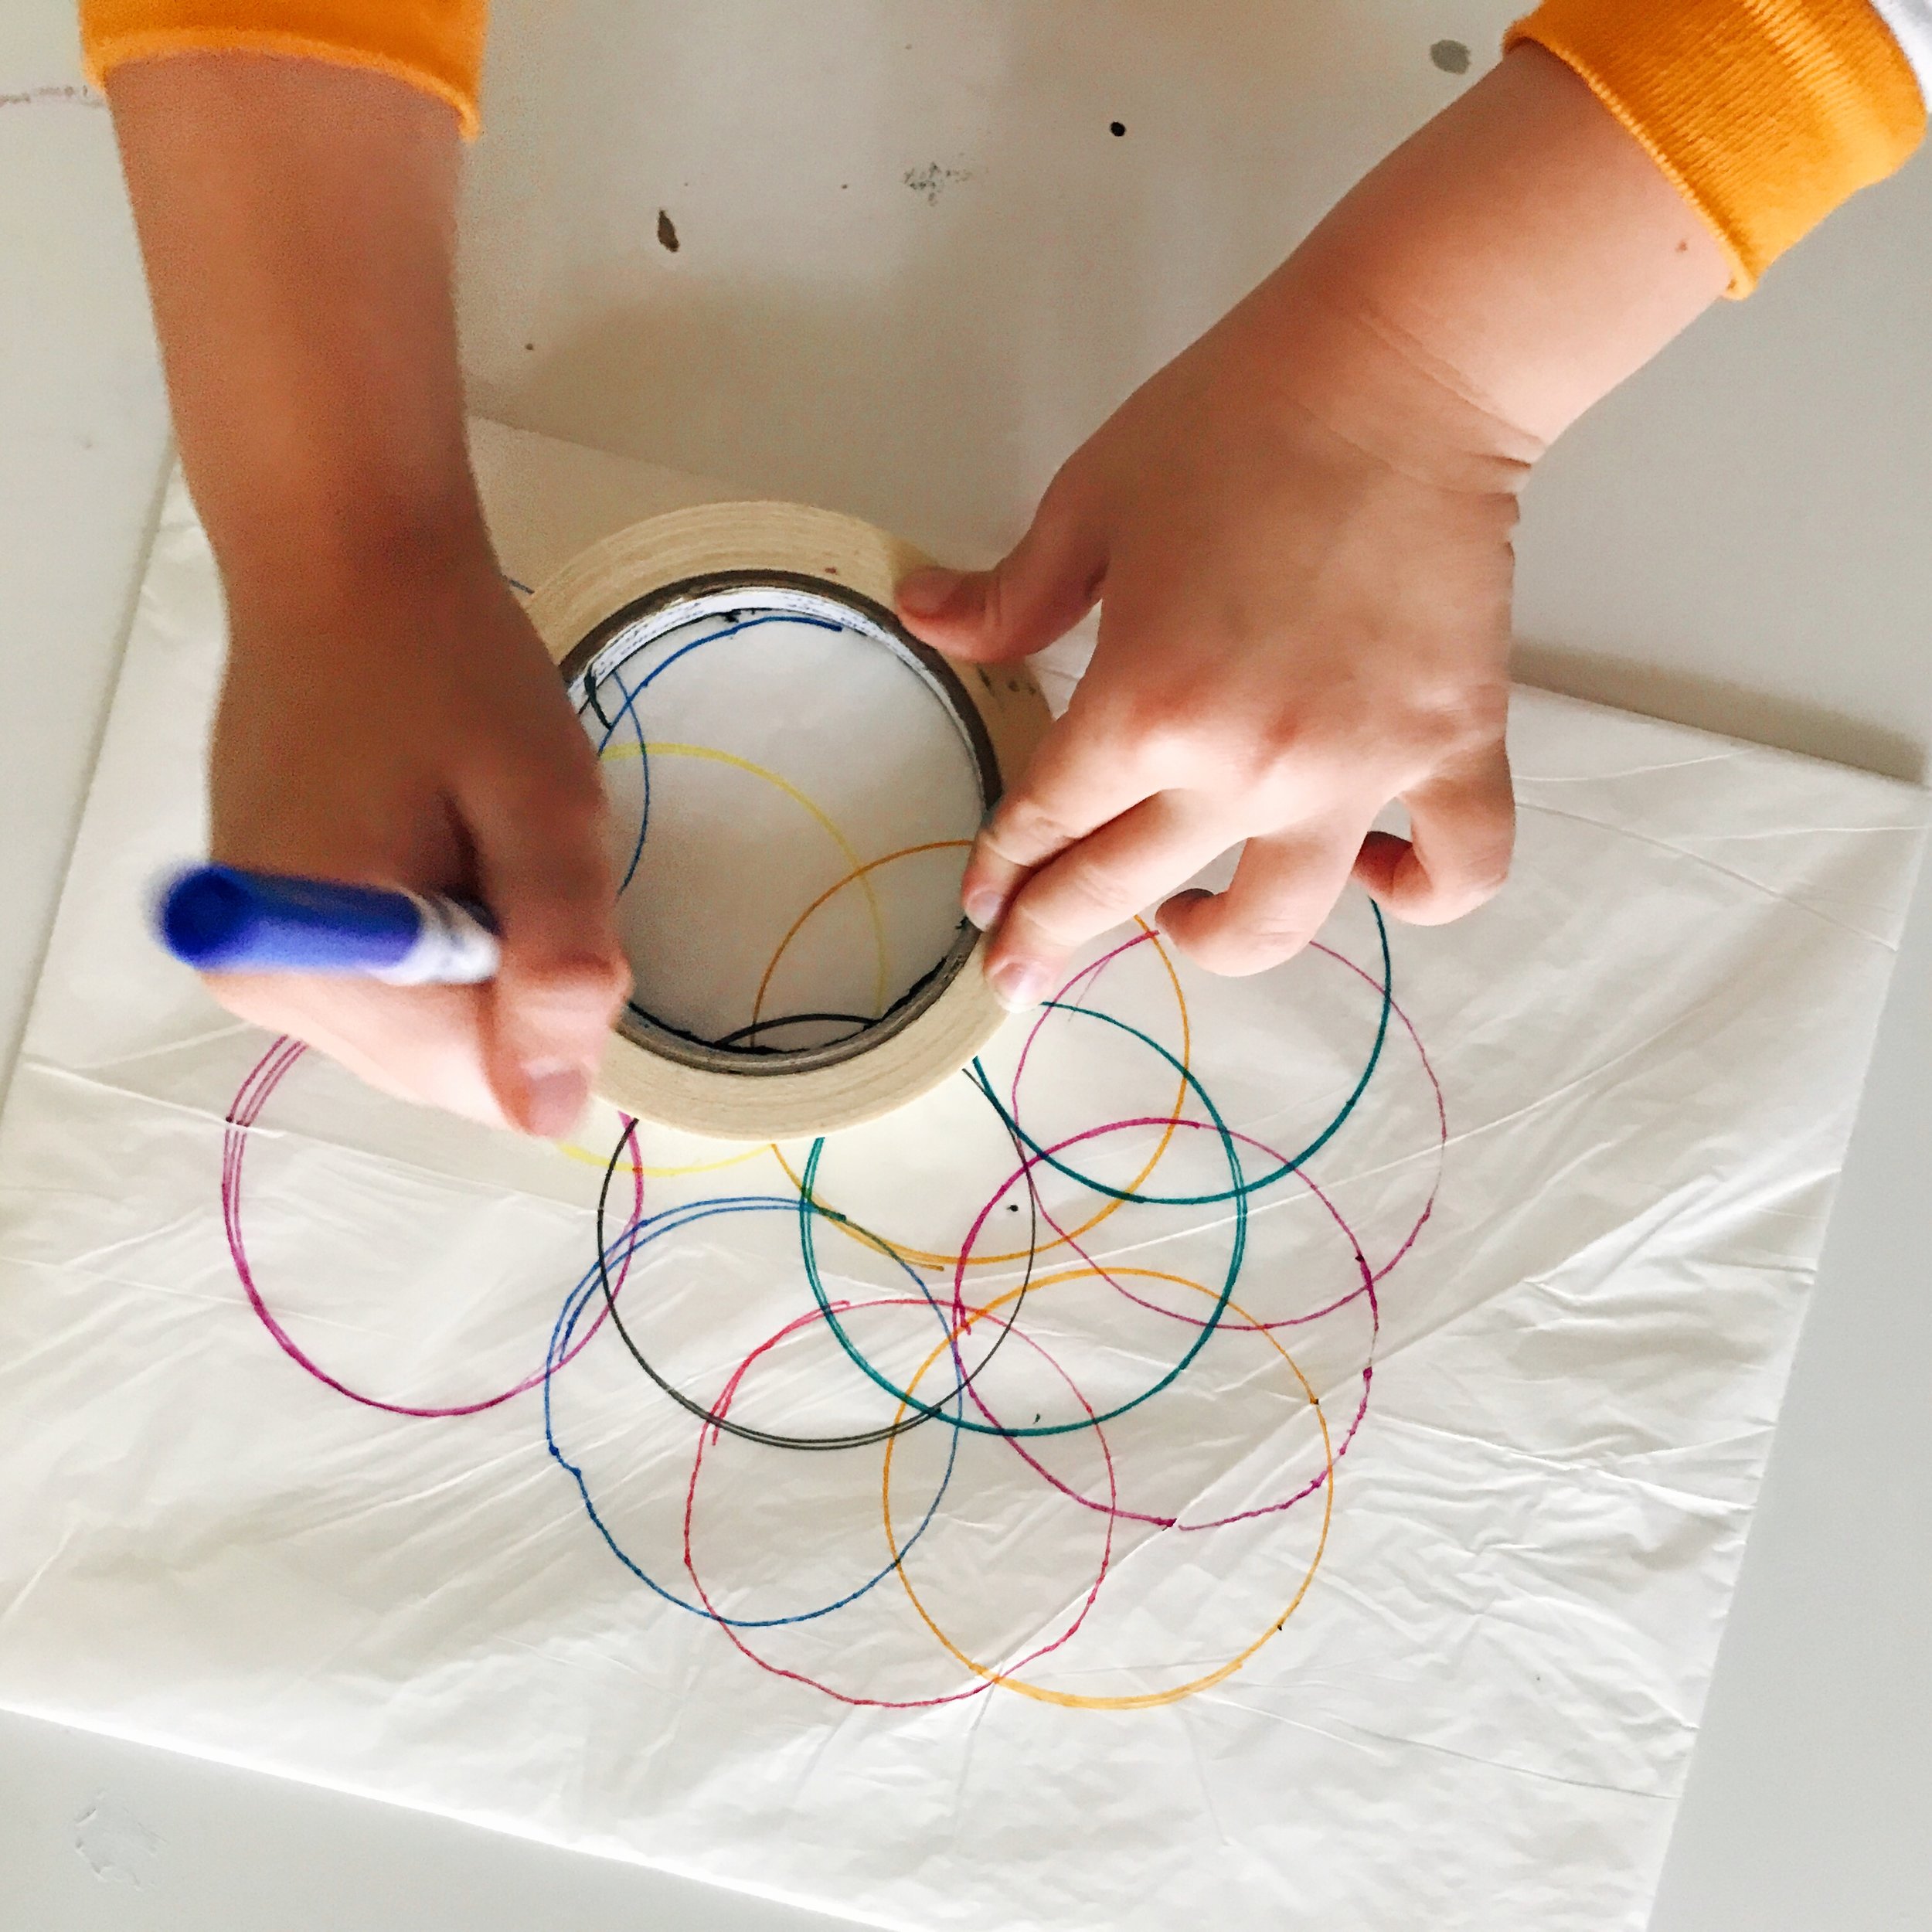
Once you have finished, it is time for some color theory magic! Use the water spritzer to lightly spray the colored tissue paper. Watch the colors merge and change!

Try not to over-wet the paper, or it will muddy the vibrancy of the colors. Tap it down, and allow your piece to dry.

Once the water has dried, you get to unwrap your painting like a present.

Surprise! Check out your abstract watercolor painting! The areas where the tissue paper was lifting off the paper remained white.

This is an easy technique for such sophisticated results. You can frame it as is, use it as a background for drawing, or use shaped punches to make scrapbooking or card making elements. I decided to frame mine, after she signed of course. Pretty good for a five year old!

If you give this project a try, be sure to share with us @etsydallas #EDCreativityCamp. See you next week!
Creativity Camp: DIY Superhero Costume
Happy Monday! This week's craft takes minutes, and costs nothing. Yes! That is my kind of crafting! It also brings up an important topic with your kiddos... recycling. Getting creative with something old is a wonderful way to recycle. Rummage through some colorful old t-shirts, and grab your scissors. This afternoon, we are becoming superheroes! BOOM!

First, use chalk to draw out lines on the back of your shirt, and around the neckline where you will cut. WHACK!


Next, cut along the sides and those chalk lines. Be careful not to stretch the jersey or the edges will curl. BAM!

Now, find the longest length in your remaining fabric, and chalk out a strip for the mask. We used the design from the front of the shirt to create some interest. You can also use the design on the cape instead! SWISH!

Cut out the mask, and chalk and cut the eye-holes as well. Tip: it's easier to cut circles if you fold them in half. BANG!

You could stop here, or take it to the next level with a little fabric paint and a sponge.
My daughter came up with a clever super hero name, The Galigator! So, we picked a green shirt, and I cut a sponge into a triangle so she could stamp spikes down the back. It may help to mark out the design in chalk first to keep things straight. SPLAT!


Let the paint dry, and your imagination run wild! You are brave, and strong, and bright! KA-POW!


Thanks for joining us! See you next Monday for another fun project. We would love to see your little superheroes in action, so tag us on Instagram! @etsydallas #EDCreativityCamp
Handmade Father's Day Gift Guide with Heidy

Father’s Day is Sunday, June 18th. Do you have your present yet? We’ve shopped through the best of local Dallas Etsy artists to find unique, handcrafted gifts for Dad and gathered our favorite fifteen here.
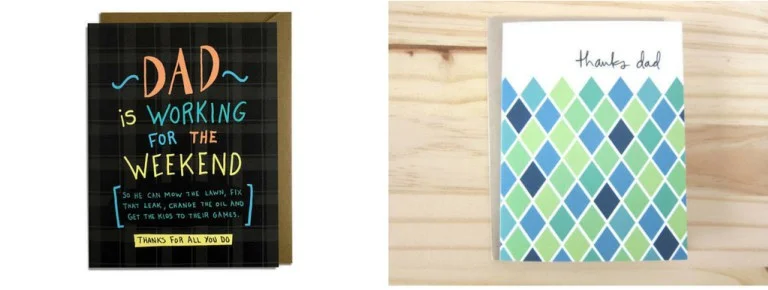
From left: Kat French Designs, Tokodots
But first, the card. Designer, Kat French on her inspiration:
“I made this card thinking of my own dad and my husband who labor all week long then give it their all on the weekends taking care of the house, cars, yards and do it all without complaining.”
And Tokodots’ card is, of course, perfect for anytime you want to thank Dad.
The Top 15 Handmade Father’s Day Gifts

Clockwise from left: Jenny N Design, Mesa Blue, Wingbean Woodworks
1. The Professional Backpack from Jenny N Design, $253
2. Leather Wrap Bracelet from Mesa Blue, $25
3. Drink Local Bottle Opener from Wingbean Woodworks, $35

Clockwise from top left: Piece of Shards, Expressions Bracelets, Rhapsody Letterpress, A Cheery Blossom
4. Docking Station and Organizer from Piece of Shards, $59.95
5. Best Dad Ever Keychain from Expressions Bracelets, $15.95
6. Fahrenheit 451 Literary Quote from Rhapsody Letterpress, $20.00
7. Personalized Leather Notebook from a Cheery Blossom, starting at $30.00
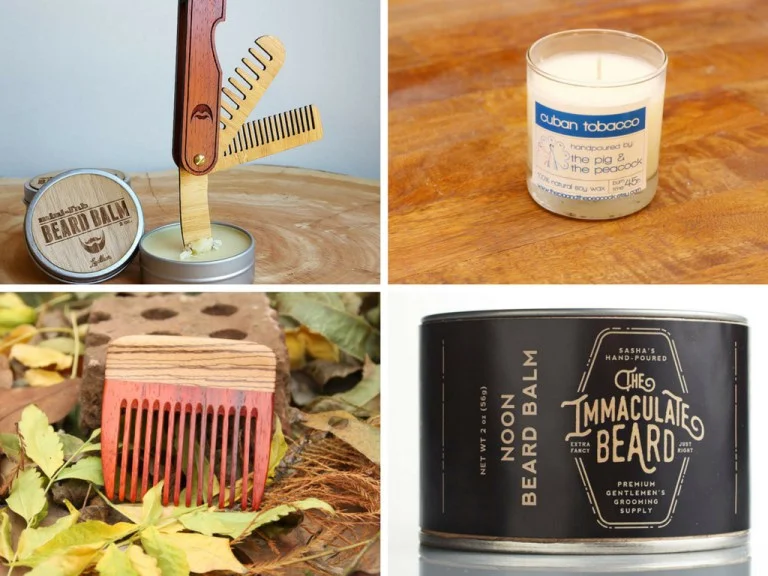
Clockwise from top left: mini-Fab, The Pig and the Peacock, Sasha’s Hand-Poured, Big T Woodworks
8. The Trio Multi-tool Pocket Beard Comb from mini-Fab, $34.99
9. Tobacco and Leather Scent Soy Wax Candlefrom The Pig and the Peacock, $10.00
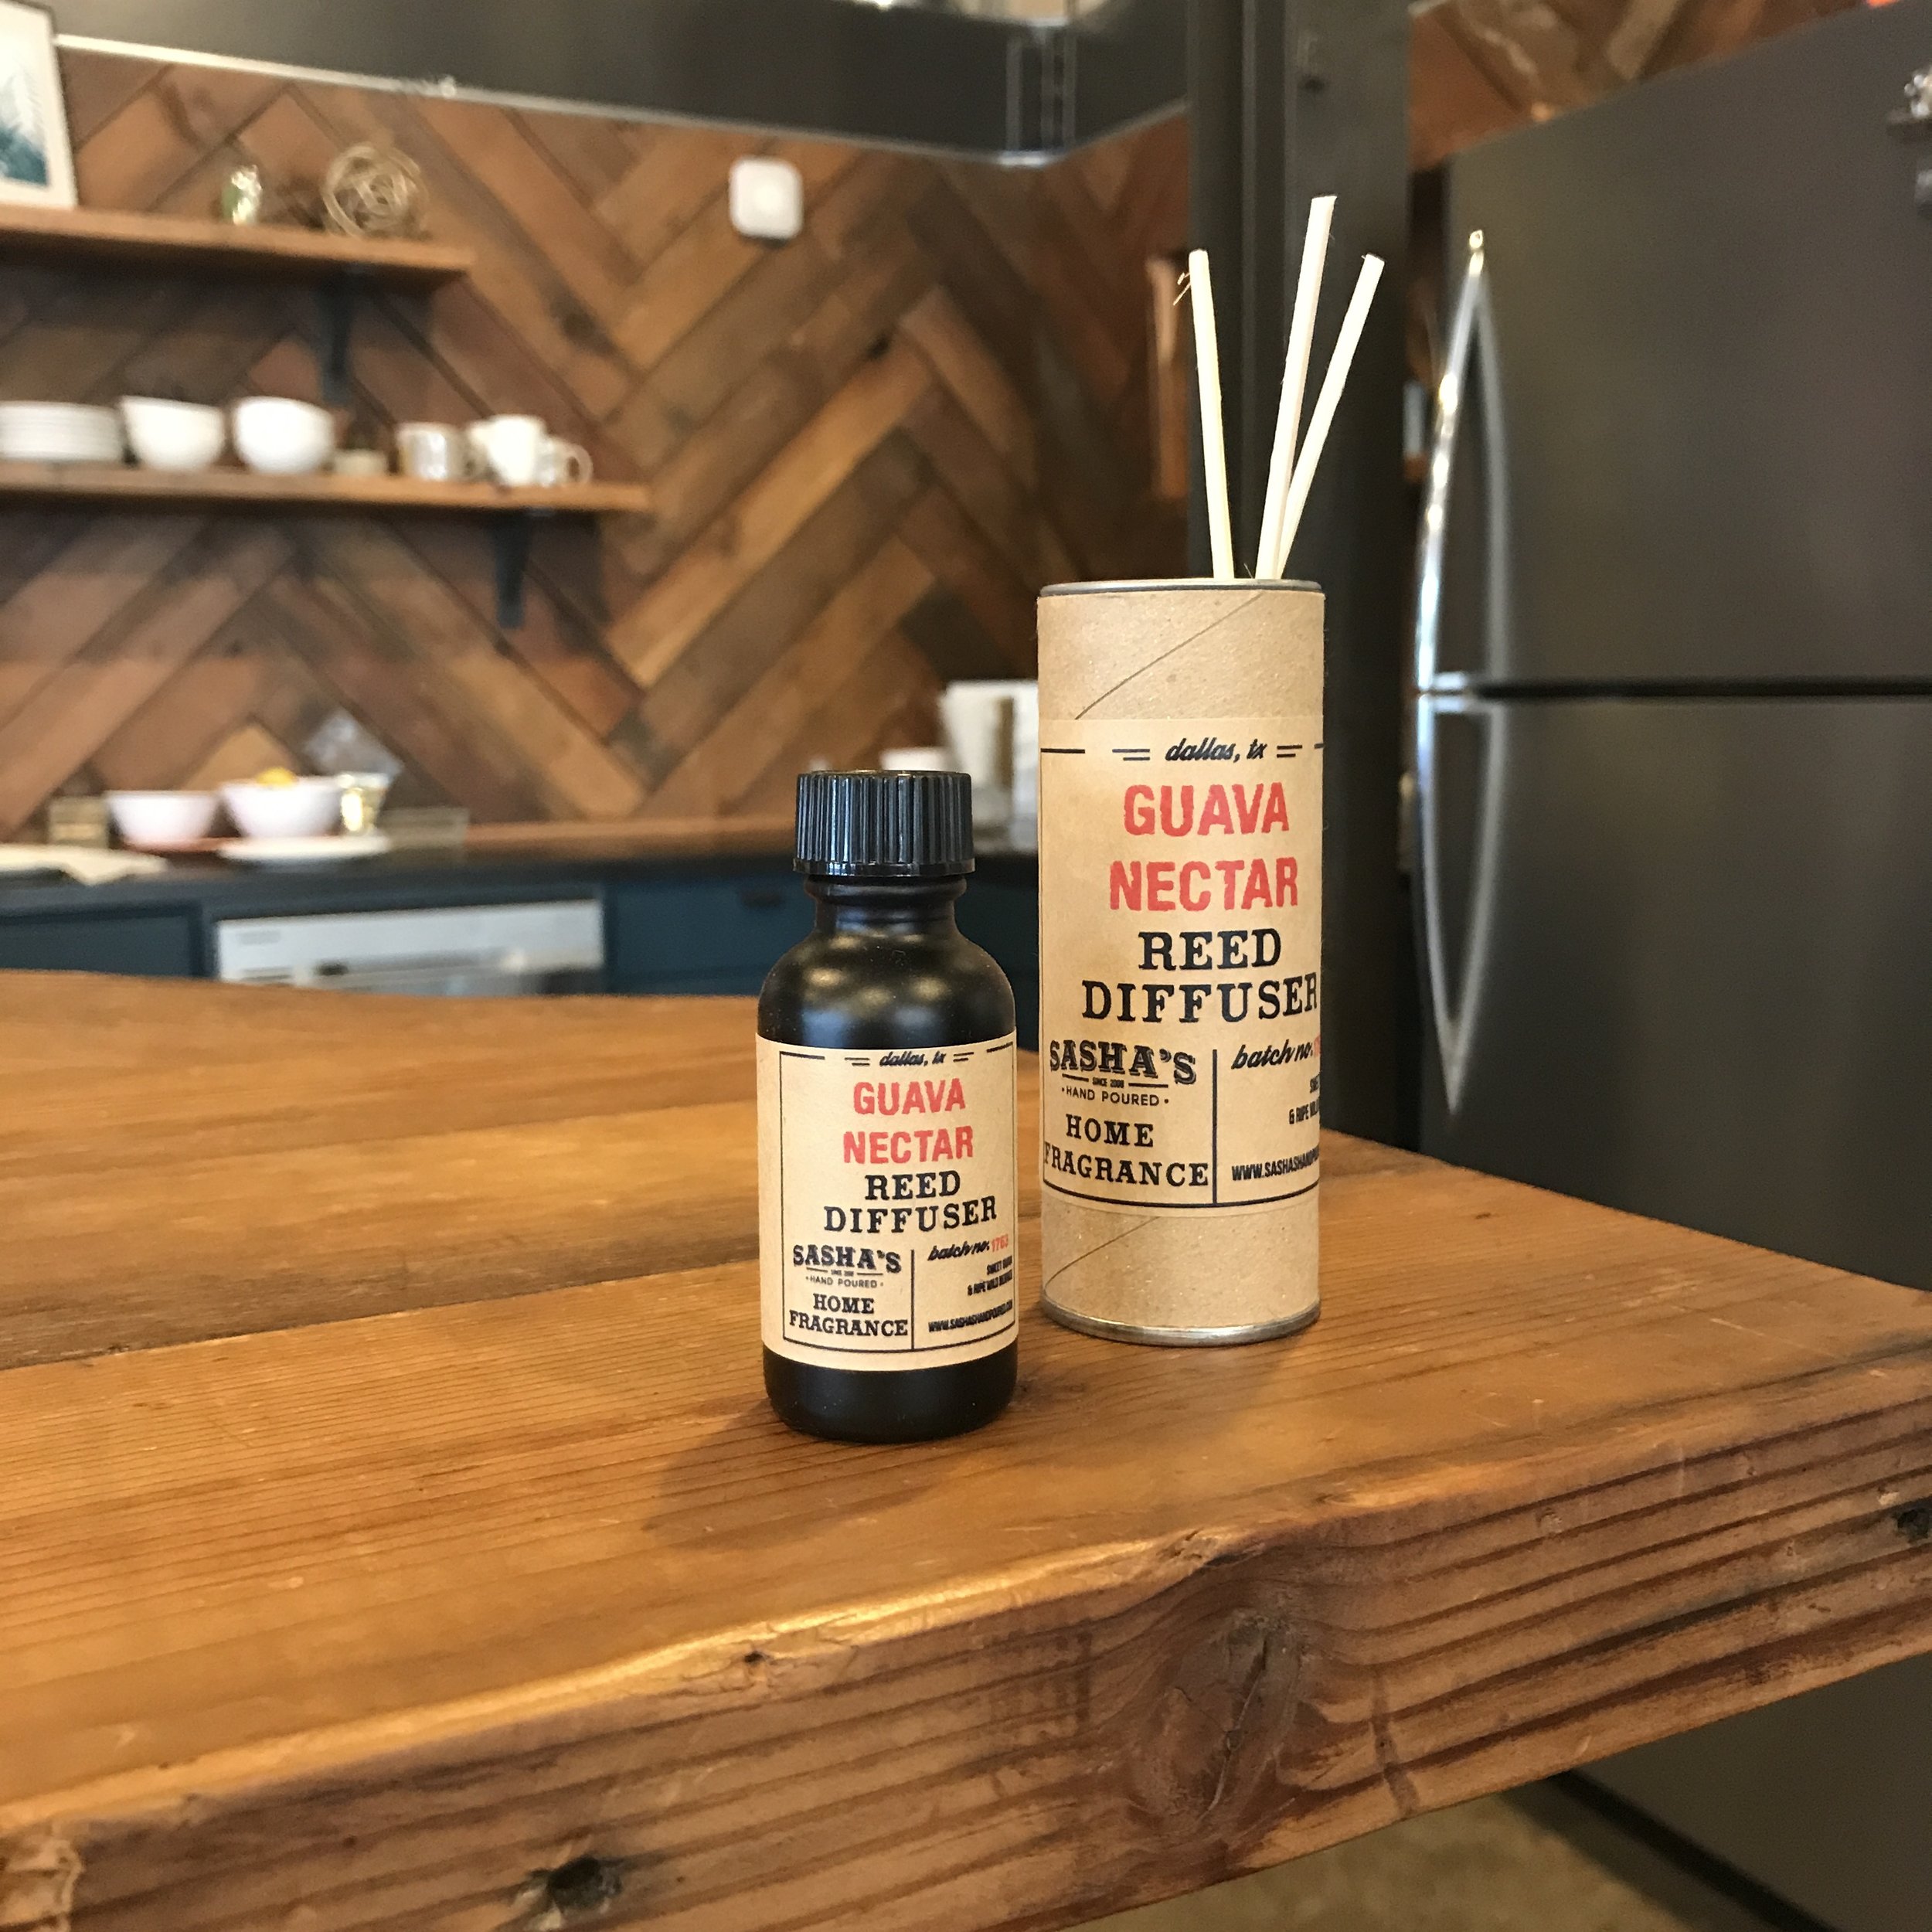
10. Beard Balm from Sasha’s Hand-Poured, $18.00
11. Paduak and Zebrawood Beard Comb from Big T Woodworks, $28.00

Clockwise from top left: Joy Street Maps, Wandering Paper Co., Vinyl Revamped, Mush Tushy
12. Hand Drawn Map of Dallas Print from Joy Street Maps, starting at $25.00
13. Dallas Skyline Linocut Block Print from Wandering Paper Co, $20
14. Jimmy Buffet Lyrics on Reclaimed Vinyl Record Wall Art from Vinyl Revamped, $15.95
15. Dallas Cowboys Inspired Wall Art from Mush Tushy, $55.00
Happy Father's Day to all our wonderful dads, and thank you for all you do!
Join Us Every Monday for Creativity Camp with Etsy Dallas
Summer has finally come again! The kids are out of school and excited about their relaxed routine, and spending more time with family and friends. To celebrate, we would like to officially invite you all to participate in a weekly project all Summer long! Each Monday, we will post a fun for all ages tutorial to help you put away the screens, learn something new, and make some memories. We can't wait to see your pics, so be sure to share with us on Instagram, @etsydallas #EDCreativityCamp.
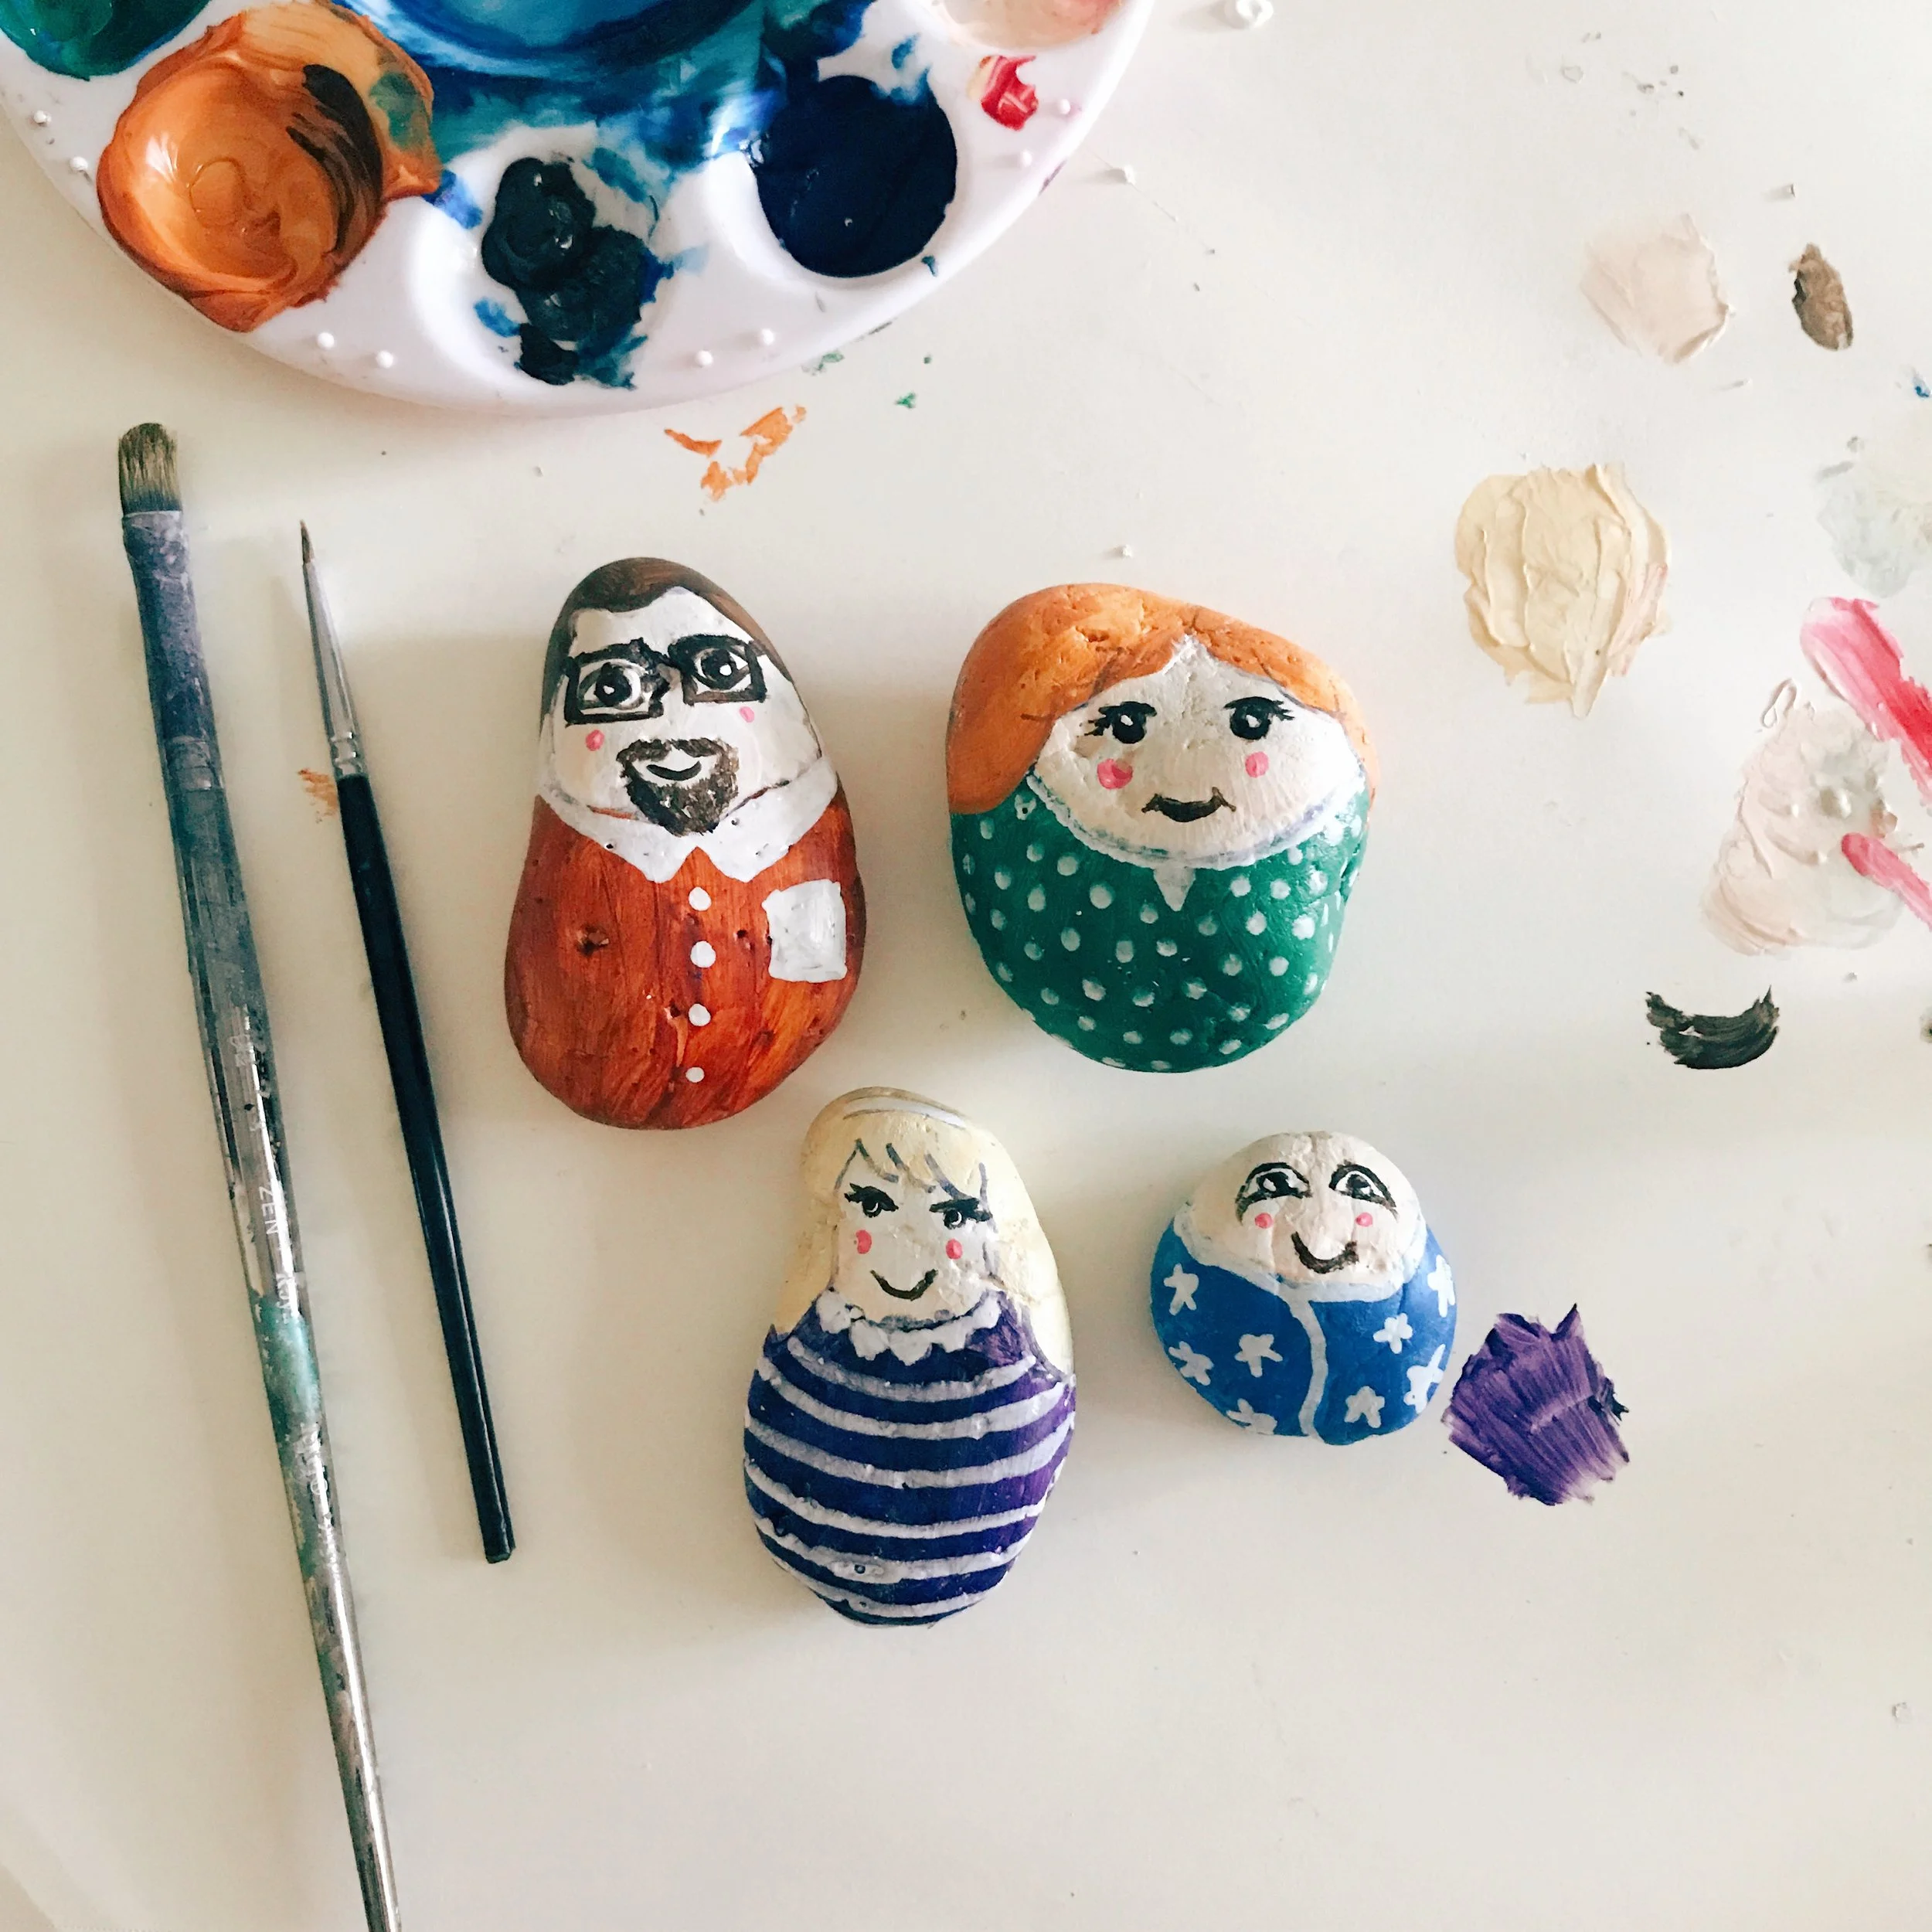
To begin, let's get out our paint and brushes, and collect some smooth rocks to make some cutie painted rock family portraits! We found a bag of river rock at At Home, if you can't find some in nature.

First, paint your rocks white so we have a solid base for your colored paints.

Once they have dried completely, take a sharpie to carefully draw the hairline and chin line. I used semi transparent acrylic paint. Choose or mix colors for your hair, skin, and clothing, and fill in those areas.

Depending on what paint you use, the sharpie may show through, so be conscientious of your lines. This is a great way to add visual texture to hair and clothing.

Our rocks are starting to look familiar! Use a small brush or paint pens in white to create clothing details. Allow each side to dry before working on the other side.

Use a fine tipped black paint pen, or liner brush and black paint to draw the eyes and mouth. If your family member has glasses or facial hair, paint it on next. Use the back end of your paint brush to dot on tiny pink dots for the cheeks.
Paint your rocks with a clear sealer, and place them in your front garden to enjoy for years to come.
Thanks for crafting with us! See you next week for another fun project!
DIY Personalized Notepads with Katrina

Katrina of Rhapsody Letterpress here with a little paper tutorial this morning! Looking for a fun, inexpensive and personal teacher appreciation gift? These homemade monogram notepads are an easy and pretty project you can make with relatively basic supplies you probably already have at home. Pair it with some cute pencils and a nice thank you note, and you will have a personal and practical gift that your kid's teacher would actually use. Check it out!

First, set up your monogram layout on your computer using Word or a design program and print 50 sheets. Remember to print on paper the size you want to make notepads, or cut it down after printing. 4x6 or 5x7 are good standards sizes that most printers can print. I have a guillotine cutter, so I printed on letter paper and cut it down to 4x9 after binding.

Gather the remainder of your supplies. You will need binder or bulldog clips, cardstock that is cut to the same size as your paper, and rubber cement.

Collate your paper, sandwiching the card stock on the top, the printed paper in the middle, and two pieces of card stock on the bottom. Tap the end of the stack on the table to create a flat edge, then use the binder clips on both sides to secure a tight binding.

Brush on a liberal layer of rubber cement, and place more binder clips over the area you just glued to keep the edge tightly bound. Allow the rubber cement to dry, and do another layer, placing the binder clips on again to let it dry once more.

Repeat on each notepad. Allow the cement to dry until it is no longer tacky to the touch, about two hours.

Once the rubber cement has dried completely and set (overnight or twenty-four hours), carefully peel off the top and bottom layer of card stock, and there you have it! (I used my guillotine to cut mine down in this step.)

Pat yourself on the back for being so thoughtful and crafty! Your teachers are going to love it!
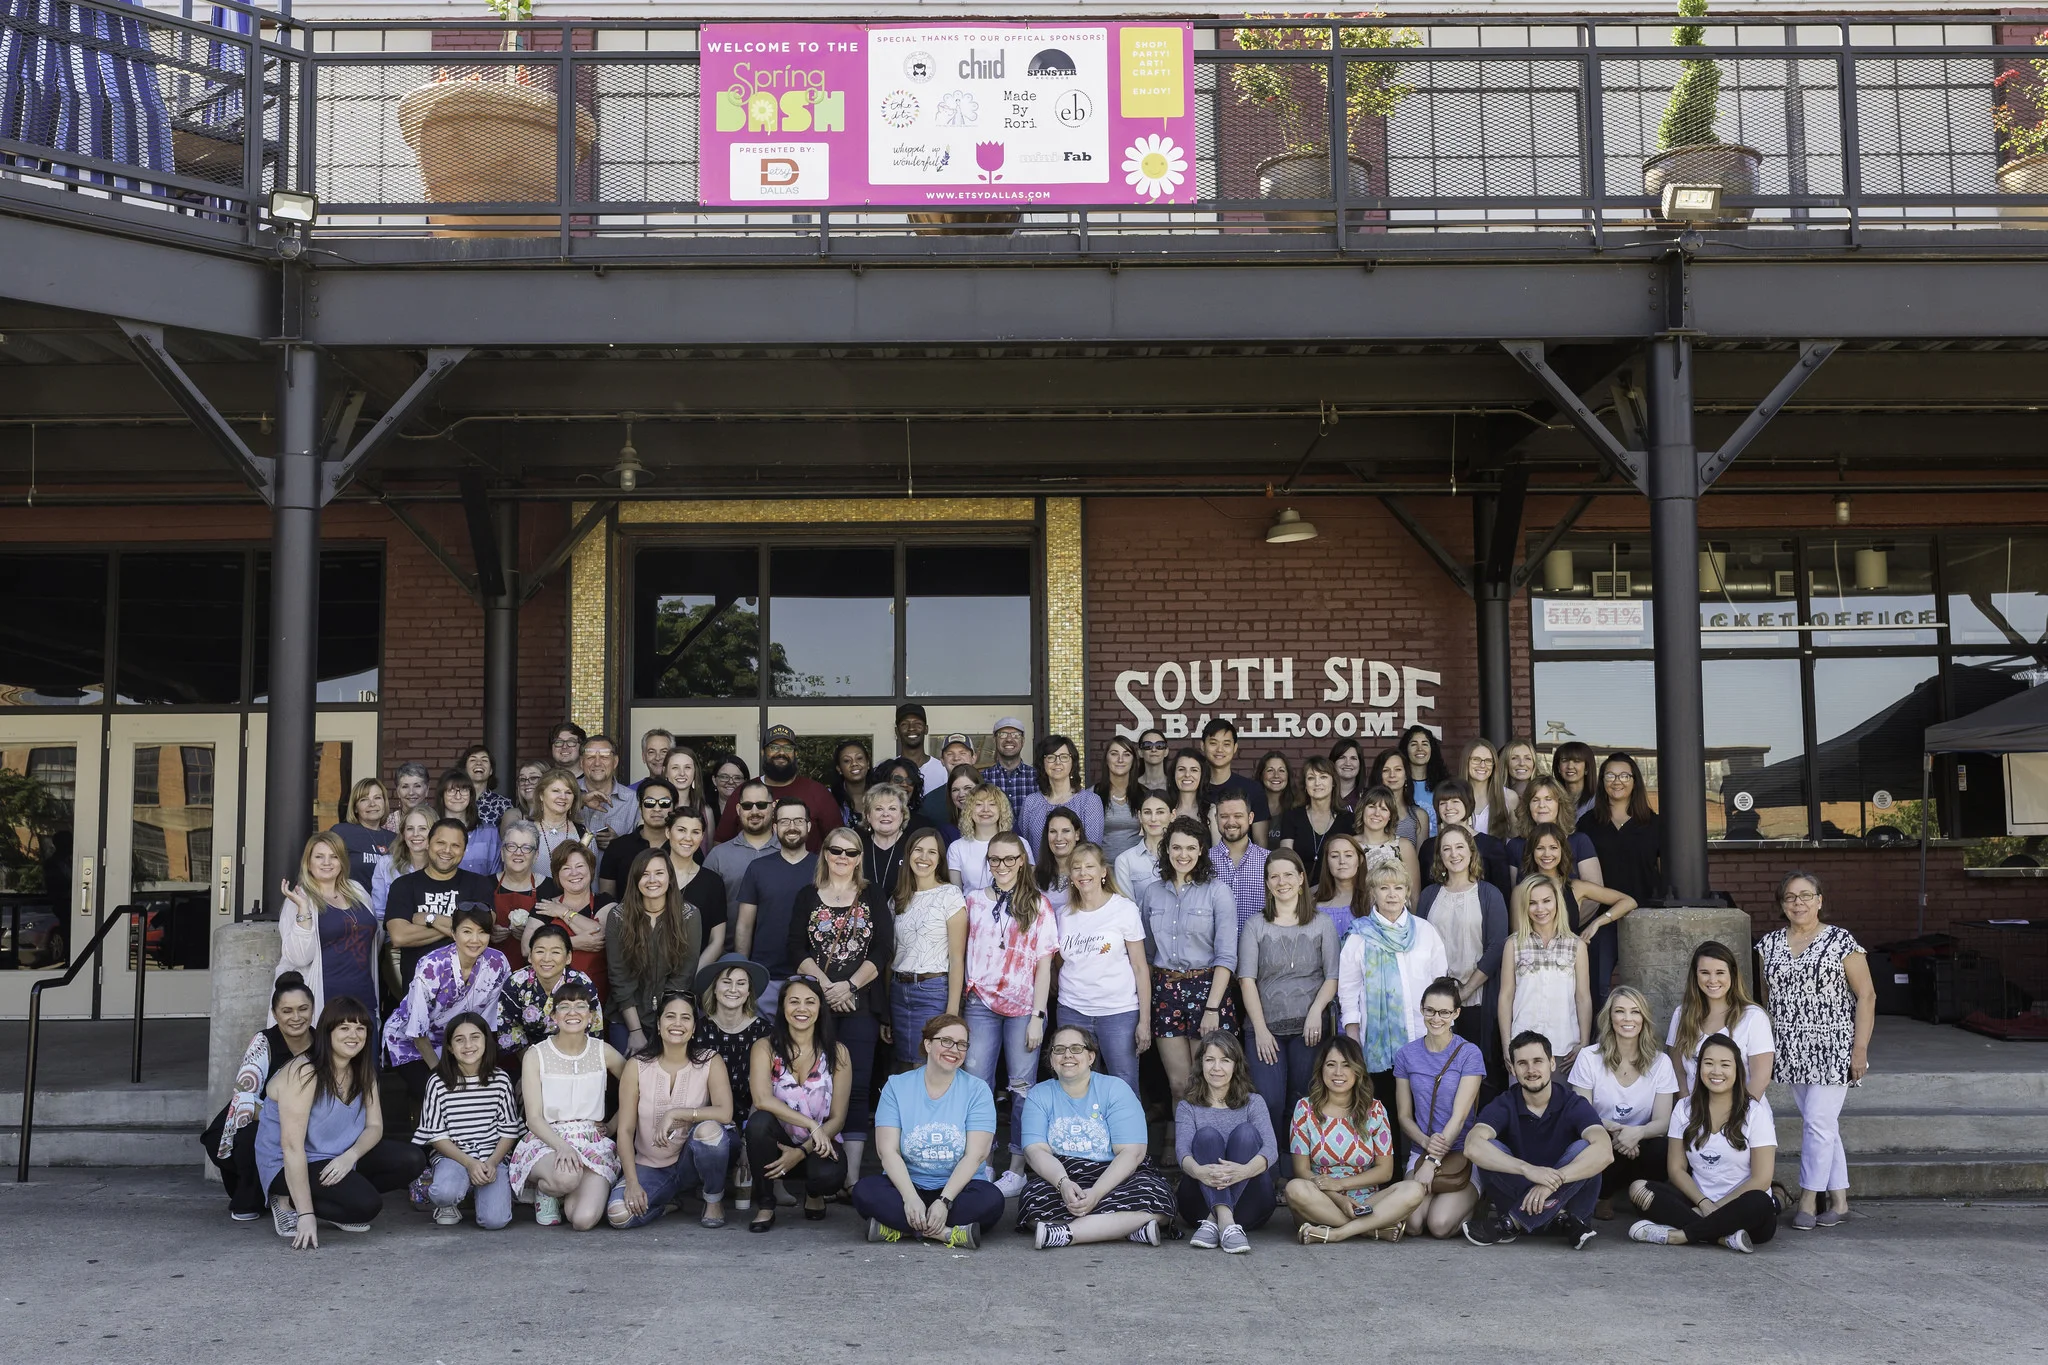
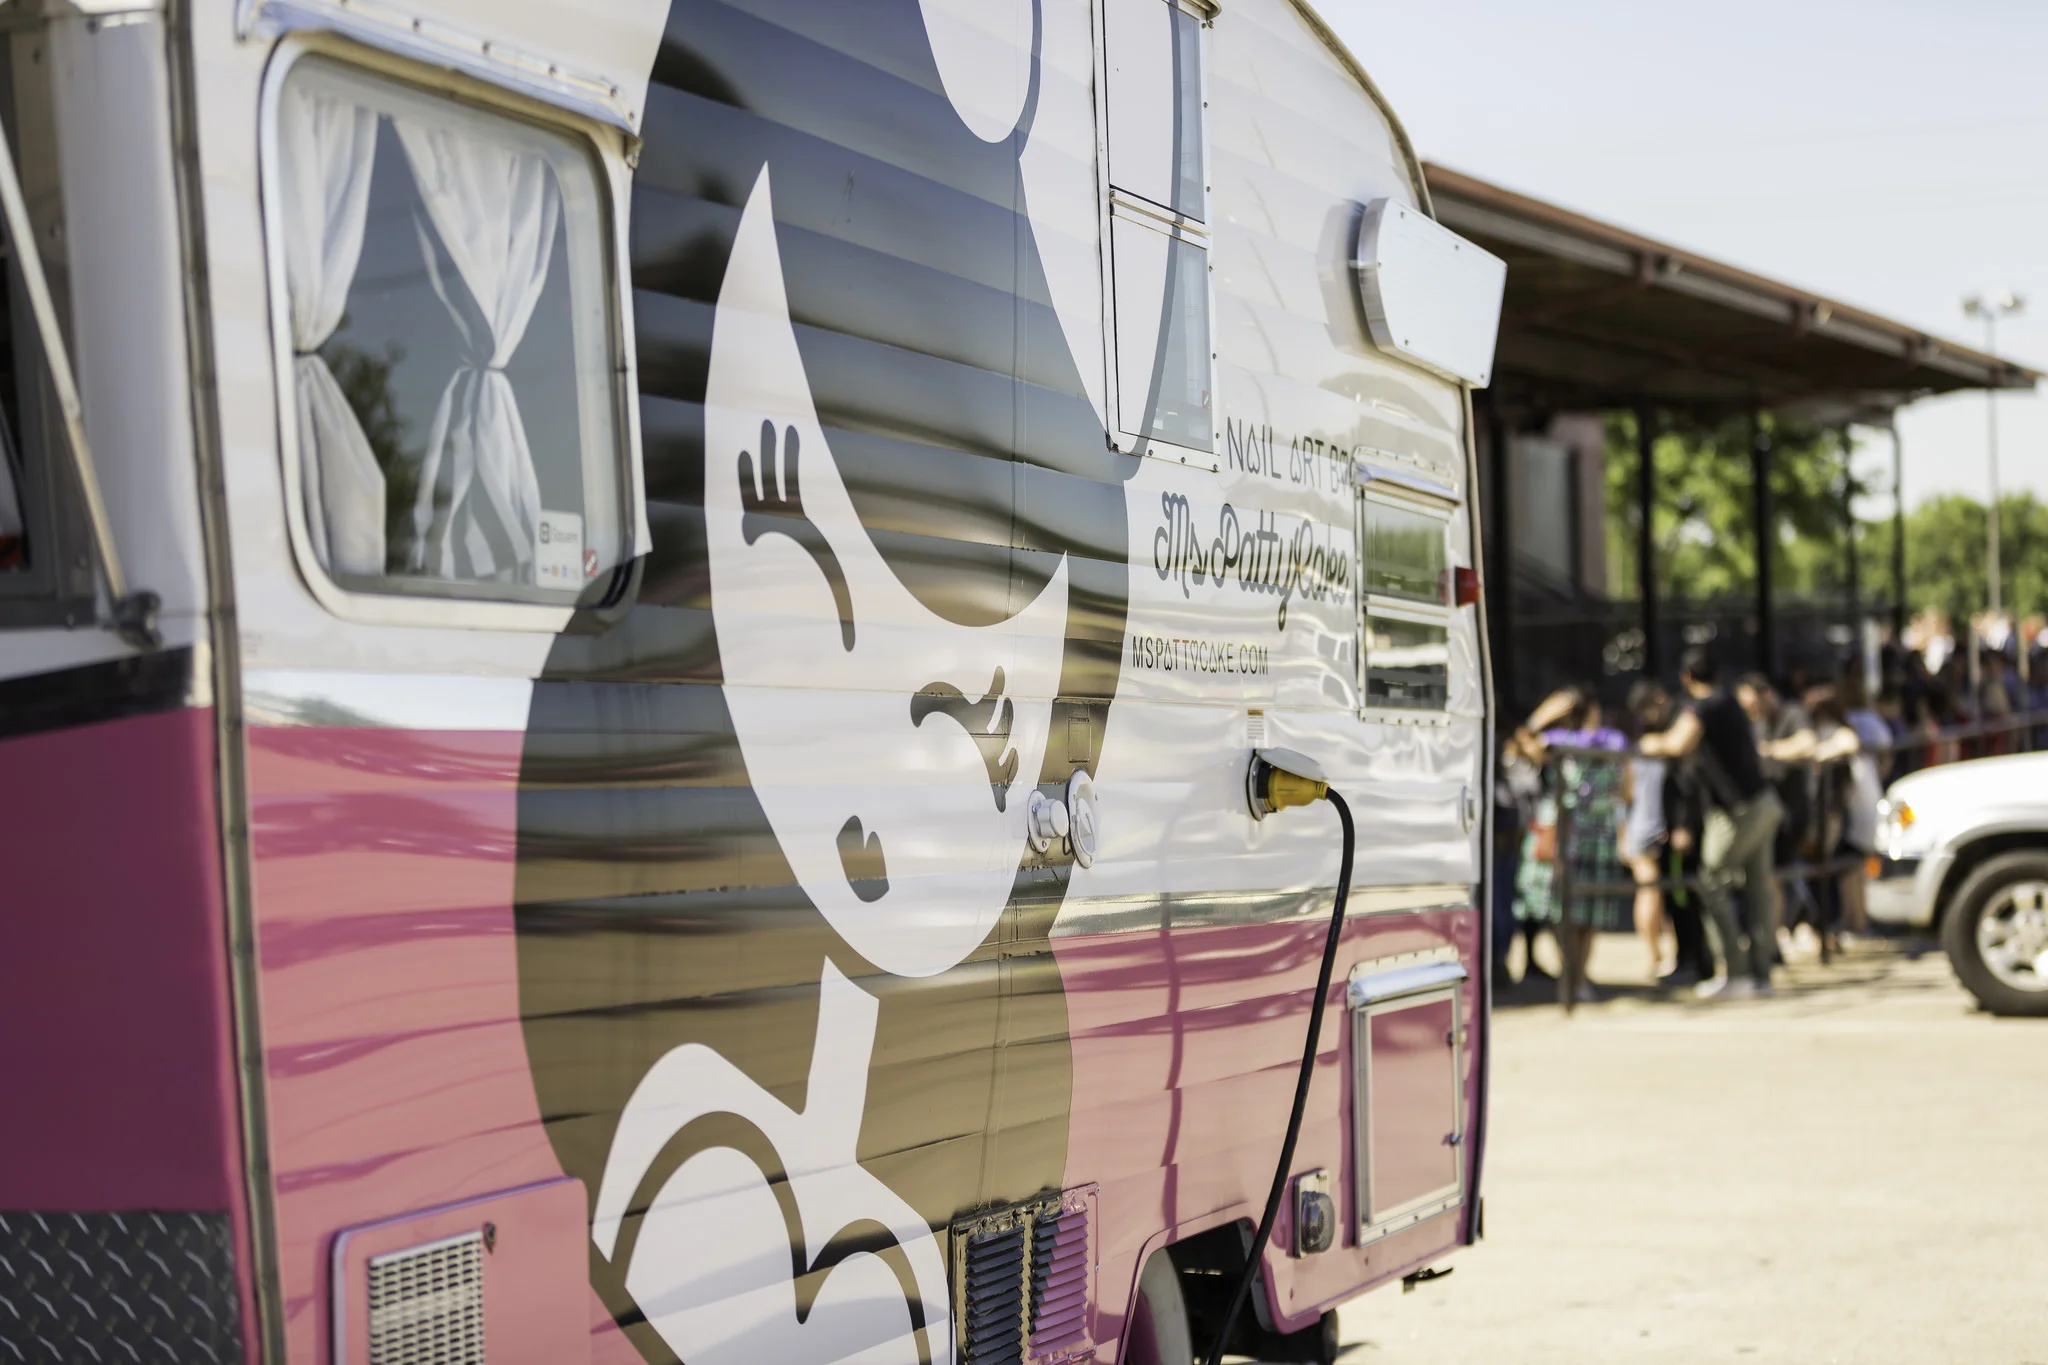
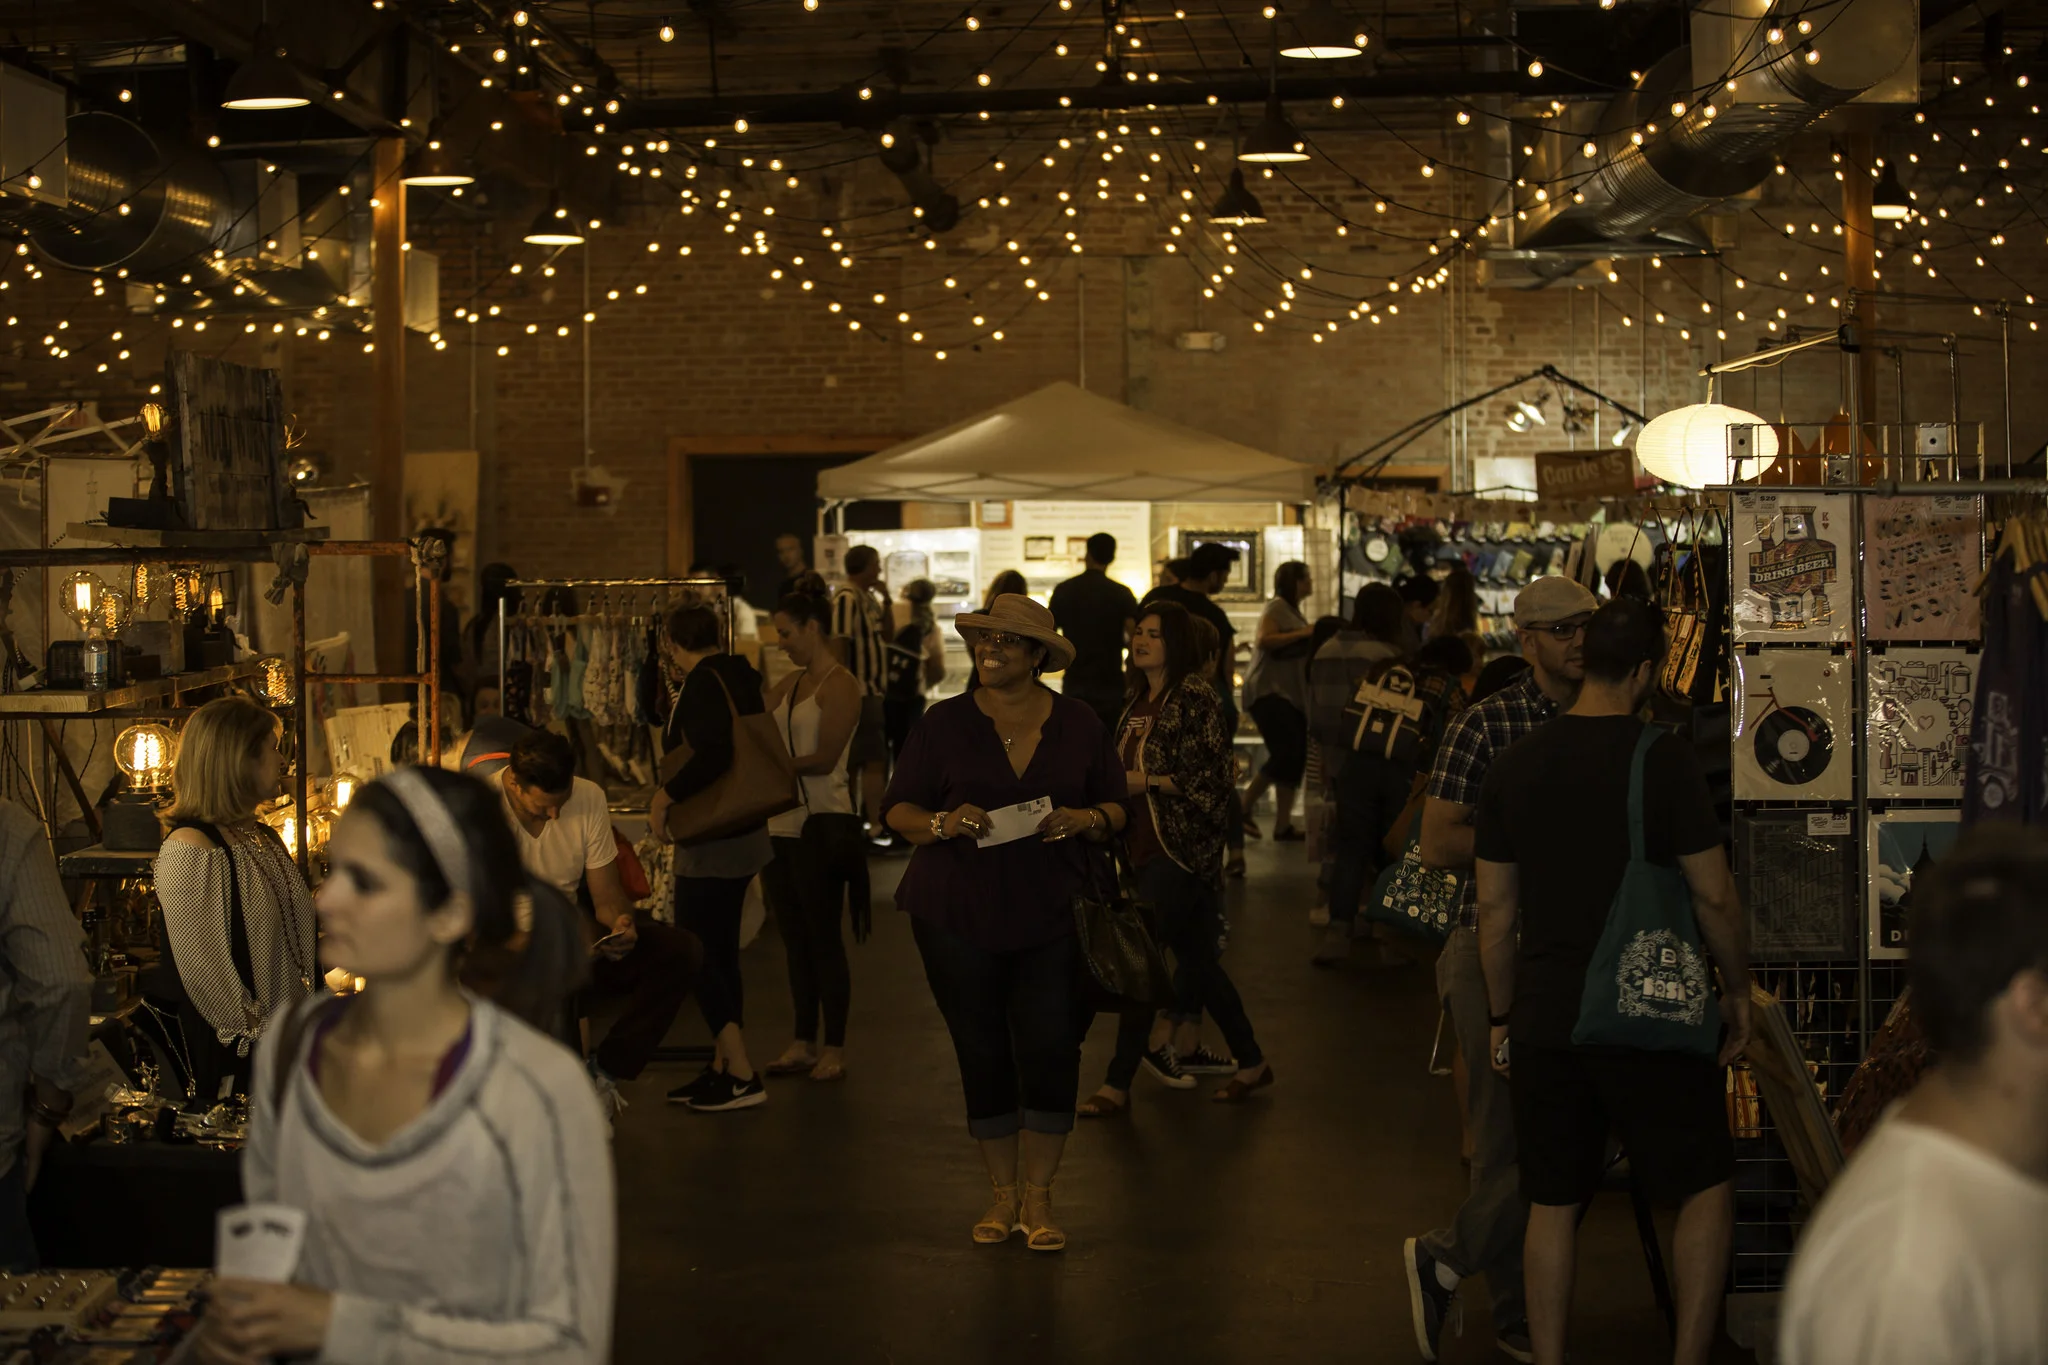
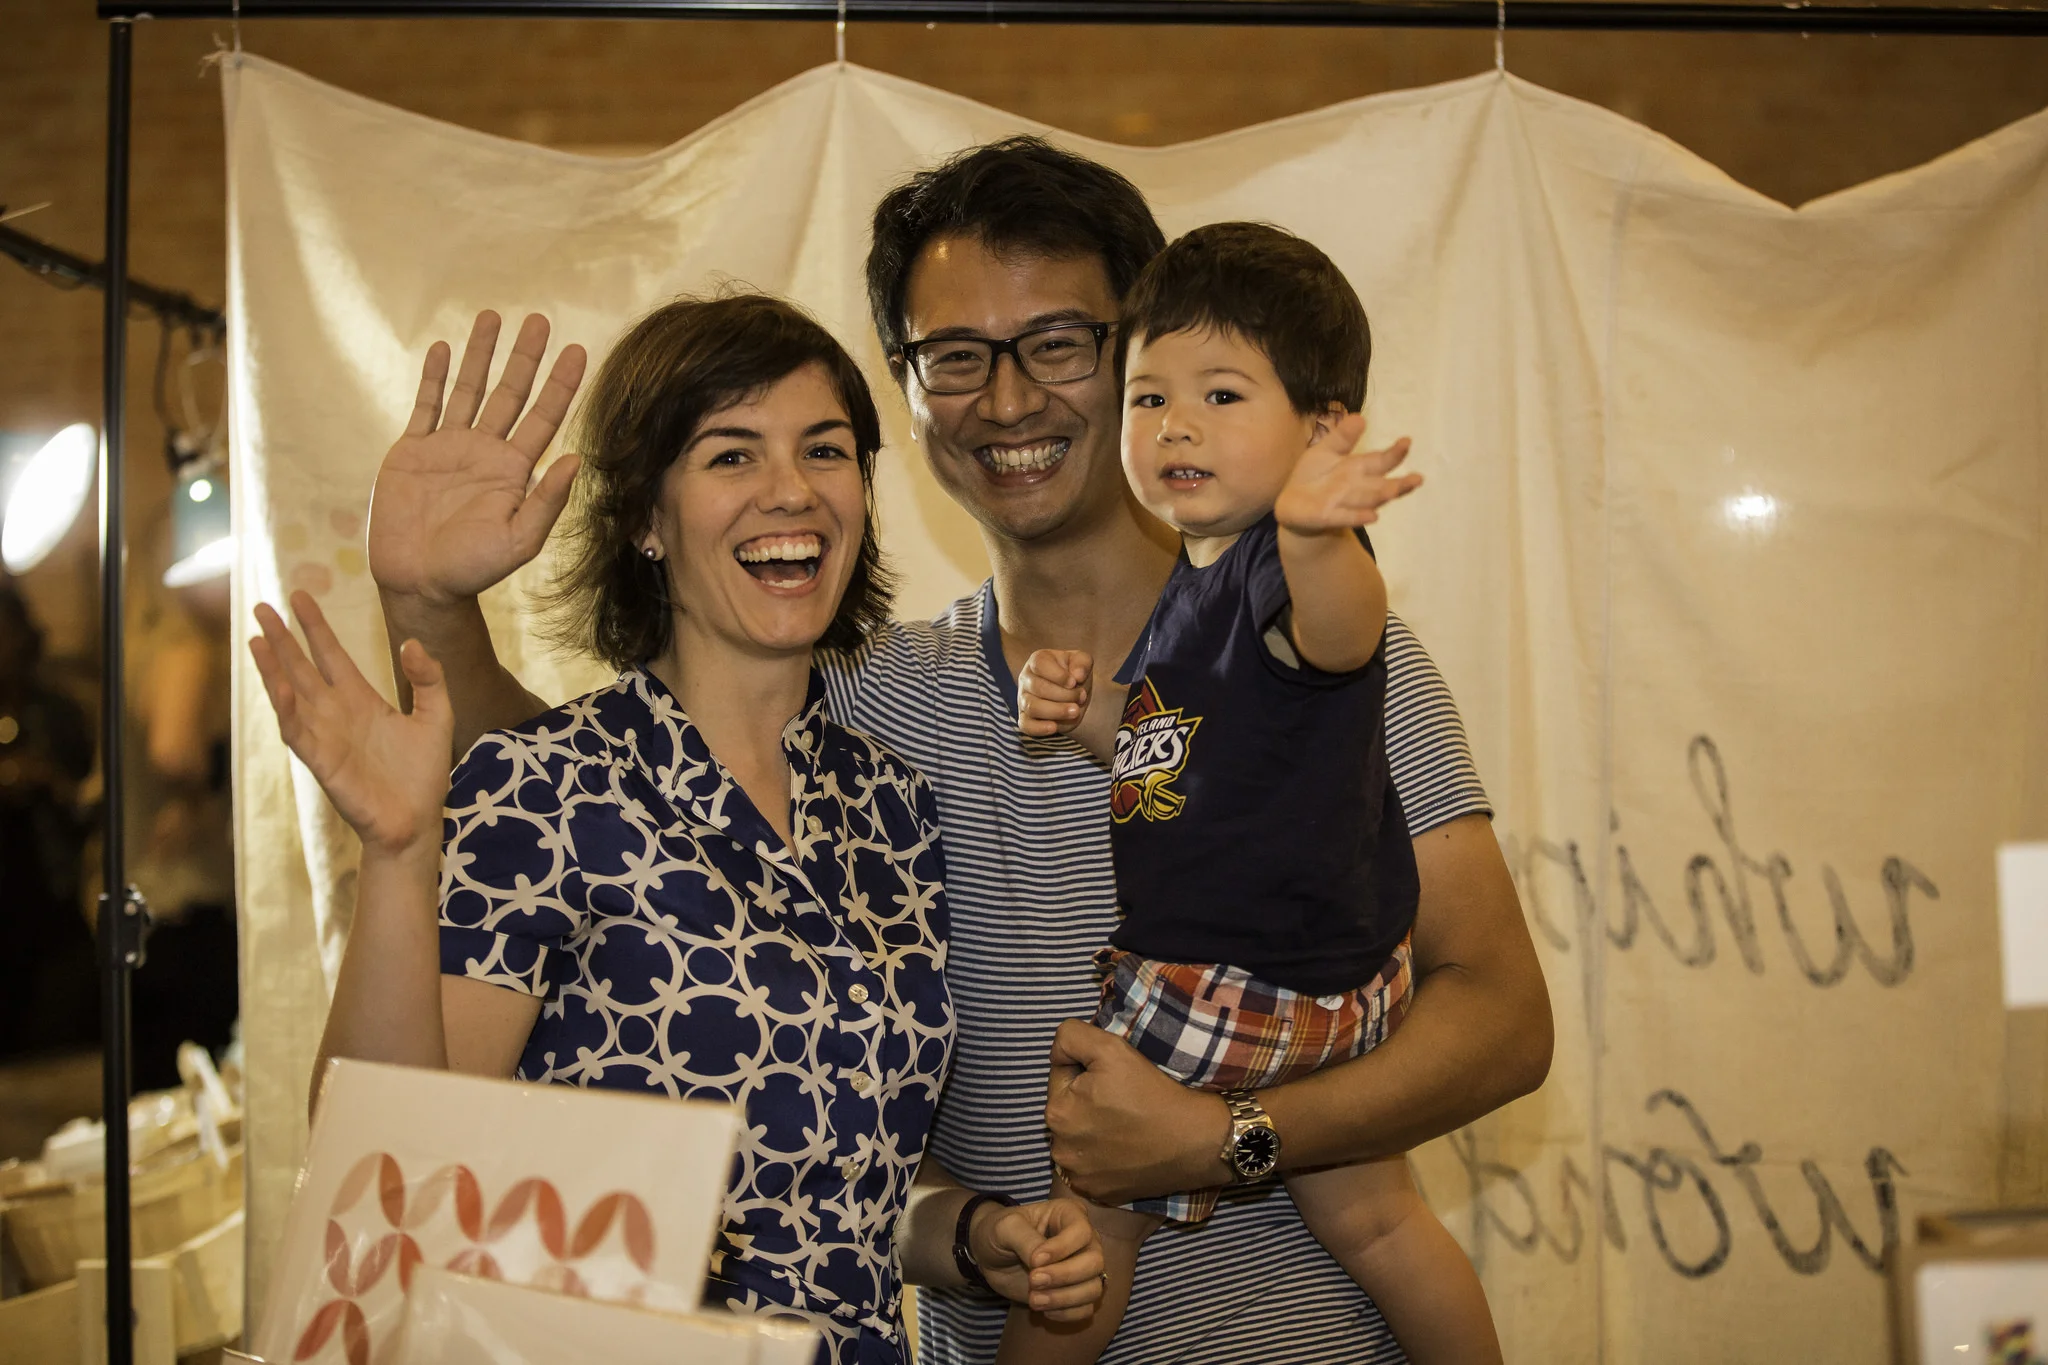
Spring Bash recap with YLK Photography
YLK Photography
We were so lucky to have Yony, an Etsy Dallas alumna and a professional photographer, as our official Spring Bash photographer. Her photos are beautiful. We love YLK Photography! Yony is self-taught. She specializes in lifestyle and portrait photography.
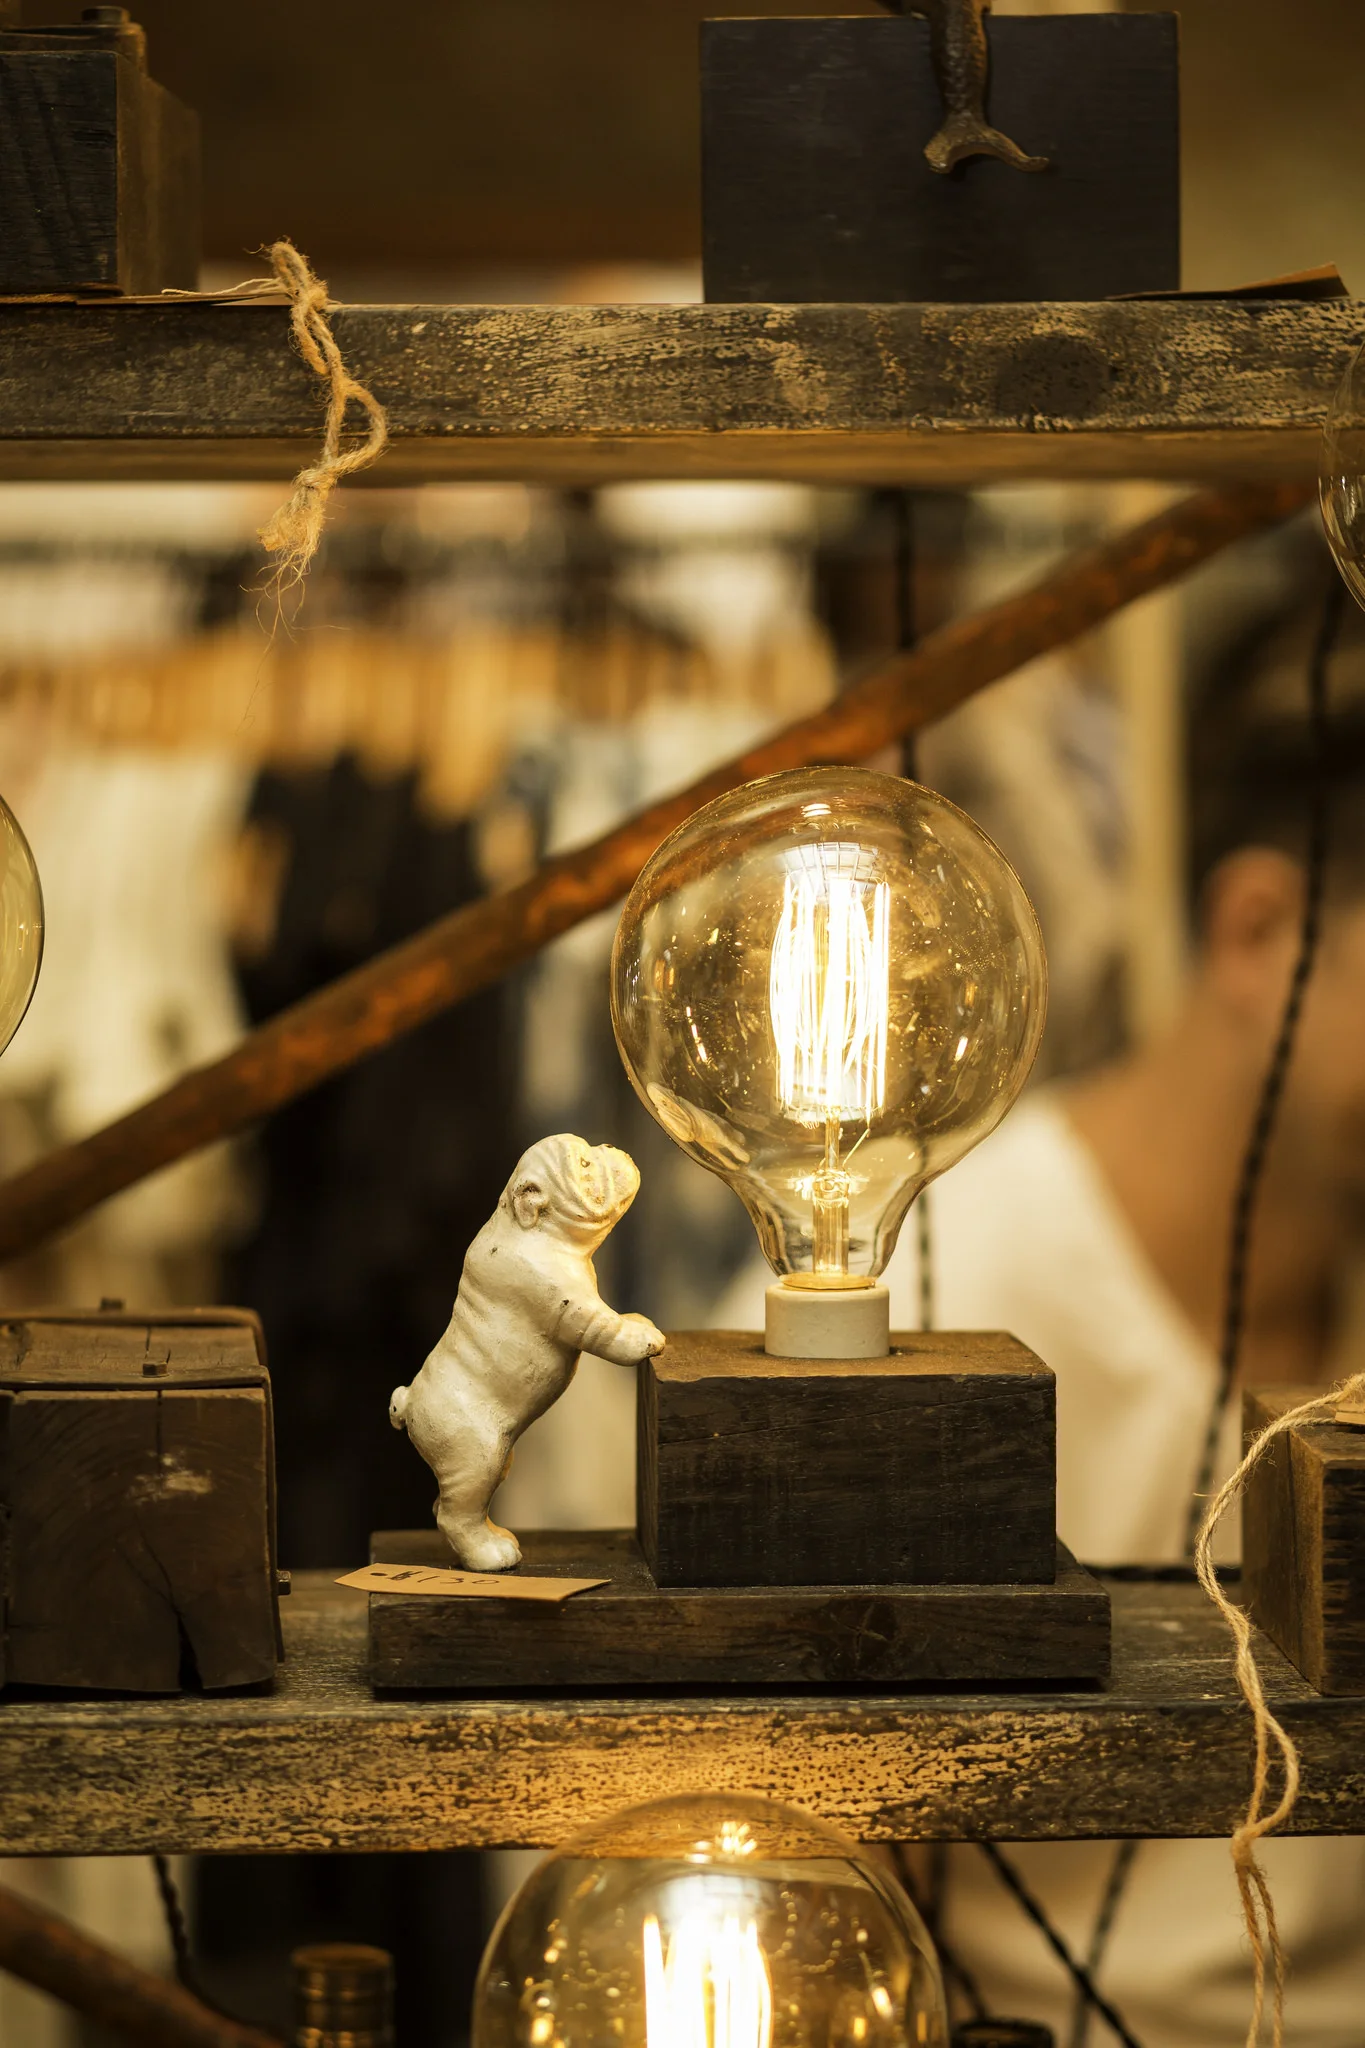
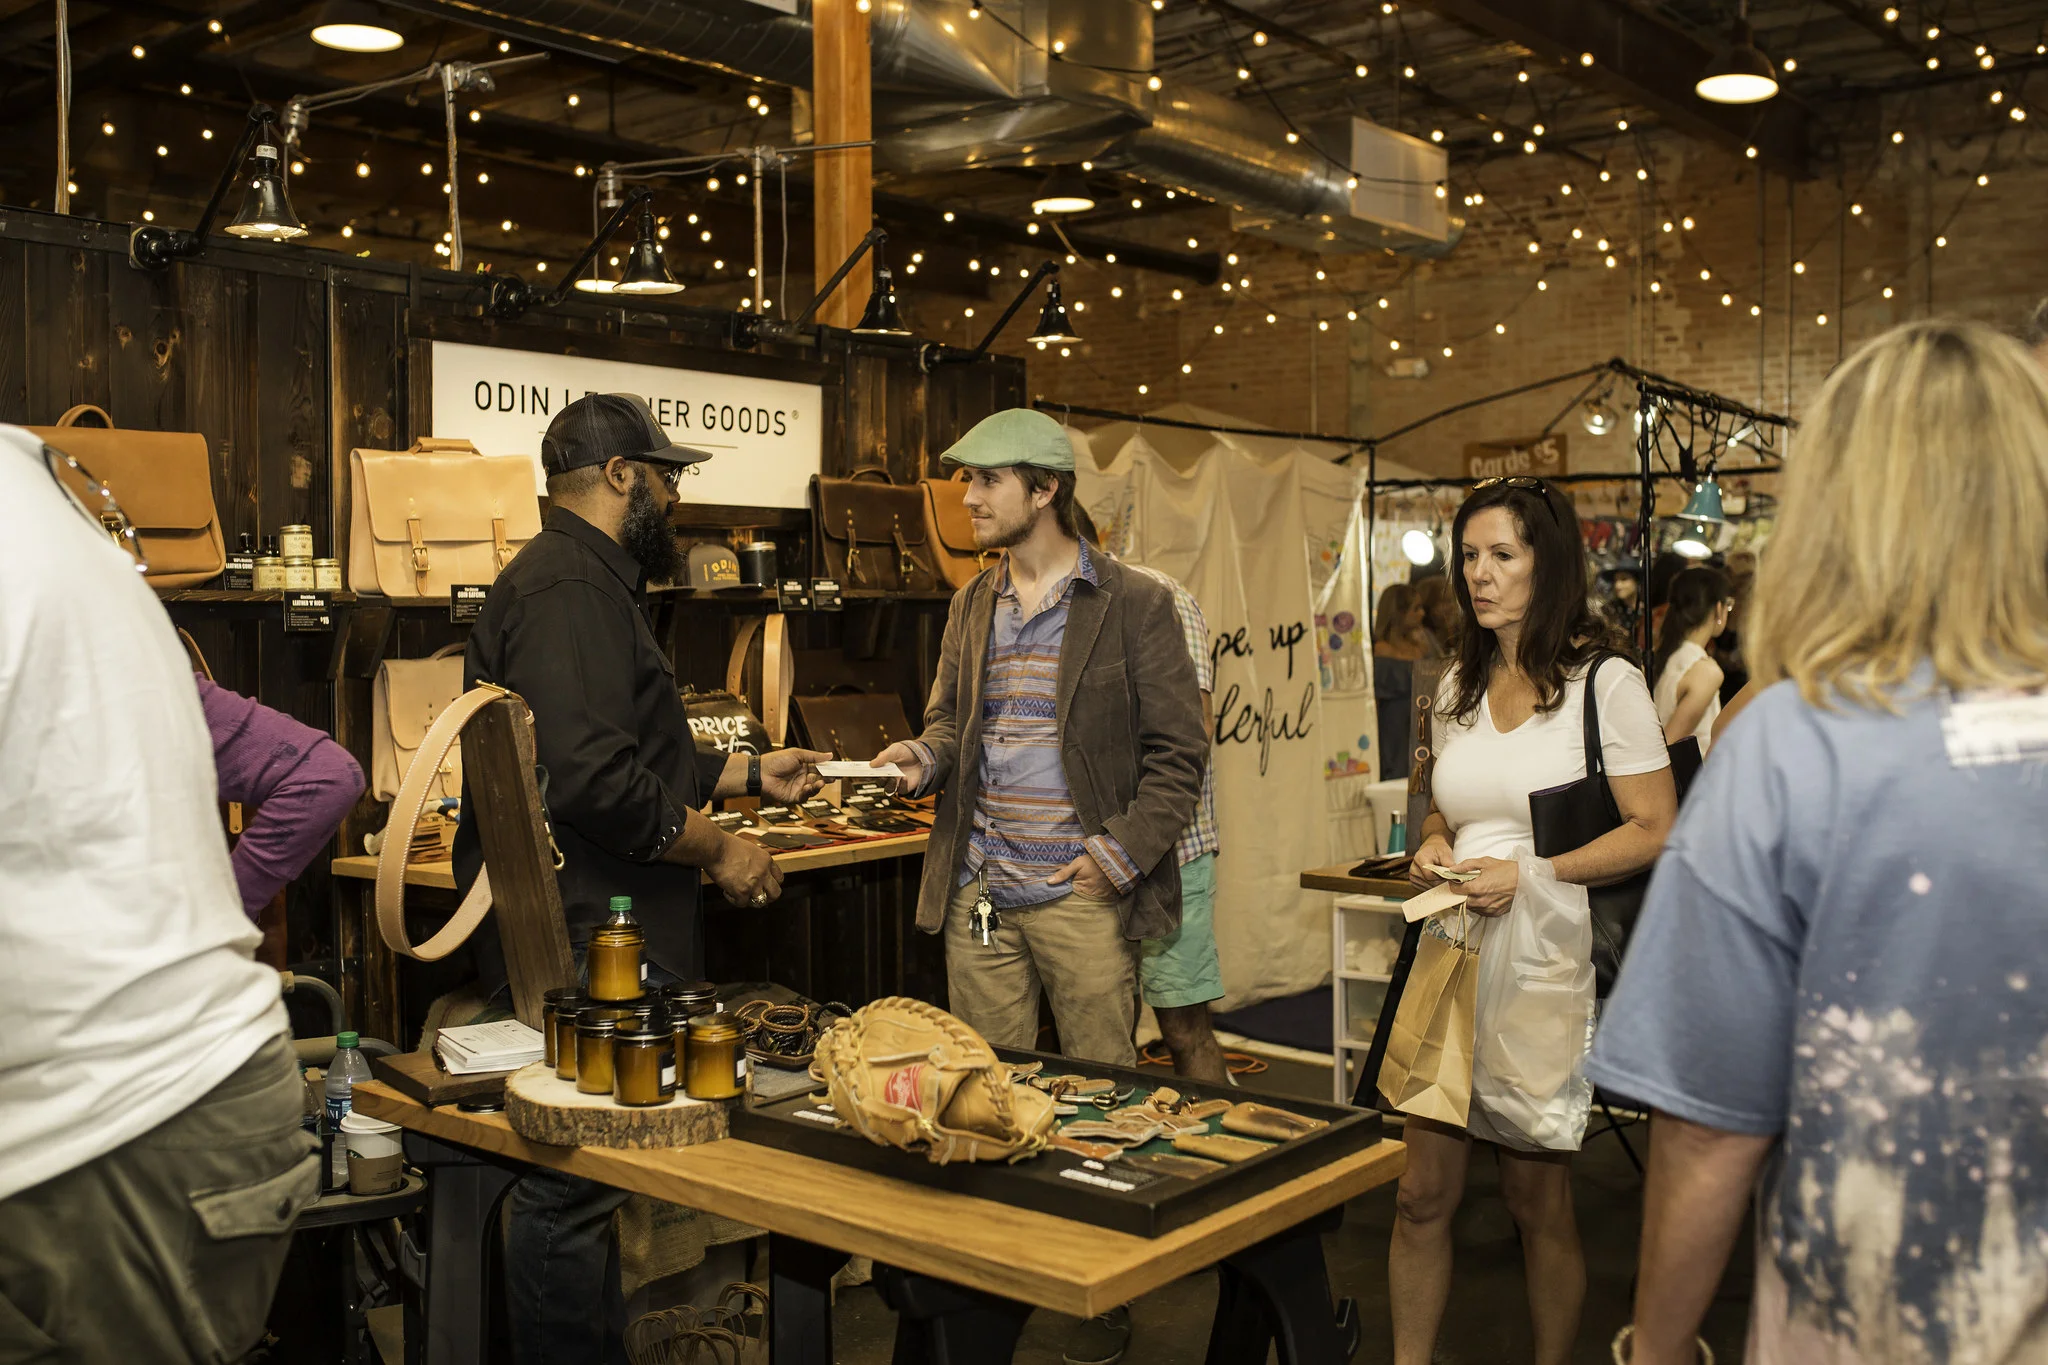
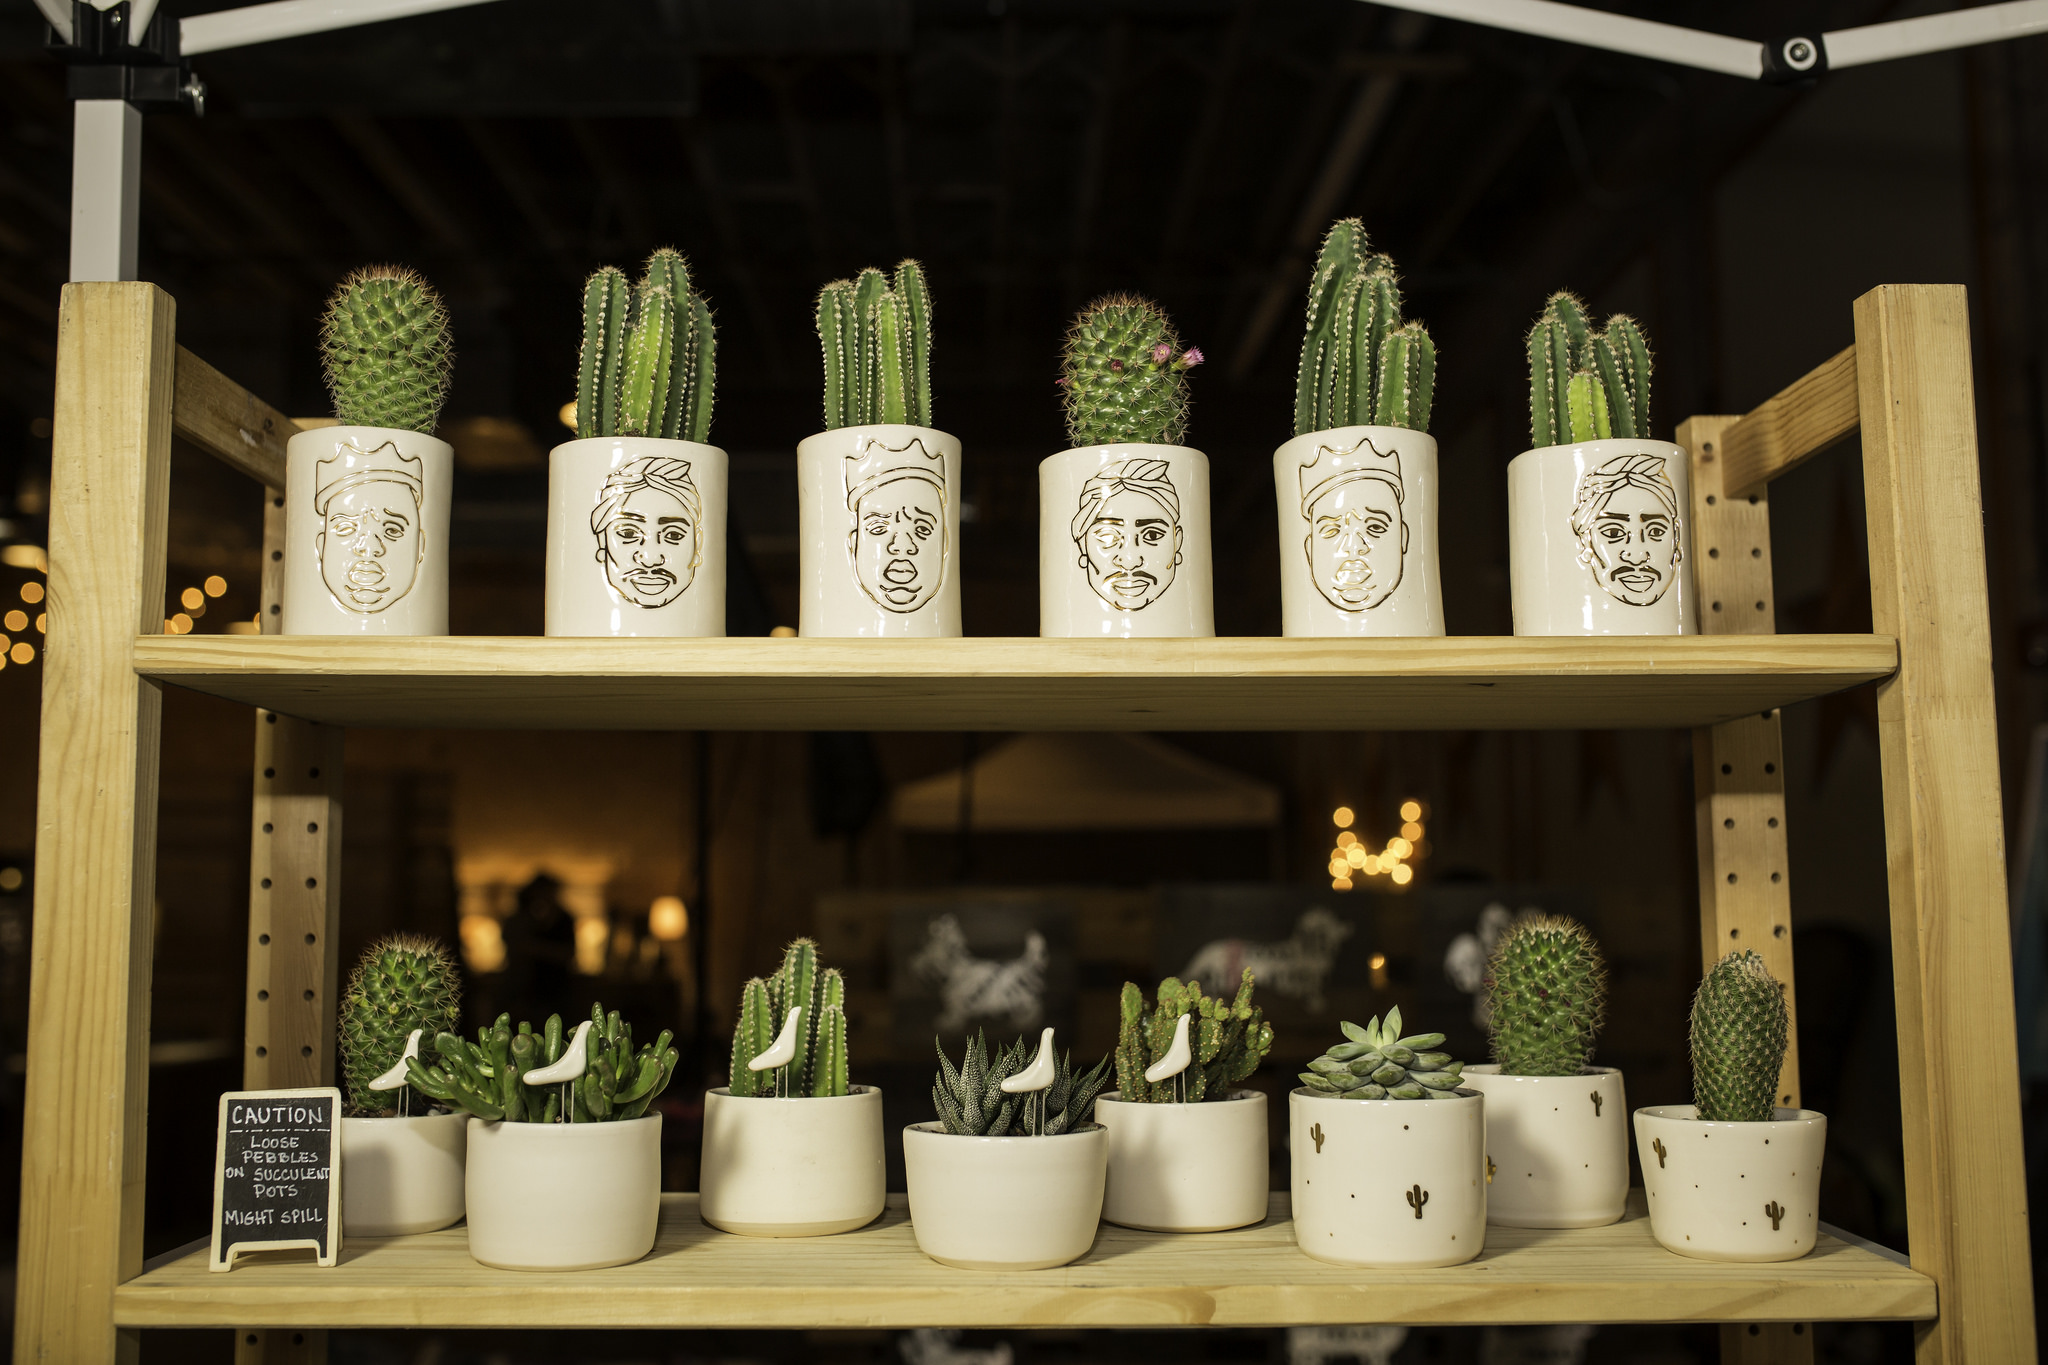
You can follow Yony on Facebook or Instagram to see more of her amazing work. She is a true talent. Here are a few of our favorite photos she captured at the Bash ...
YLK Photography
YLK Photography
YLK Photography
YLK Photography
YLK Photography
YLK Photography

YLK Photography

YLK Photography
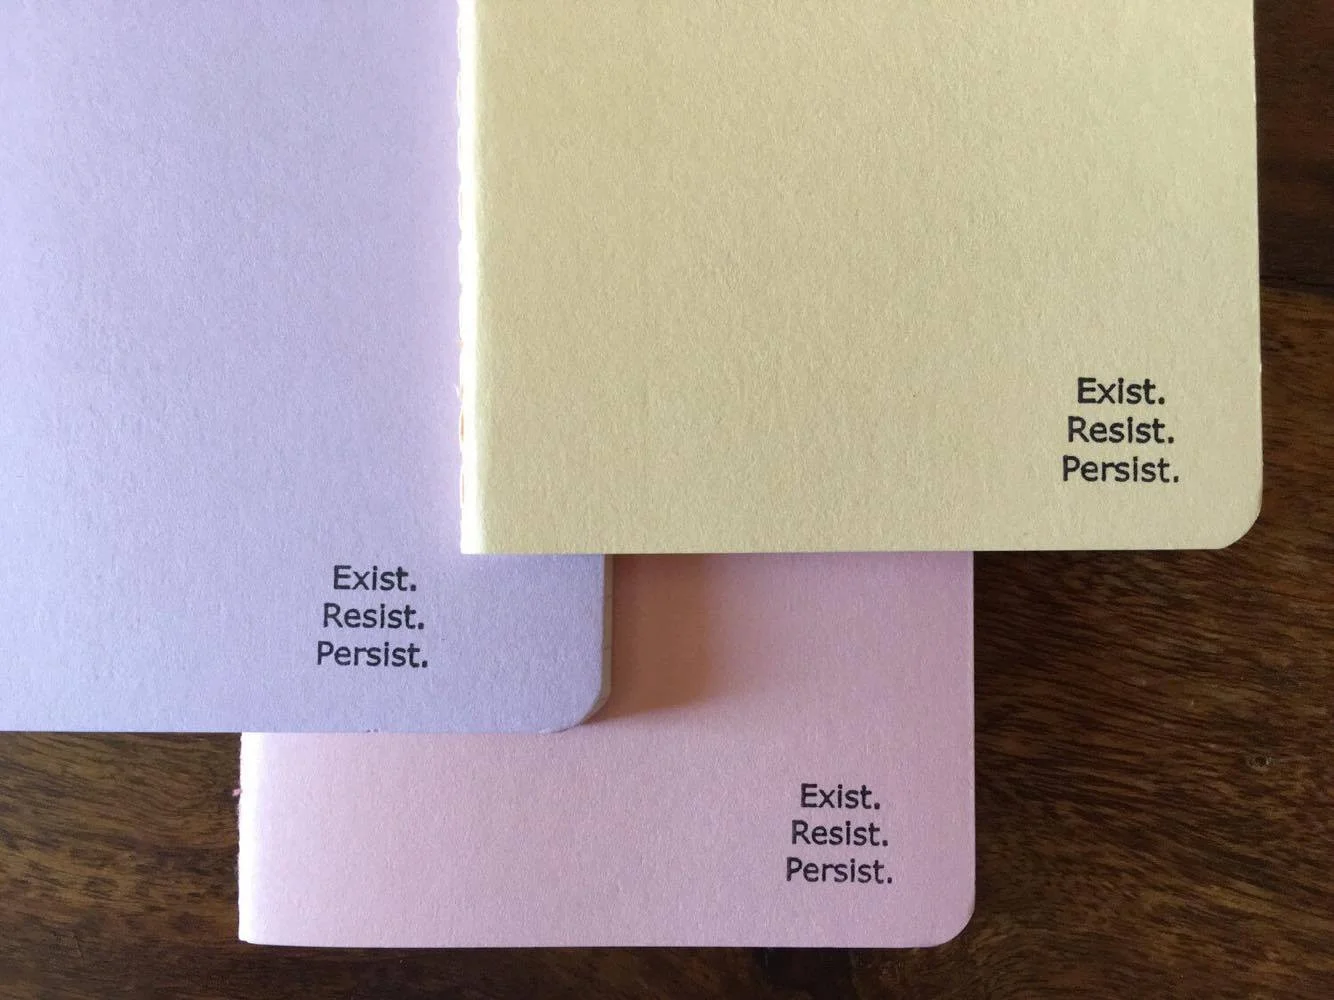
Made By Rori
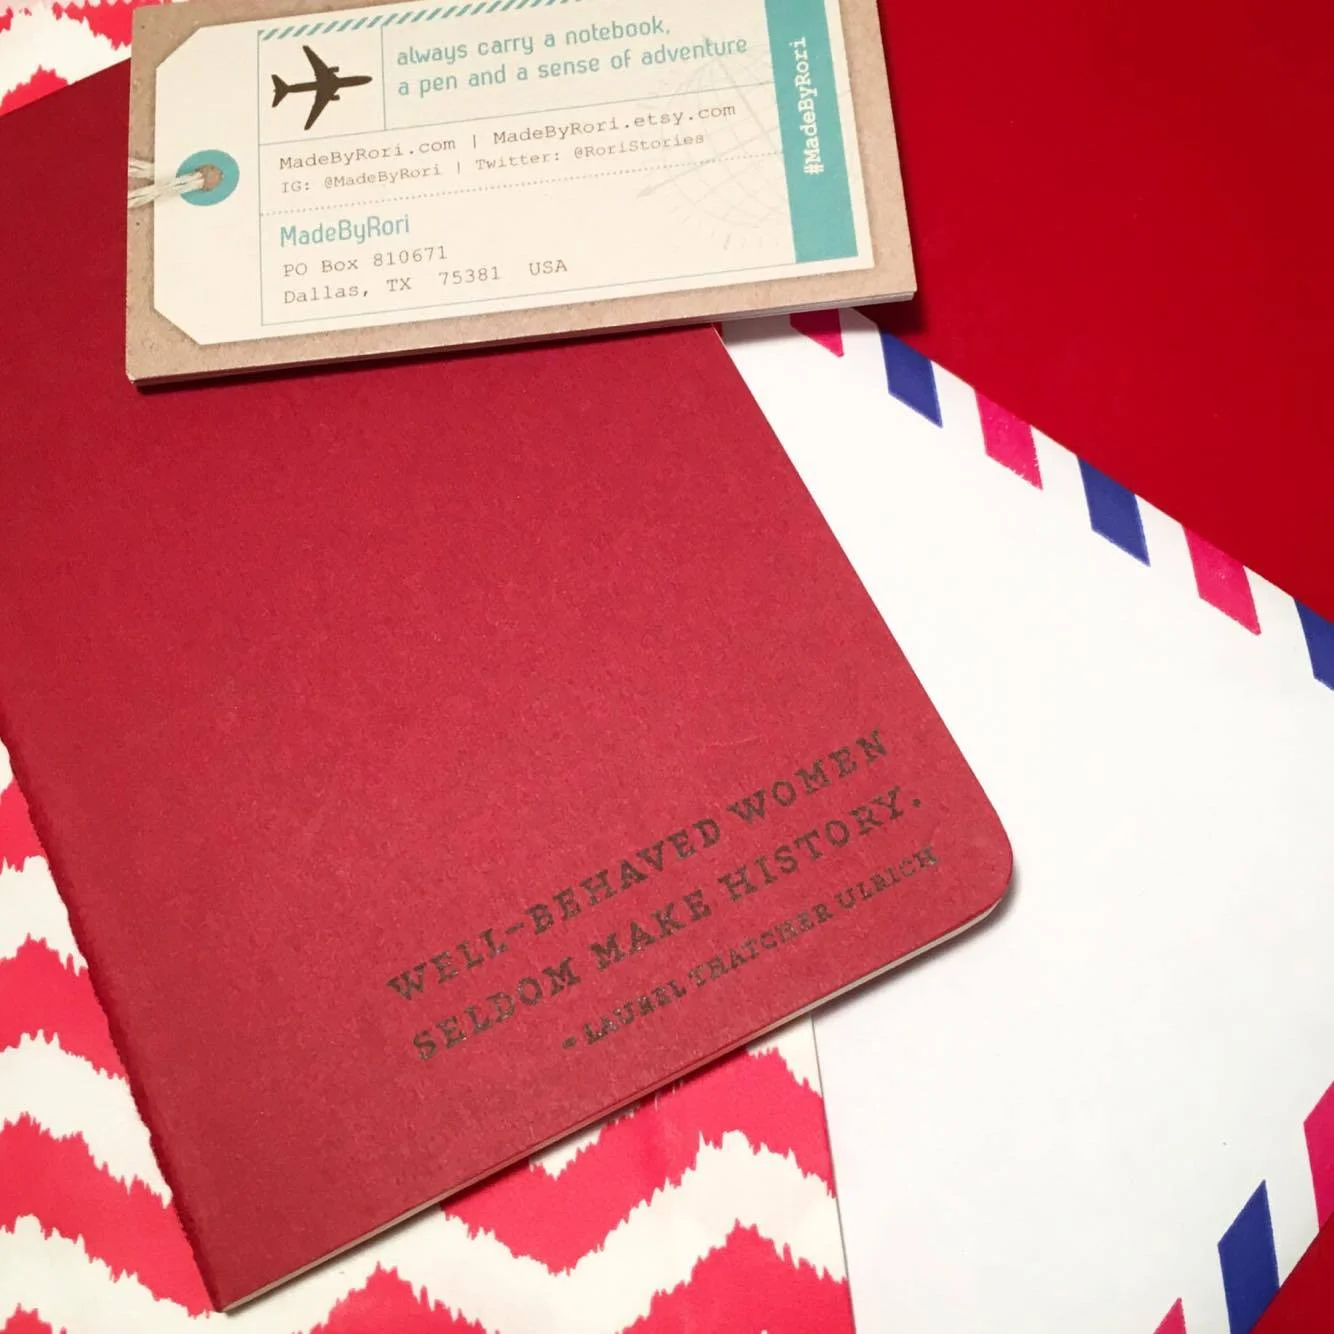
Today we are excited to introduce Rori Callaway, who you may know from the notebook and journal shop Made by Rori. What you might not know about Rori is that she has been managing social media for the Etsy Dallas Team since 2015 and has this year come onto the Leadership Team as Social Media Director.
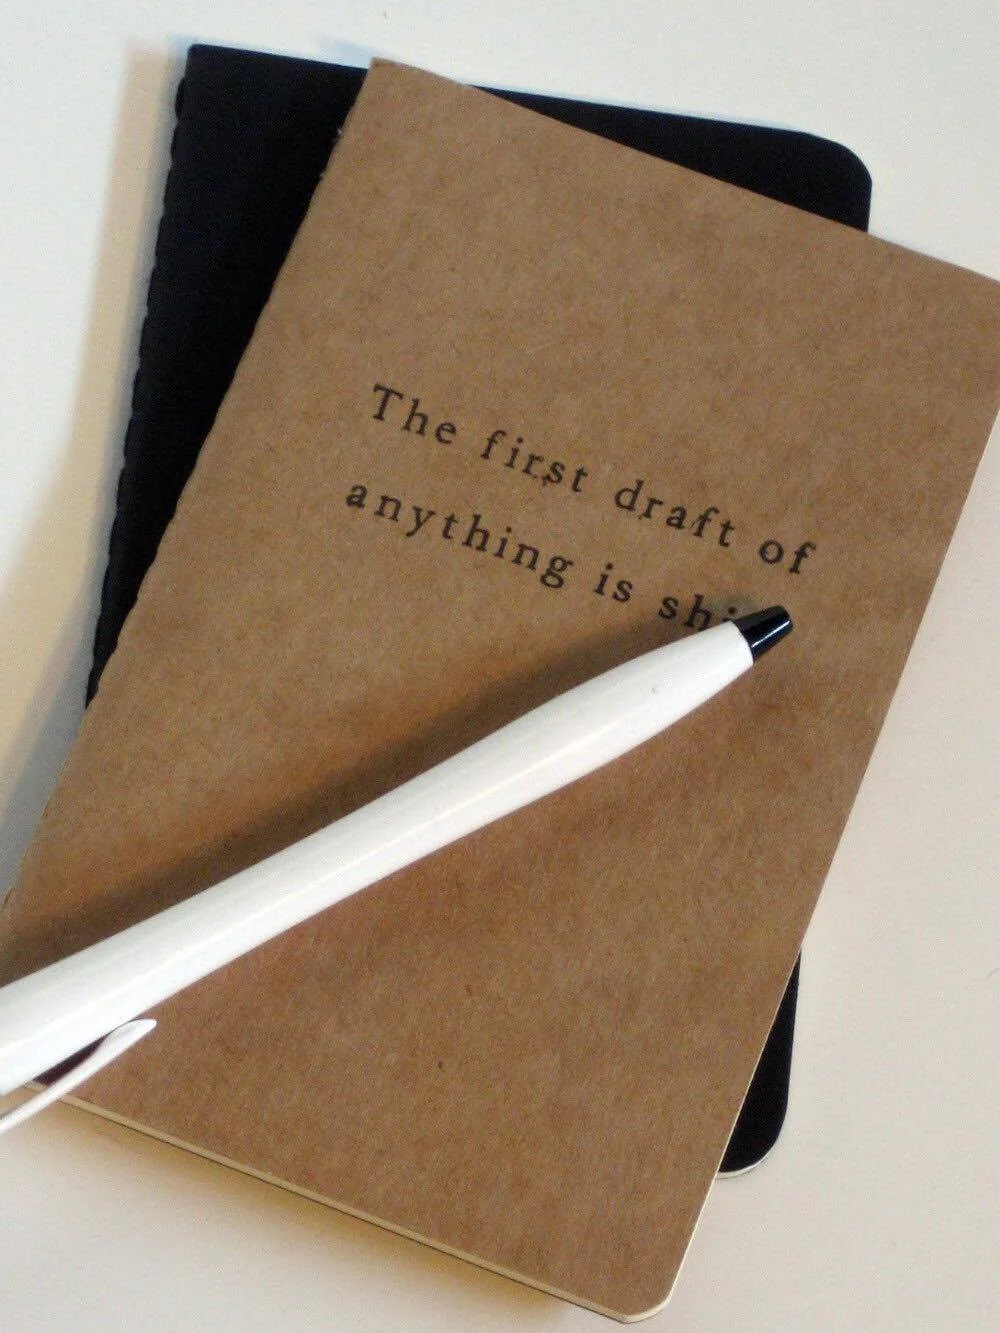
Despite all the volunteer time she has put into our blog and social media lately, Rori still maintains her own shop selling unique notebooks and journals that have the option to be personalized. Her attention to detail in sending carefully packaged items and personalized notes has won the hearts of her followers for good reason.
We all have Rori to thank for the hard work she's put into the Etsy Dallas social media presence across many platforms in the last few years. It's given us the opportunity to reach so many new followers and promote both our members' work and the handmade movement in DFW. Give Rori a virtual high five by finding Etsy Dallas on Facebook, Instagram, Twitter, or follow her Instagram account @MadeByRori for more insight into her process and photos of her adorable family.